Quick and Easy Bathroom Revamp

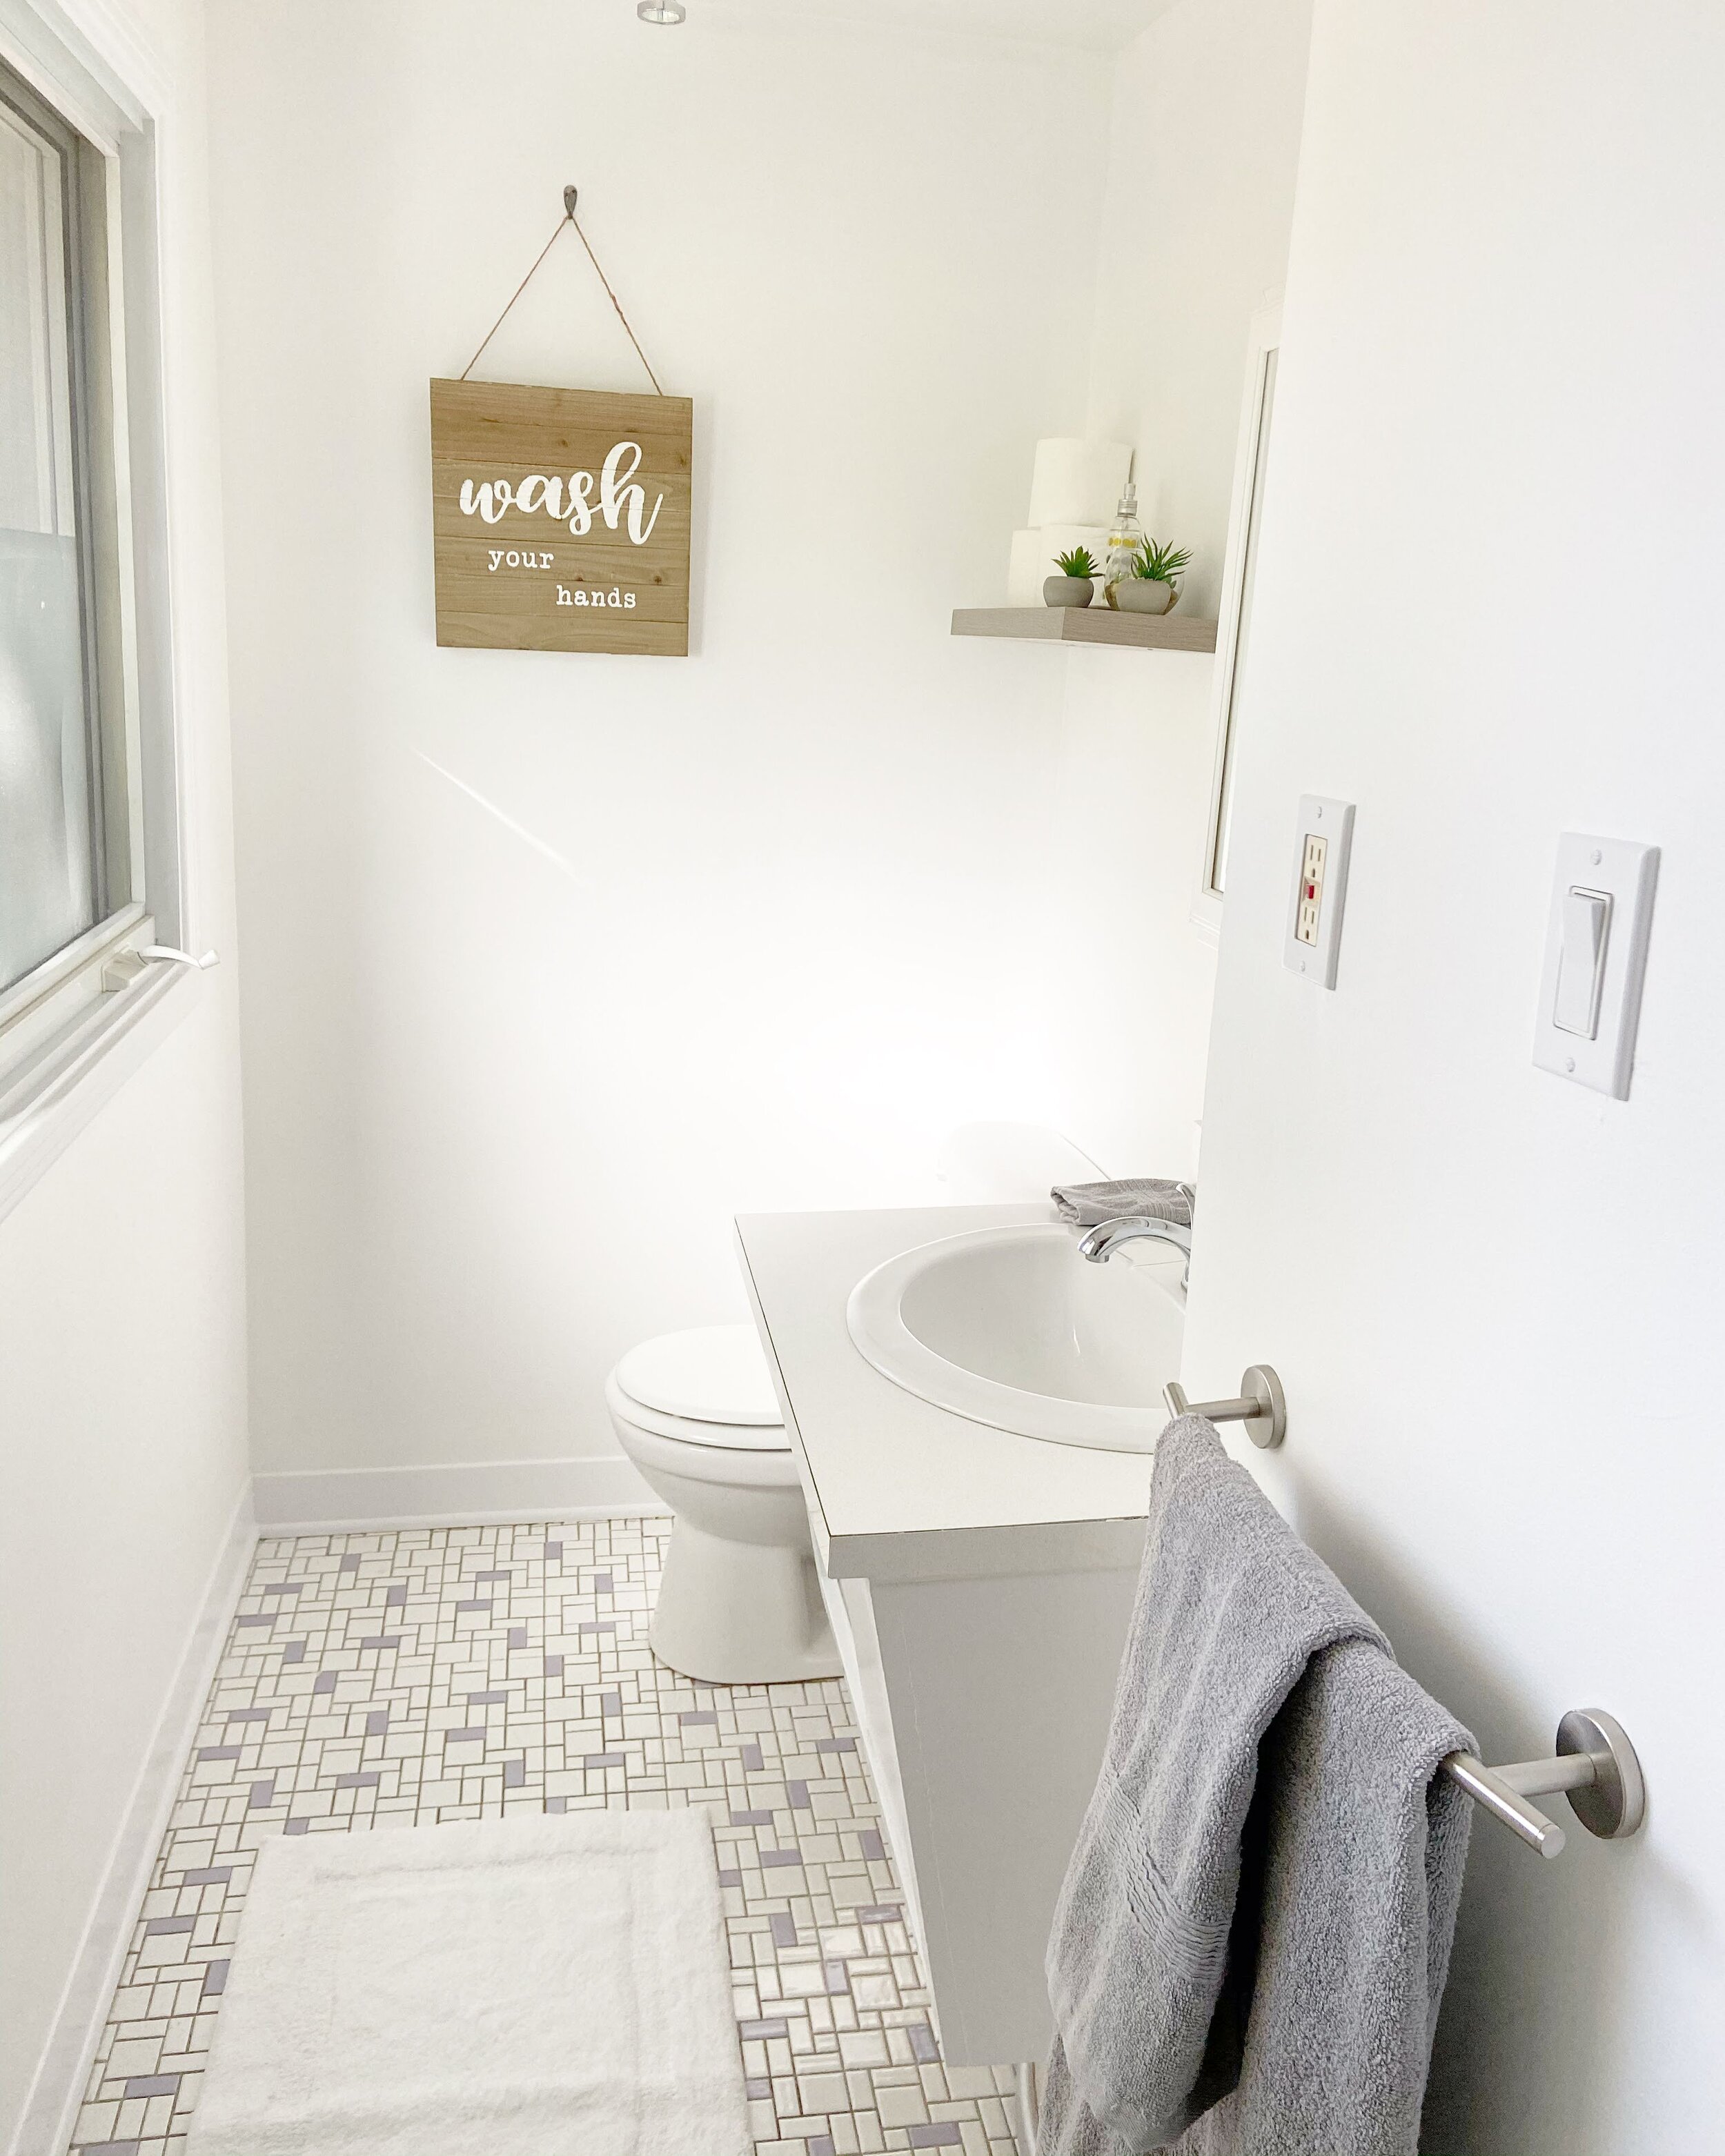
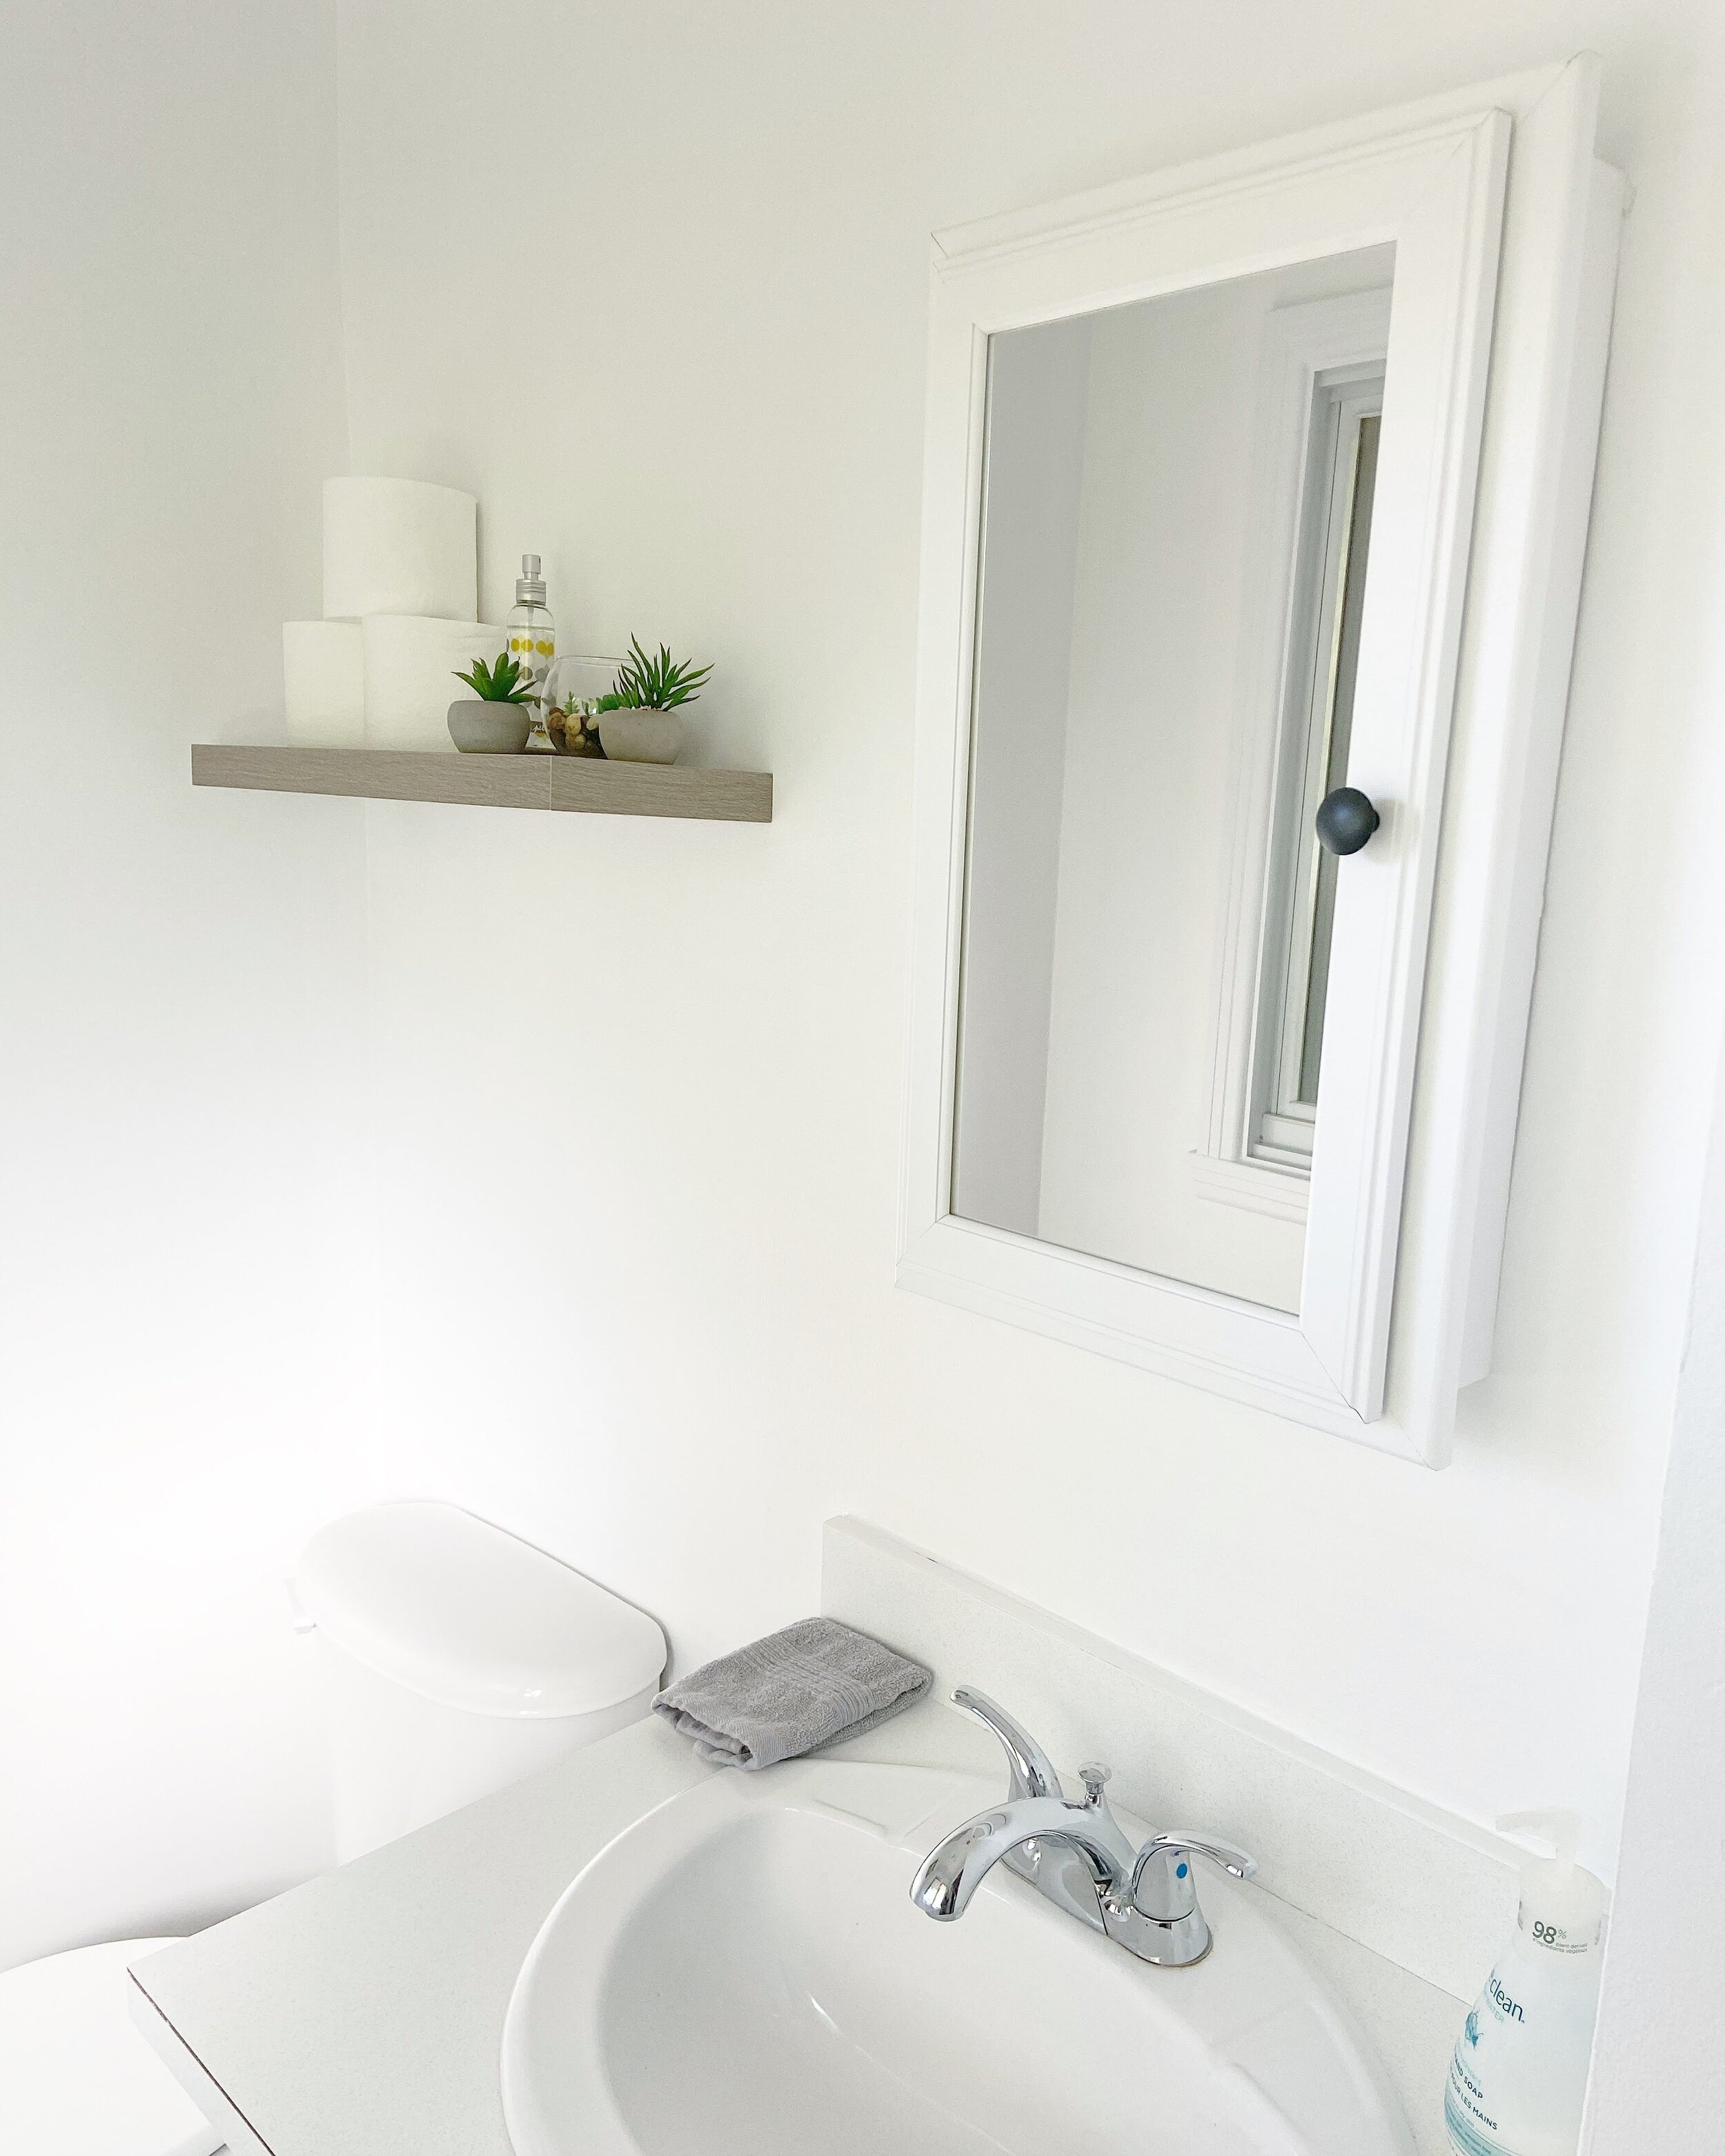
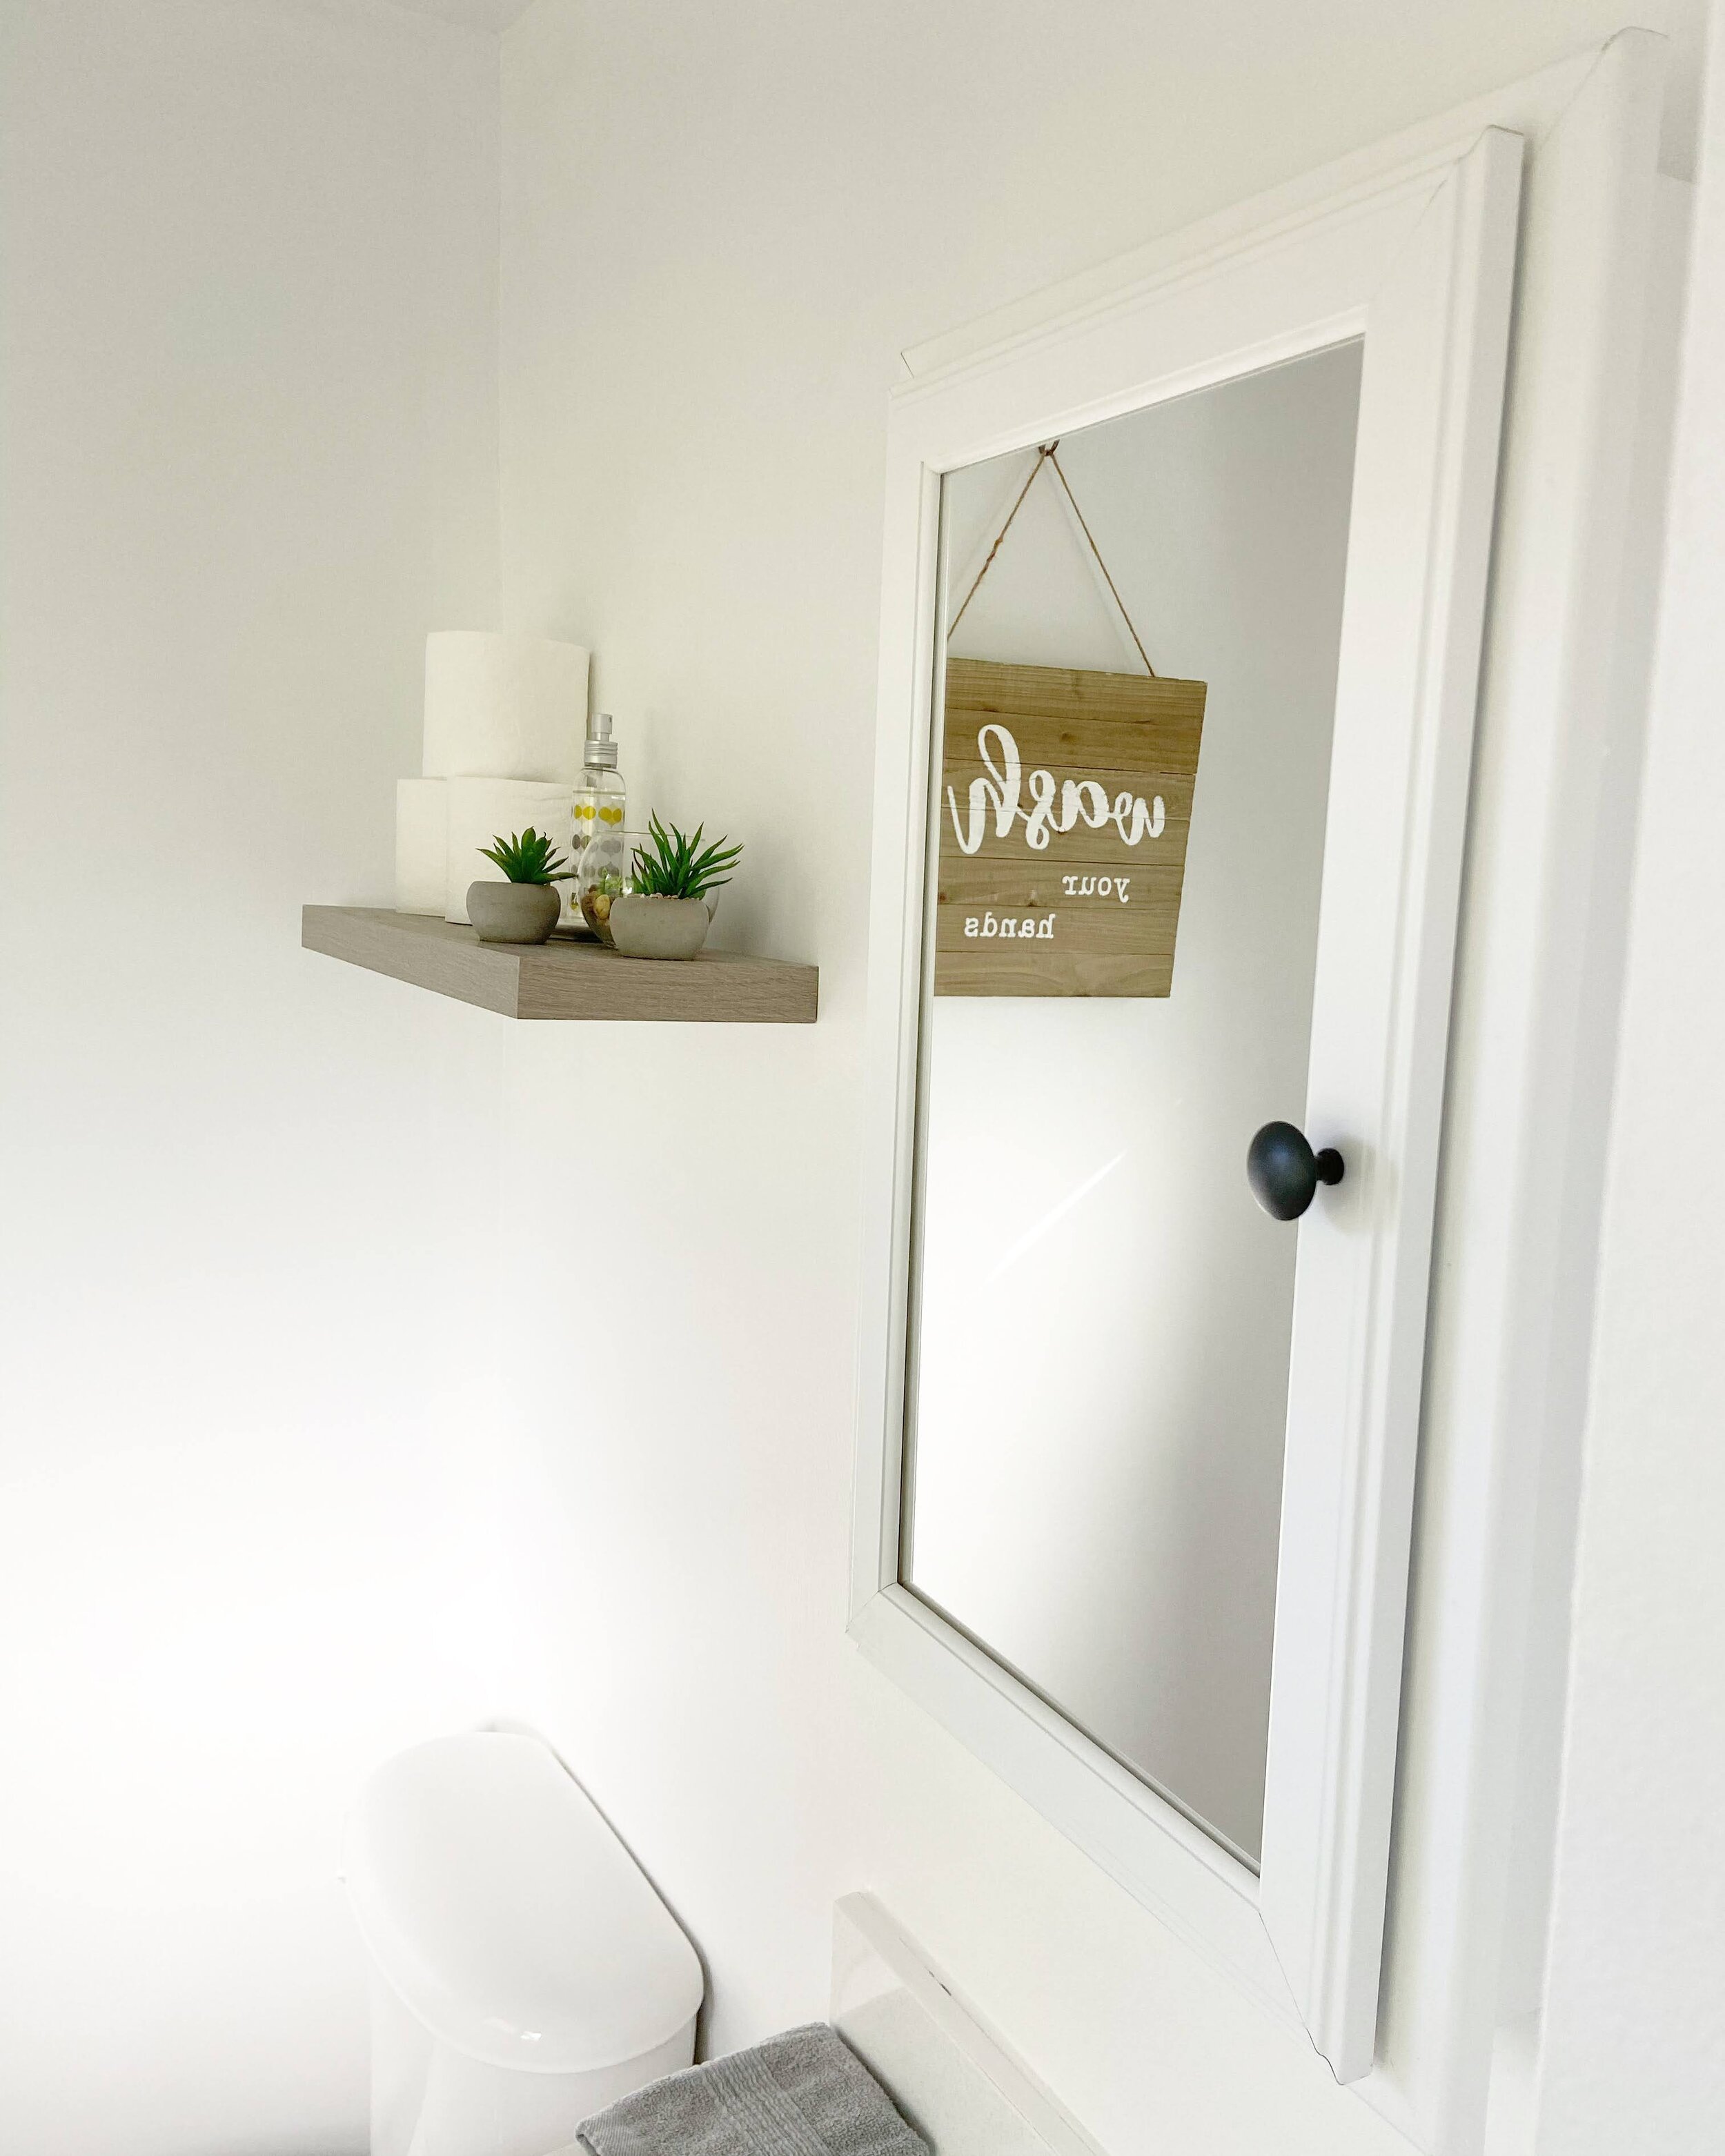
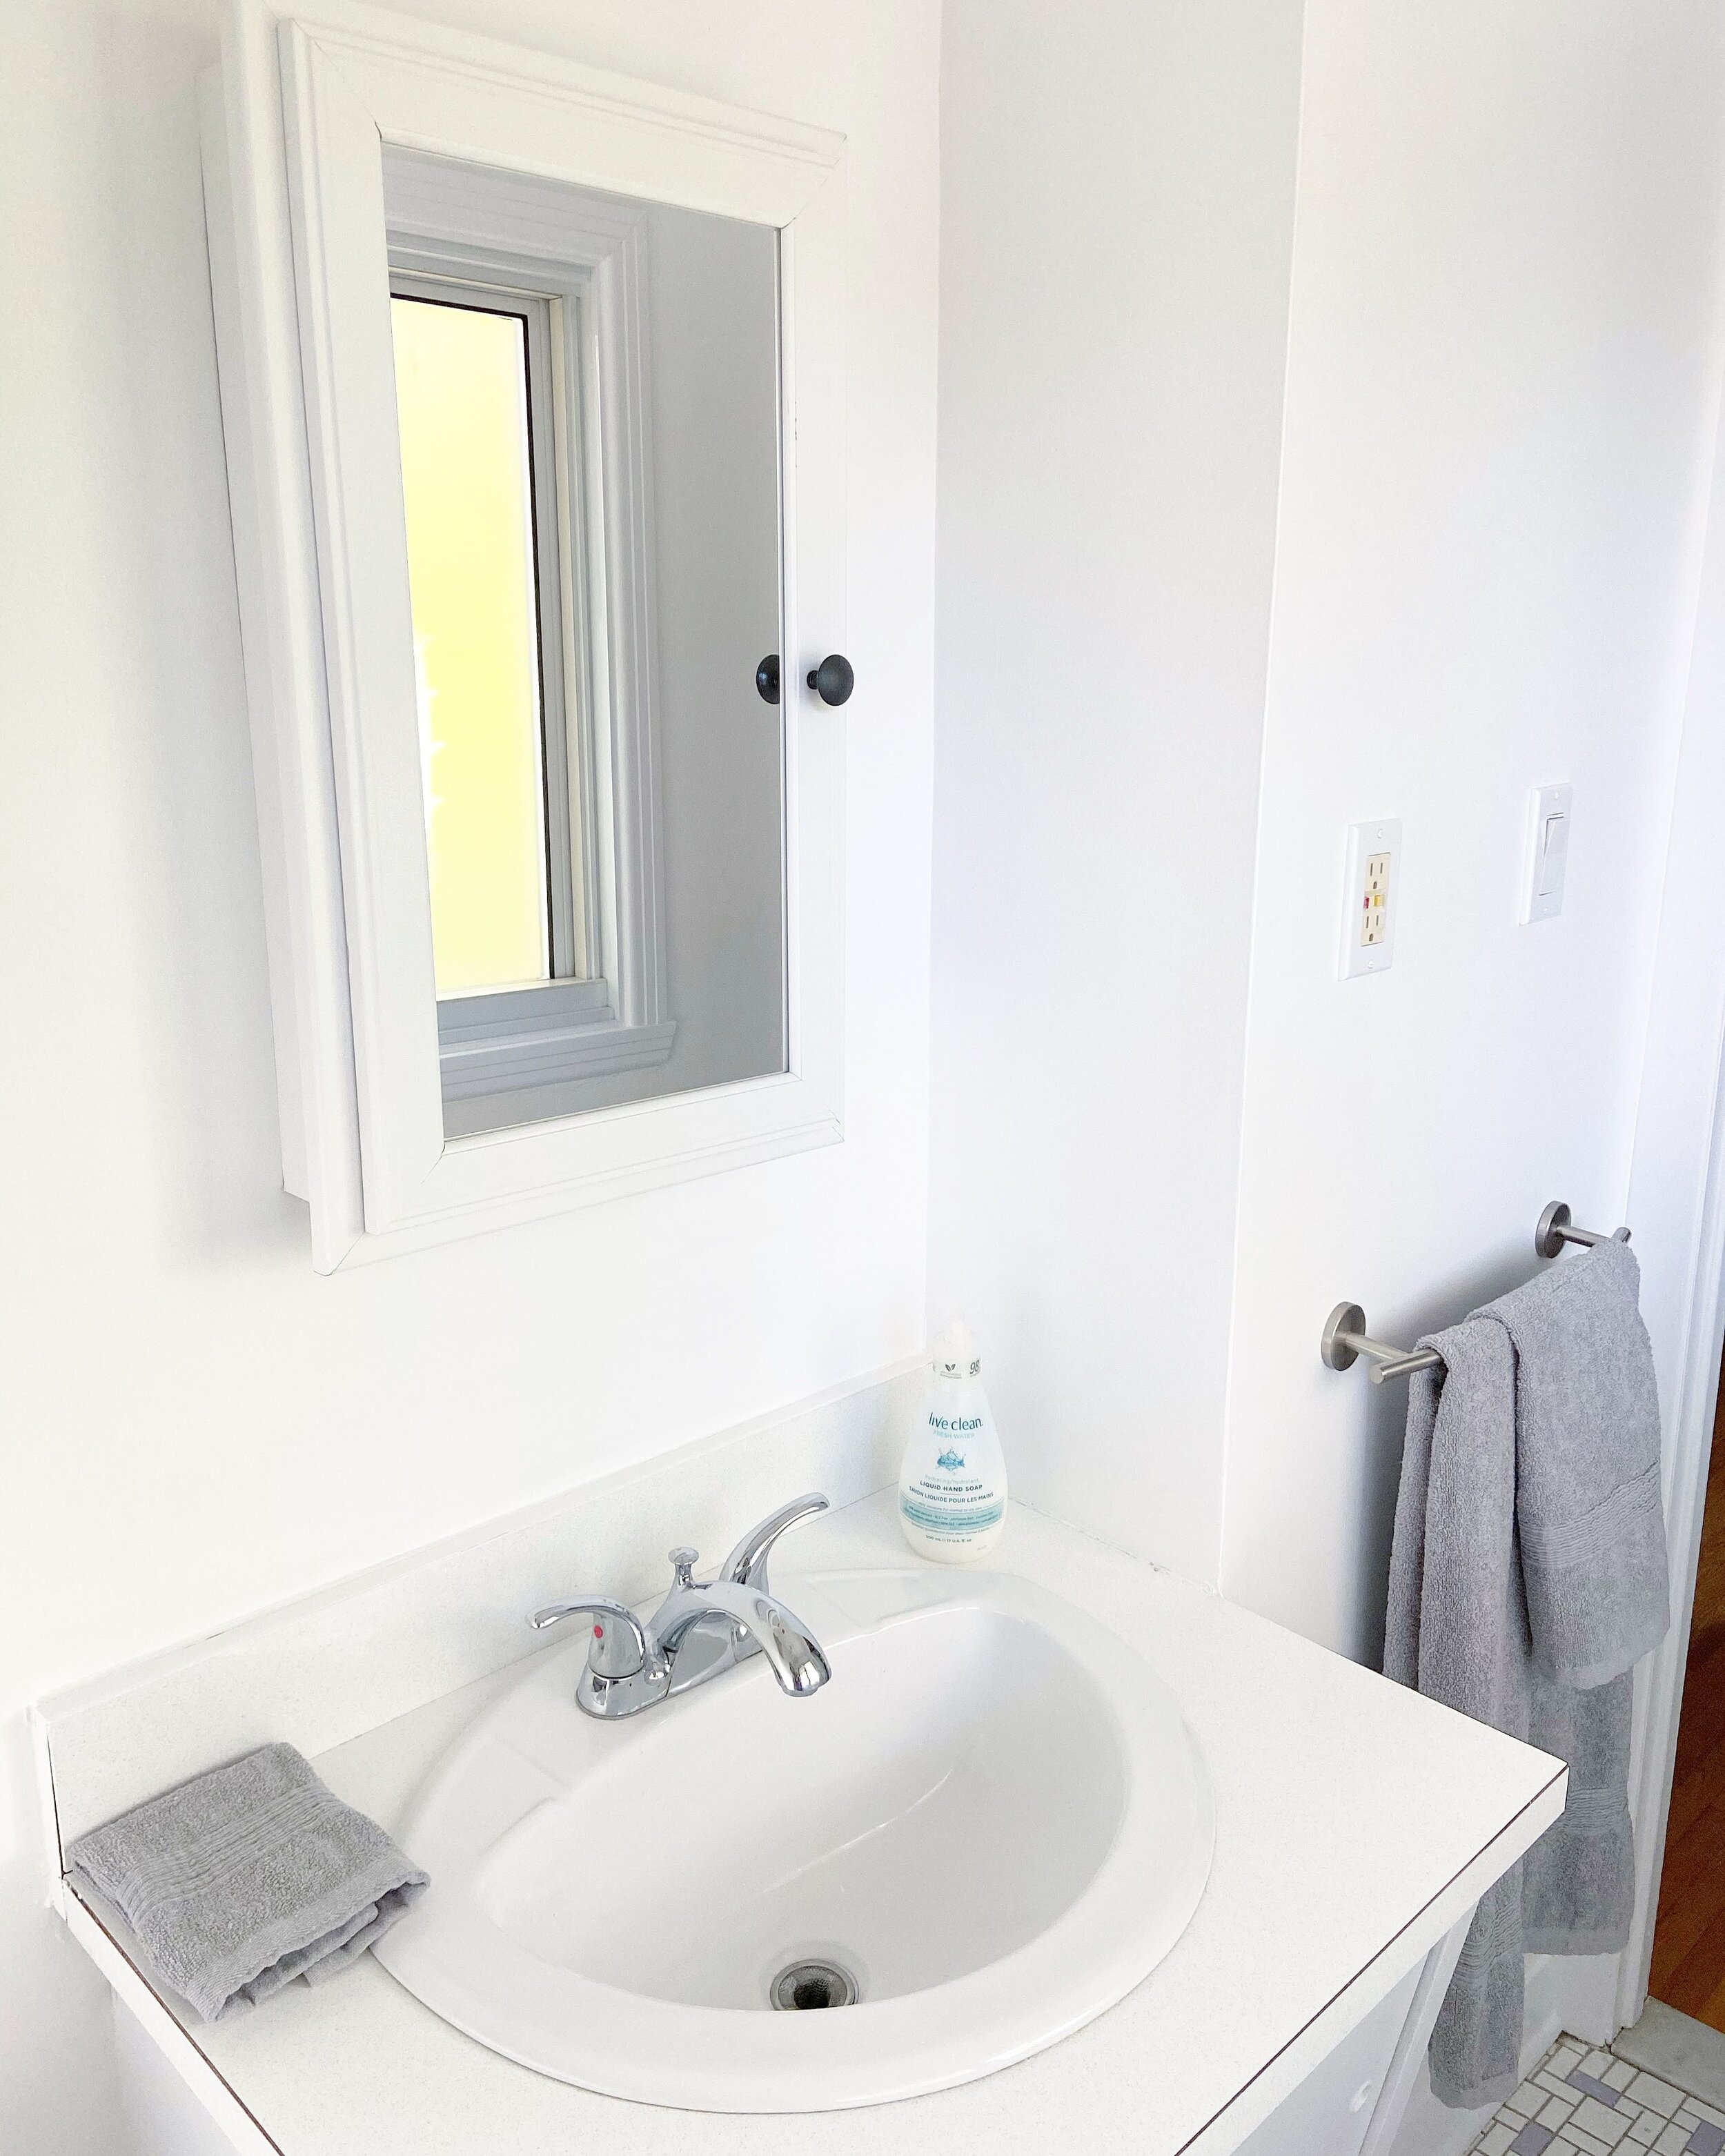
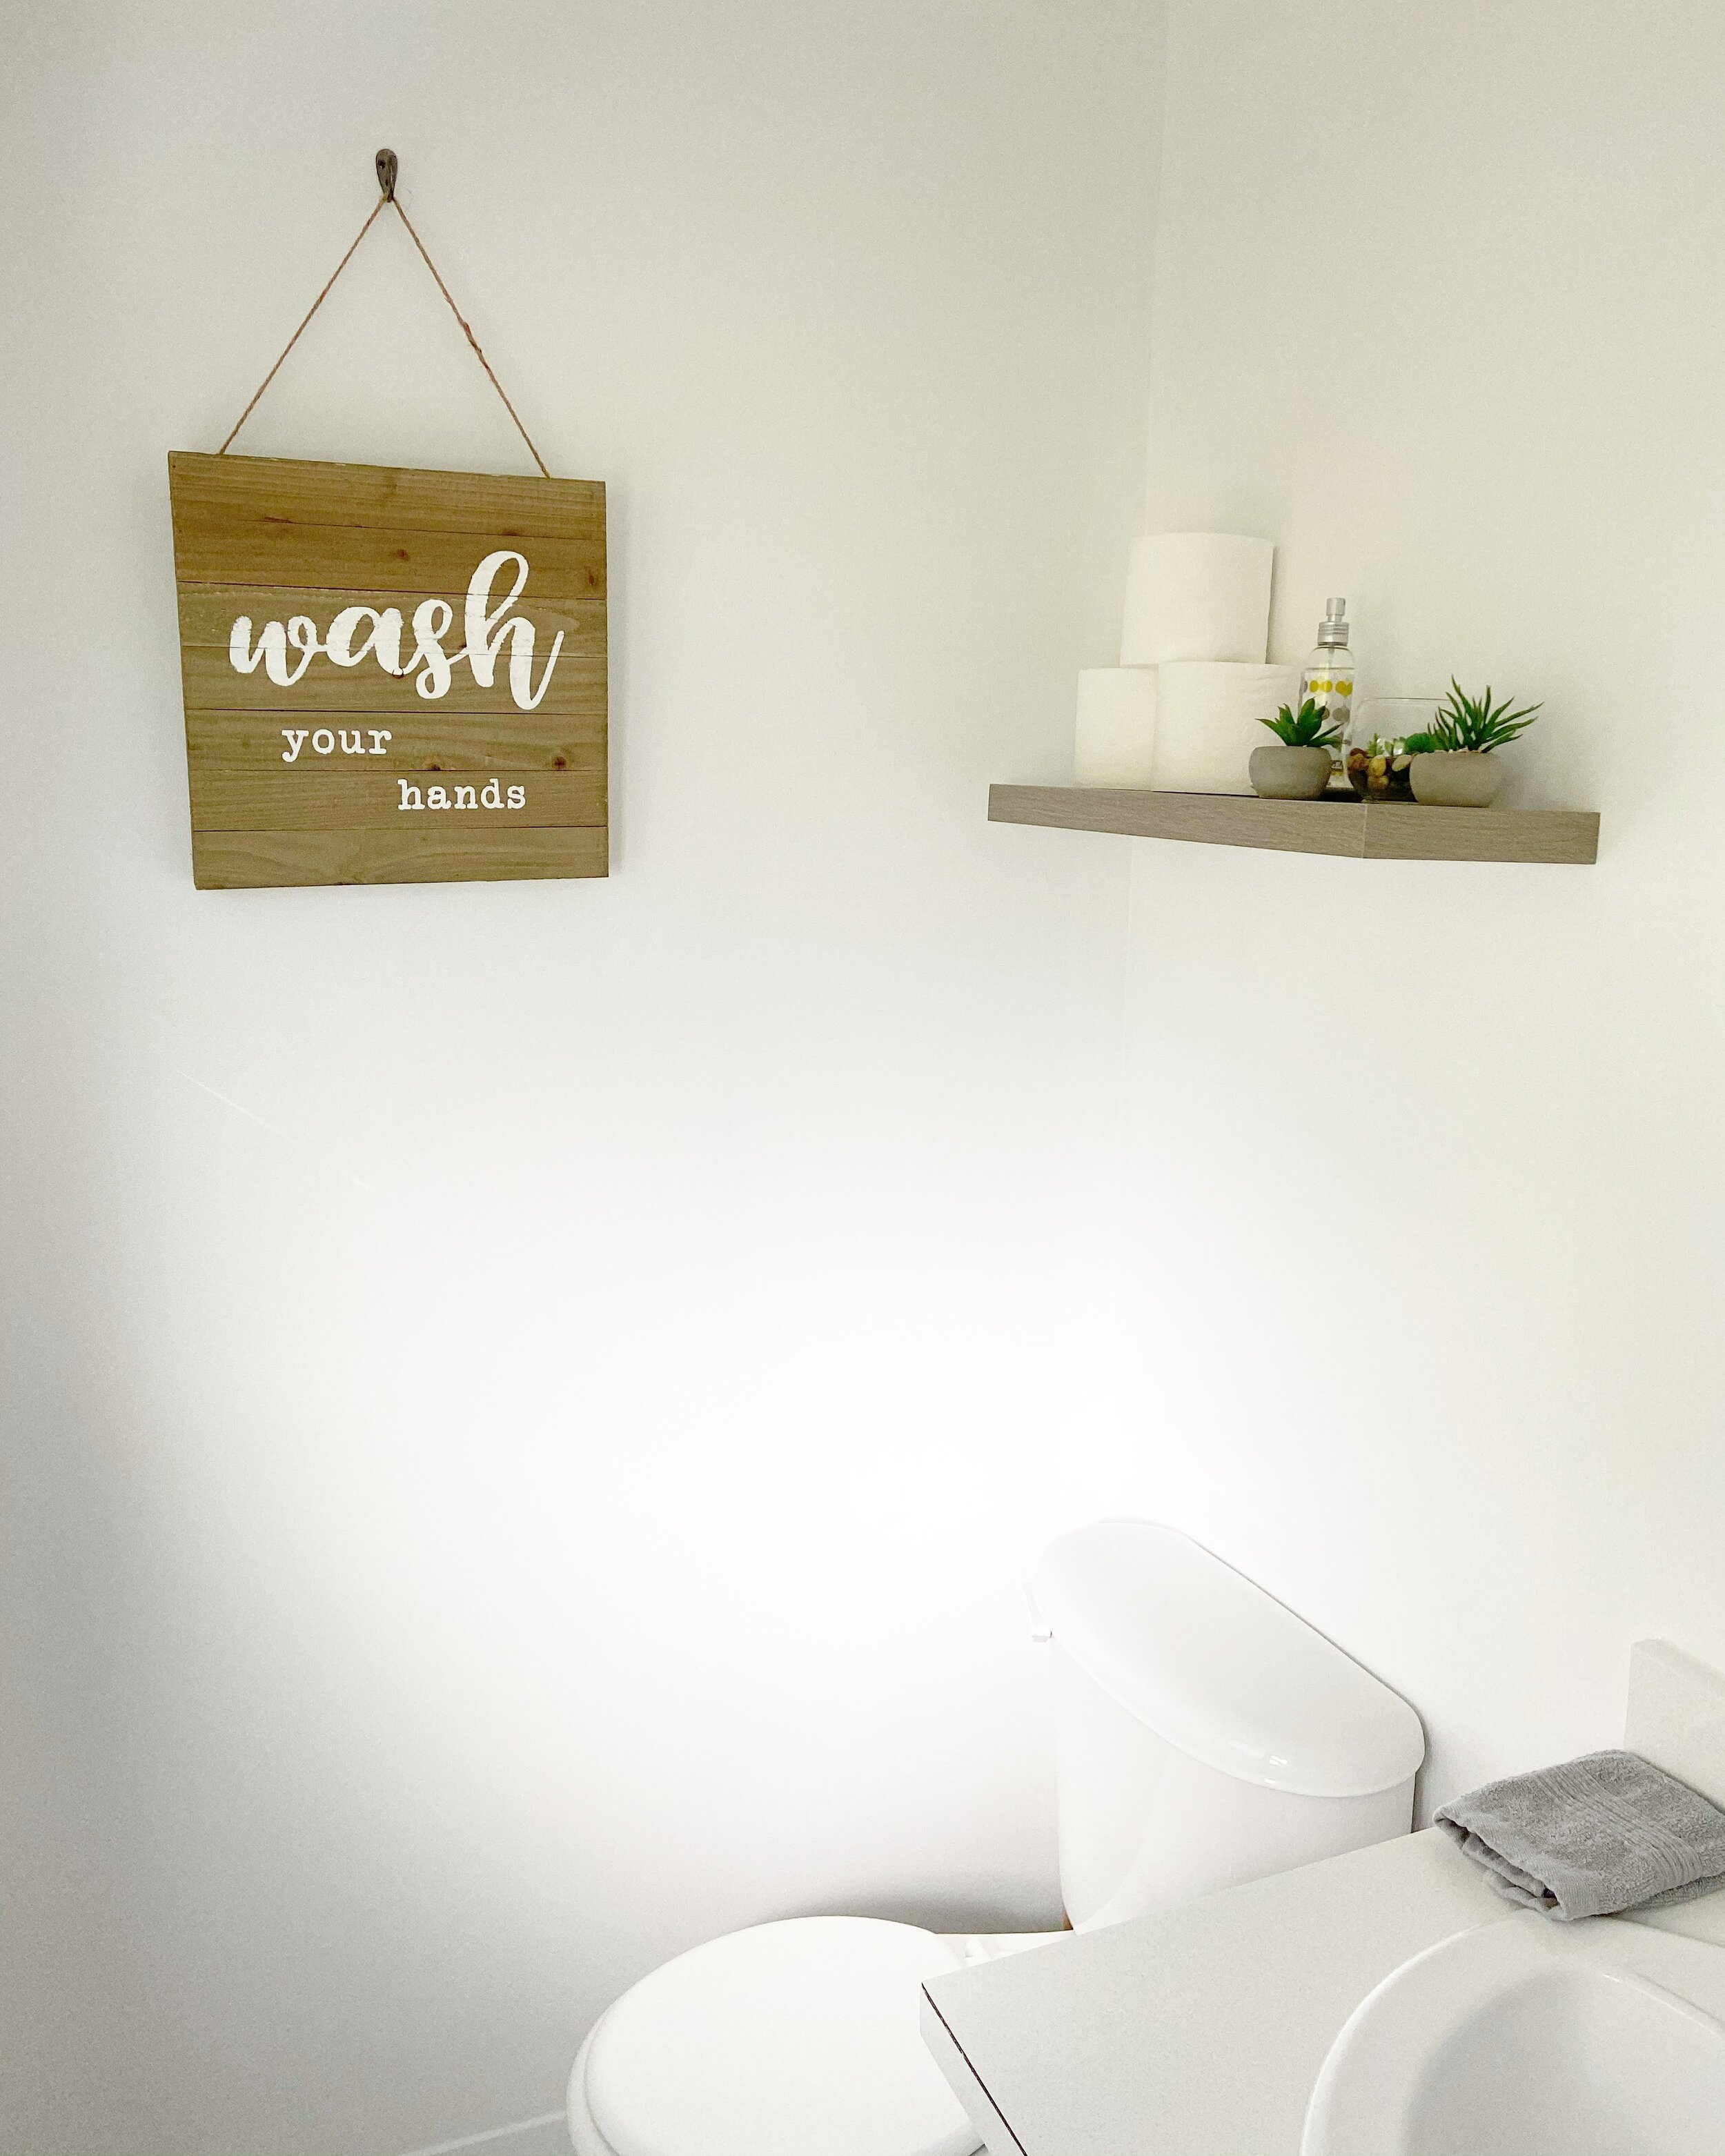
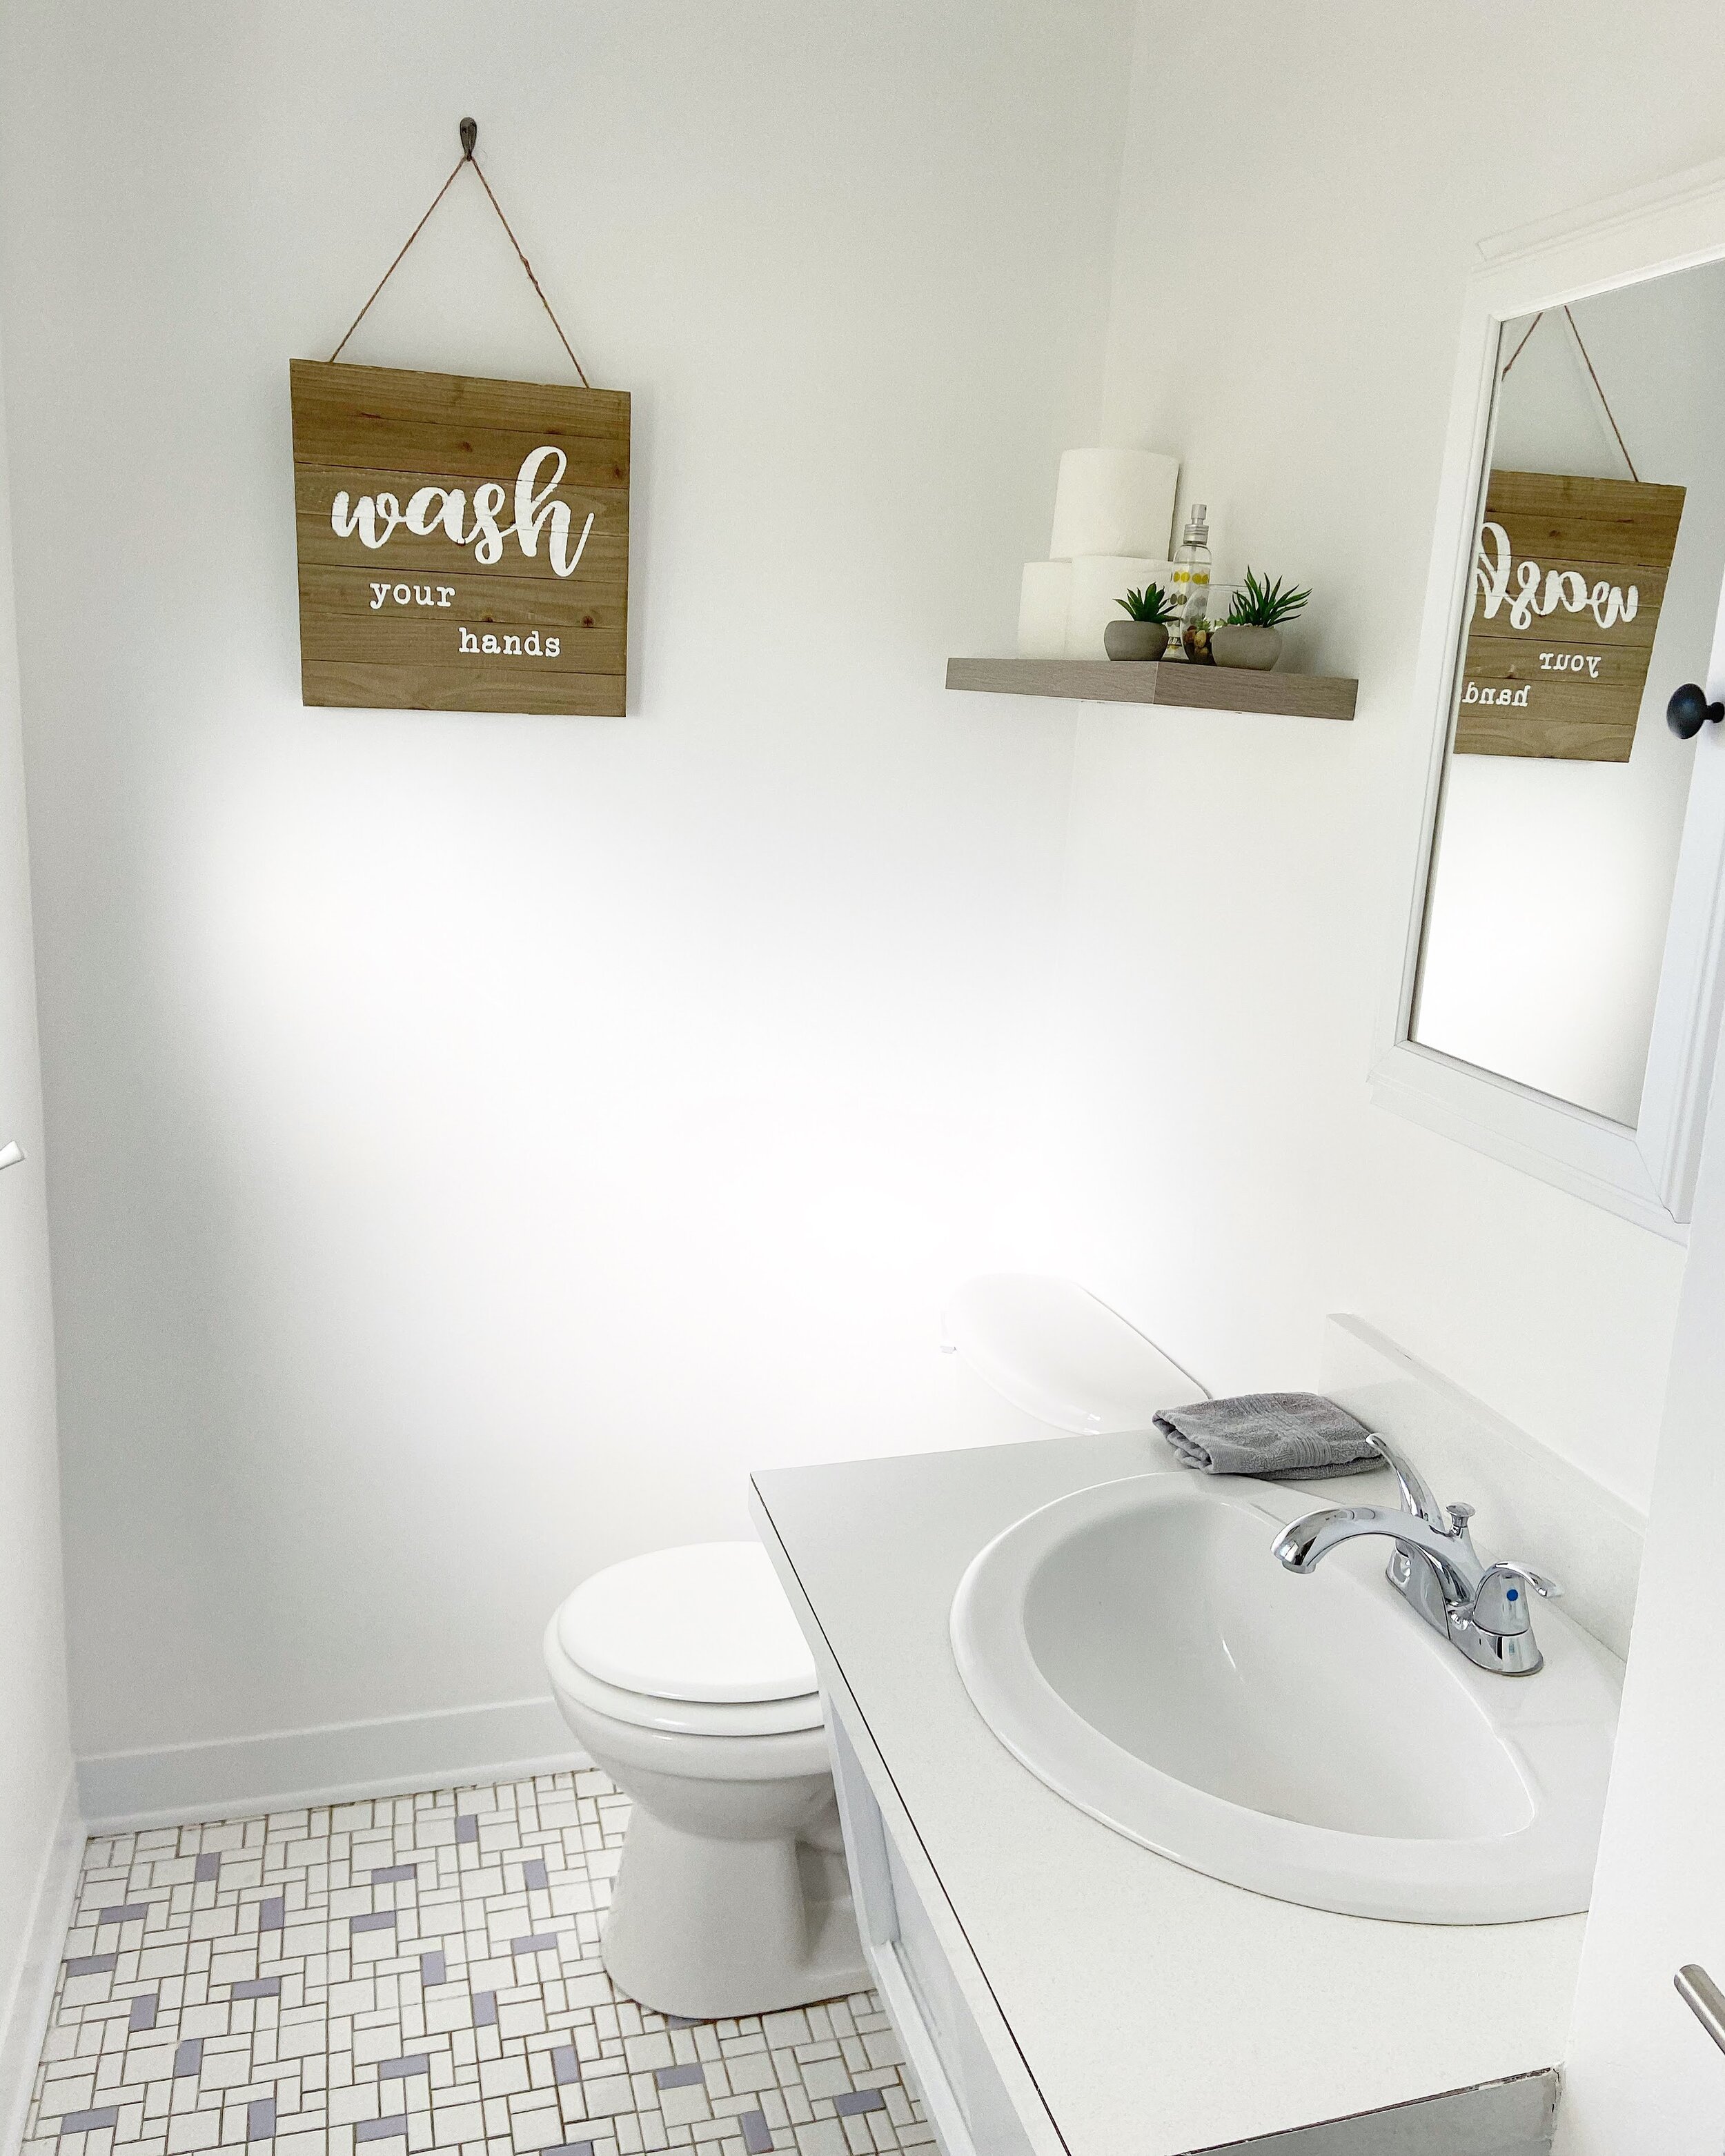
Our freshly organized en-suite powder room.

Our freshly organized en-suite powder room.

I don’t know about you, but the more time I’ve been spending at home, the more I want to renovate every inch of it!  Maybe it’s all the hours that I end up staring at the inside of my house due to the pandemic, or the nesting instinct that naturally comes along with pregnancy, but everywhere I look I see a project.  This is why when Home Hardware approached me to tackle a bathroom reorganization project I was all in!


I decided that the space in the most need of organizing love was our master ensuite powder room.  In reality, there is nothing master about this space.  It is tiny, lacking storage and in serious need of a major renovation. Unfortunately, a complete overhaul just isn’t on the agenda for this year, but a quick and easy upgrade was completely doable!

The biggest issue in our washroom was the lack of storage.  As a Professional Organizer this is a common problem I encounter in my client’s homes; too much stuff and not enough space.

If this is an obstacle in your home too the first step is to really go through what you have and sort it. Then assess what it is that you actually need and use.  

And that is exactly what I did! I emptied out the contents of the vanity, grouped them into categories and did a major declutter.  I got rid of all the products that we don’t use anymore as well as those that had expired or just needed to be rehomed.

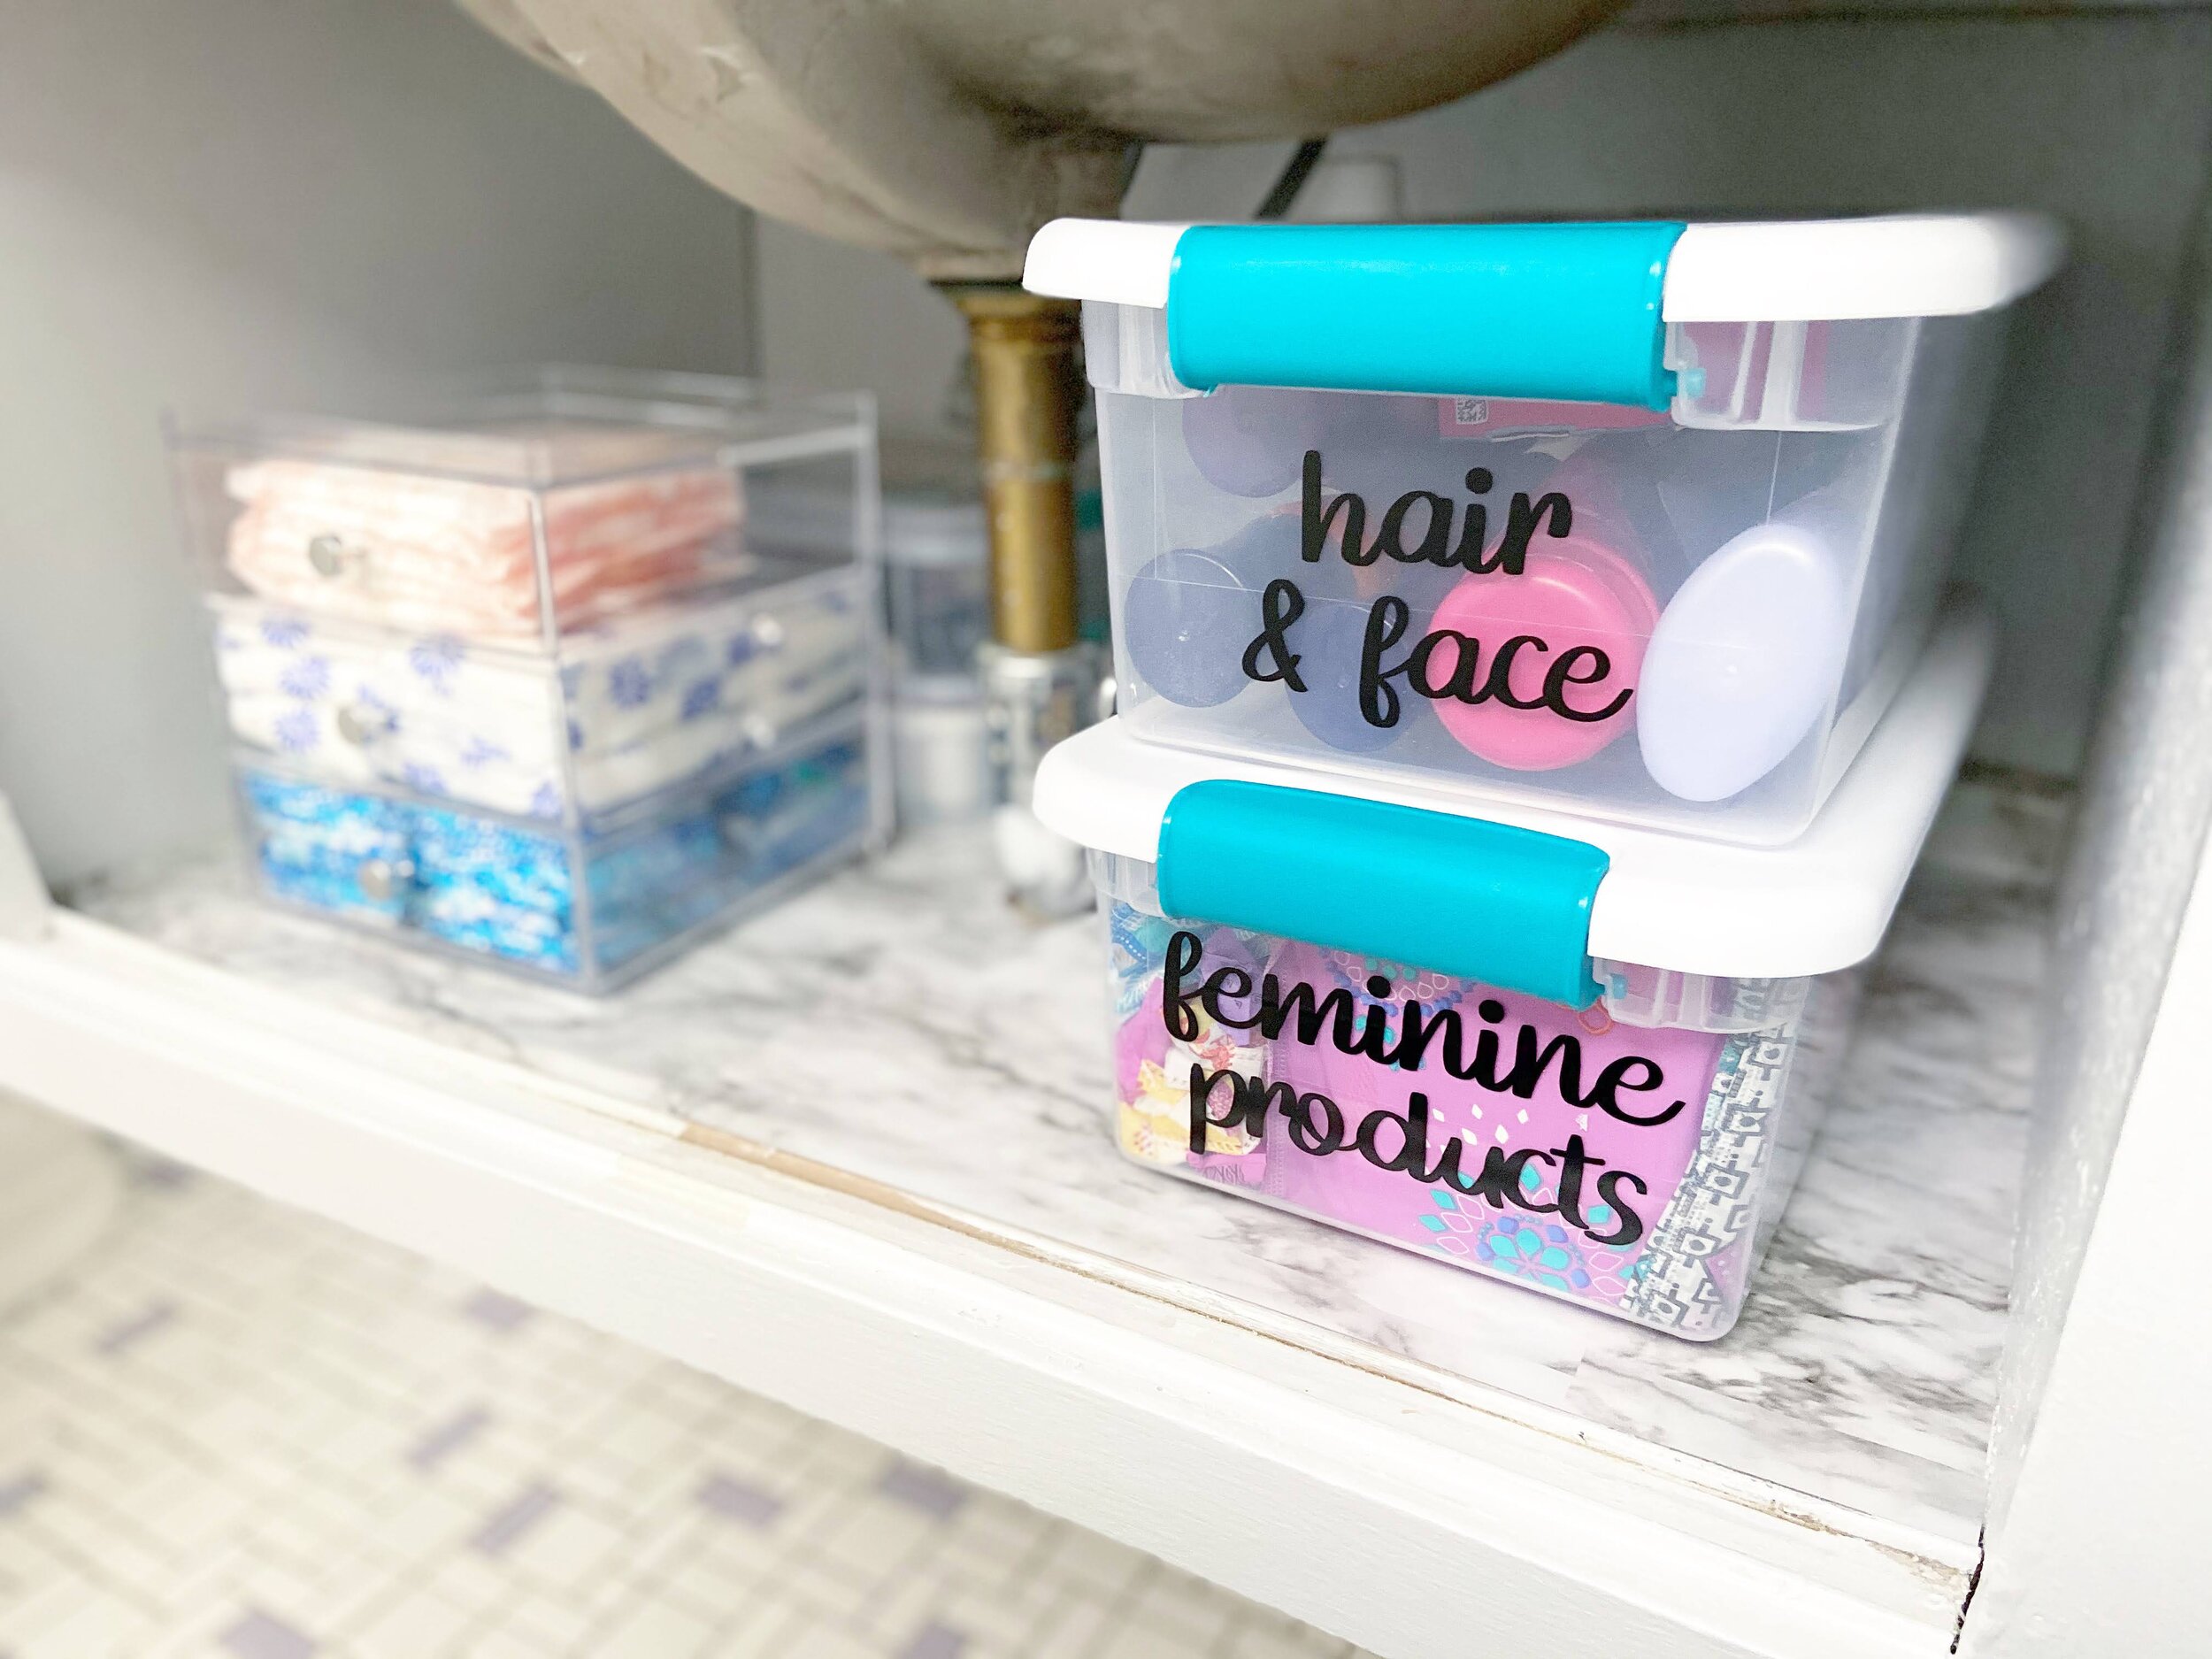
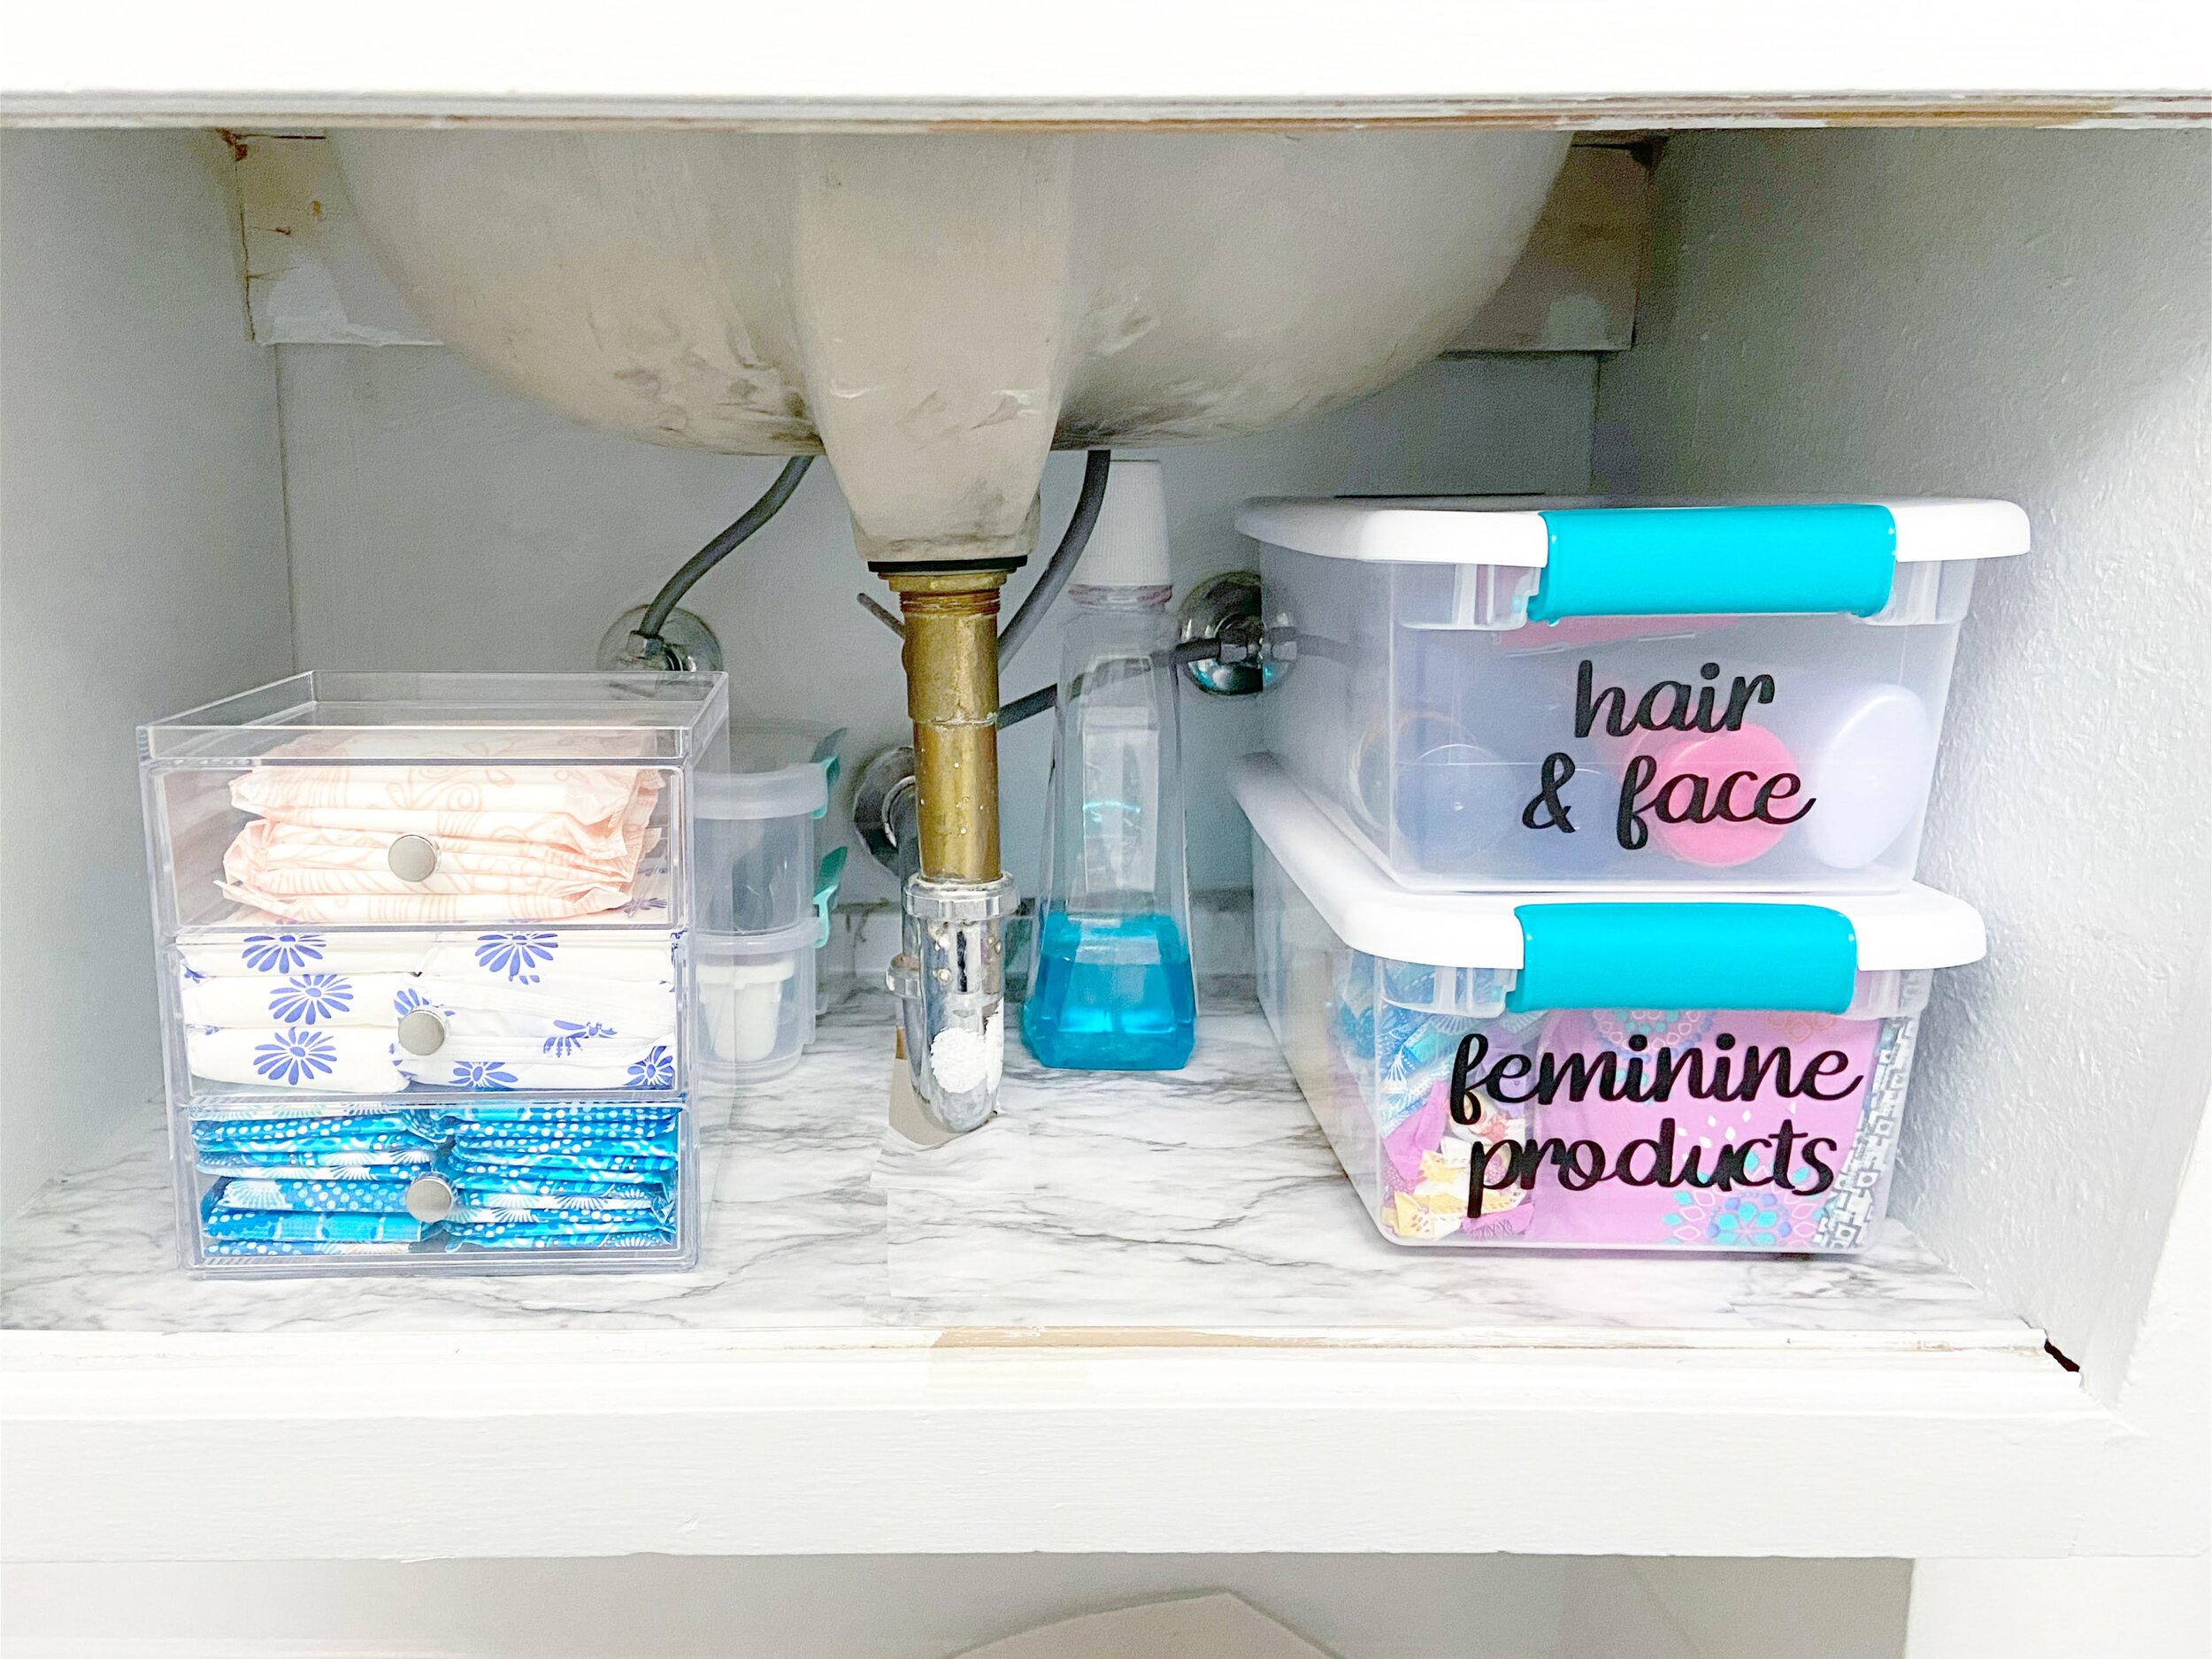
The space under the sink got some serious organizing love!

The space under the sink got some serious organizing love!

Once you go through what you have in a space it is much easier to figure out the necessary storage solutions.  Oftentimes people want to start the organizing process by buying bins and baskets and other organizing gadgets.  But in my experience, you need to know what you have to be able to accurately gauge the appropriate storage solutions.

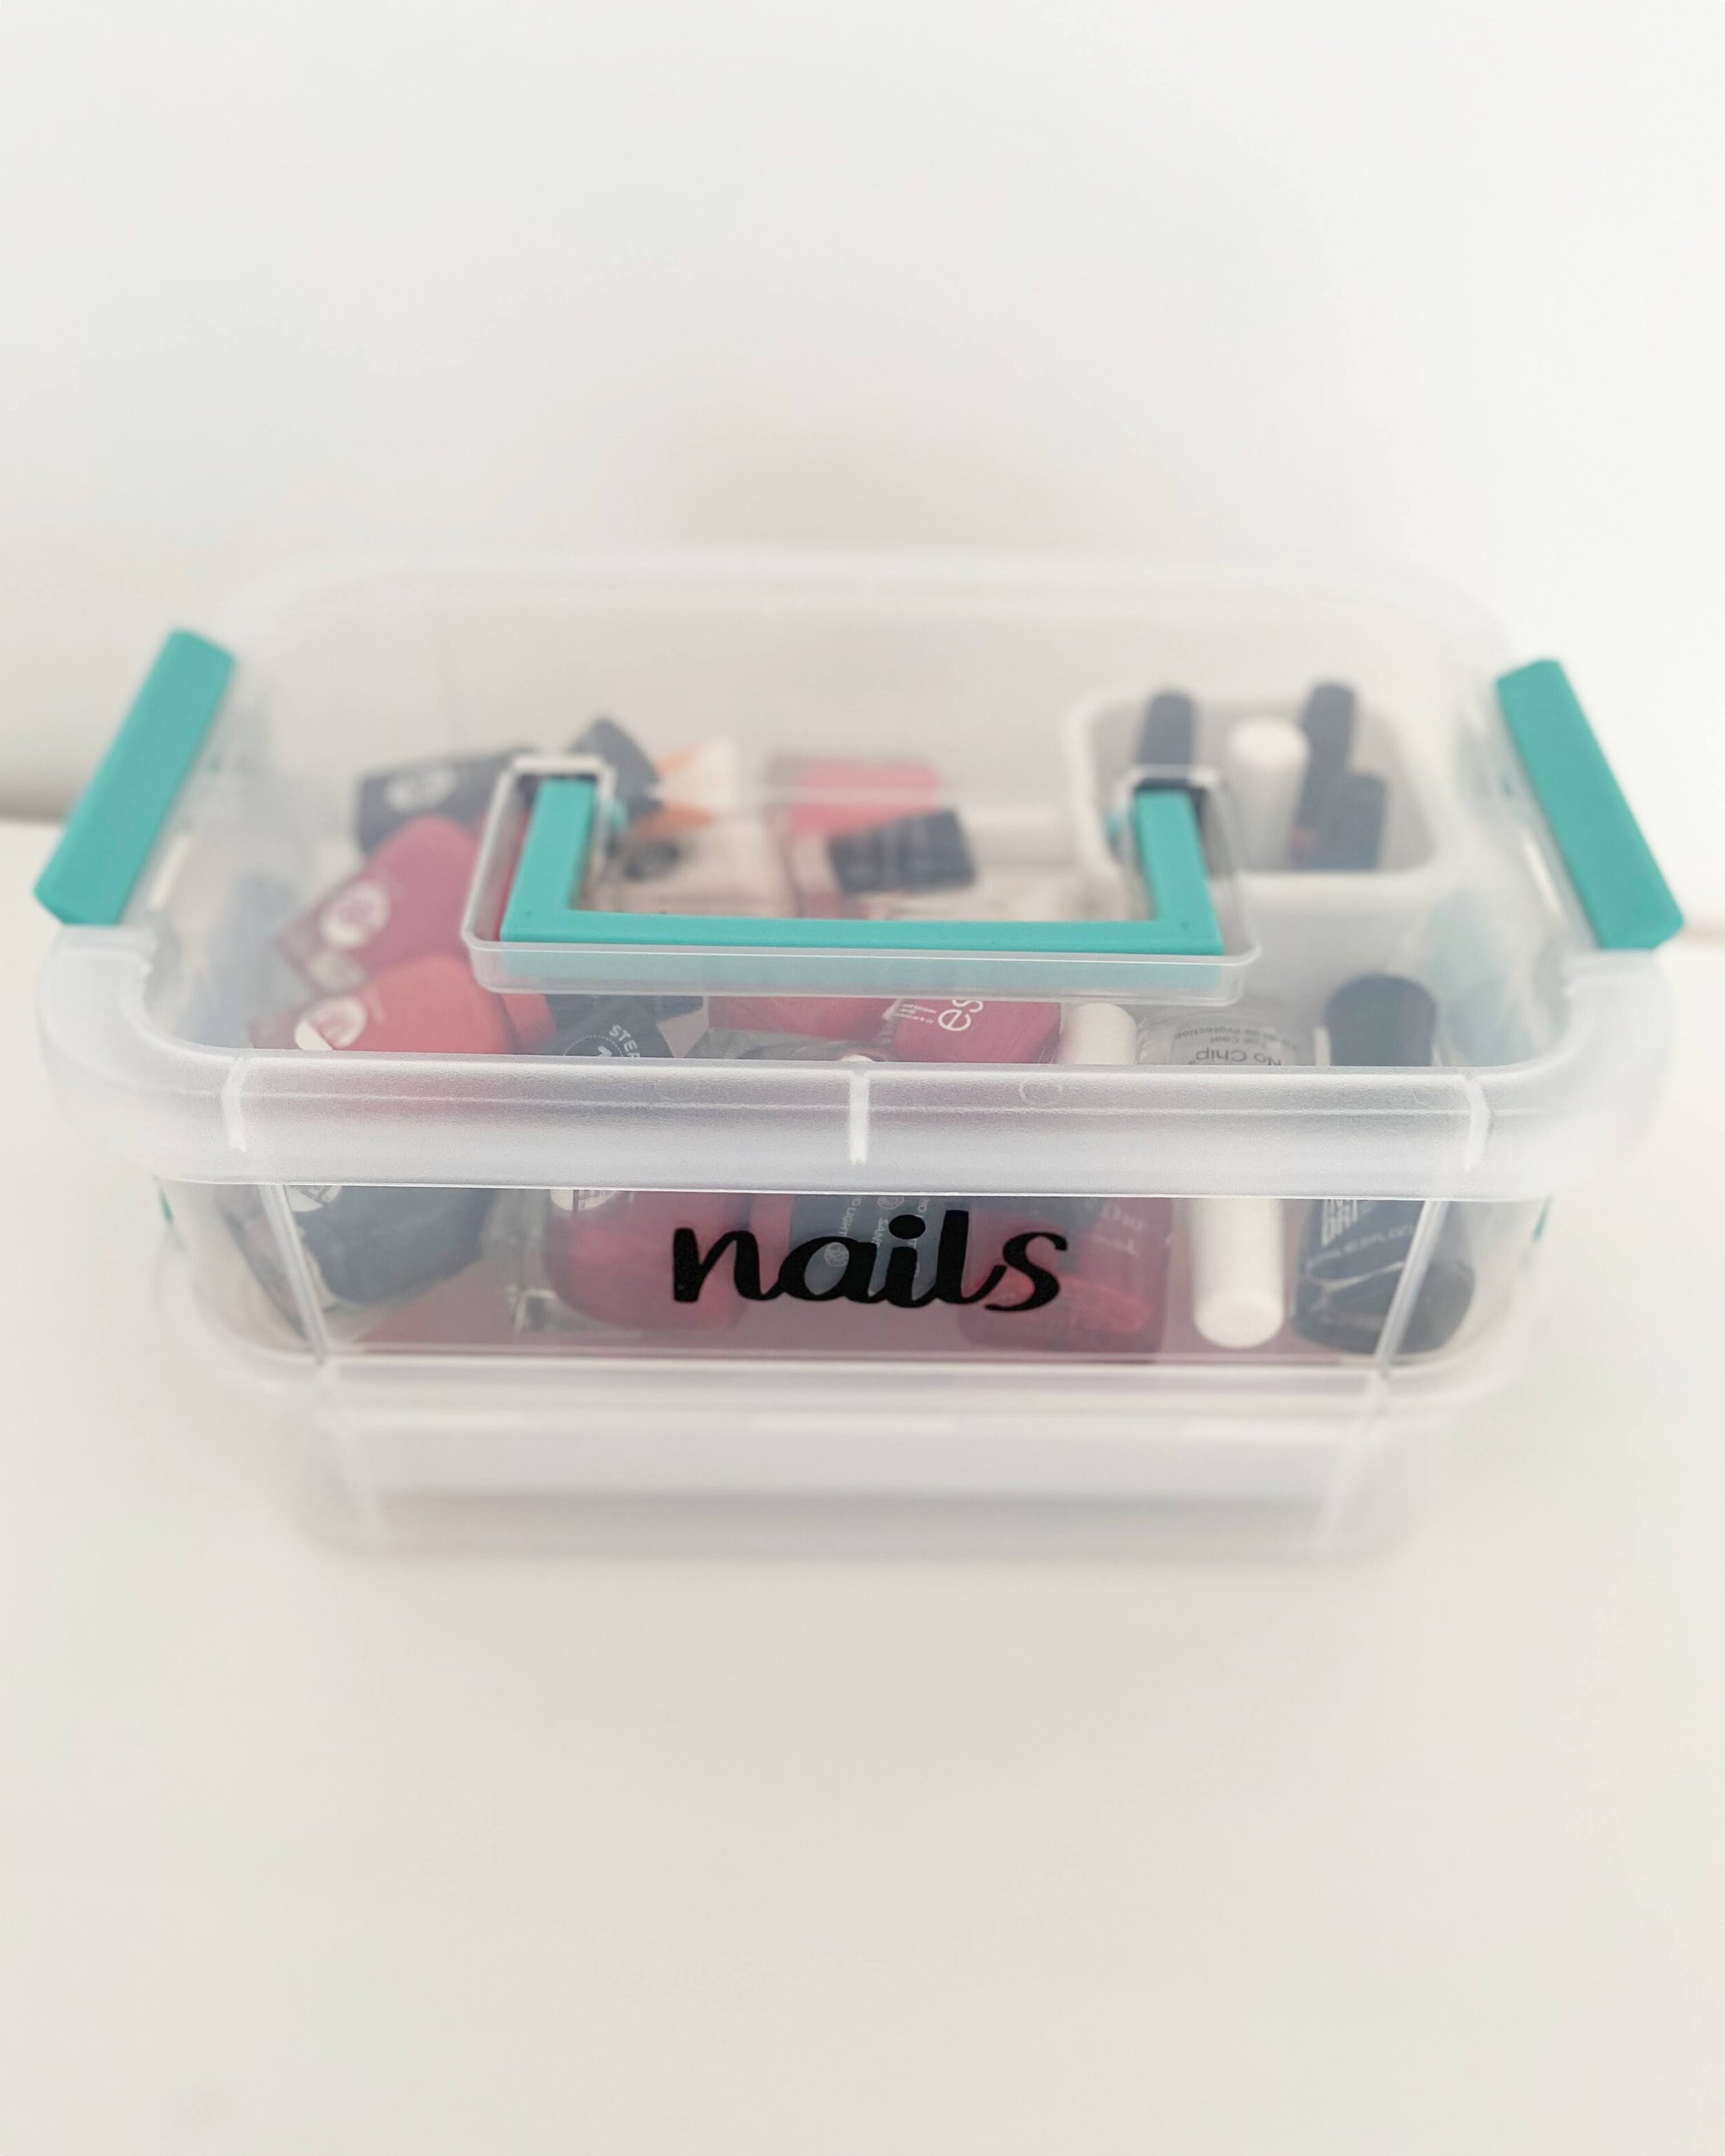
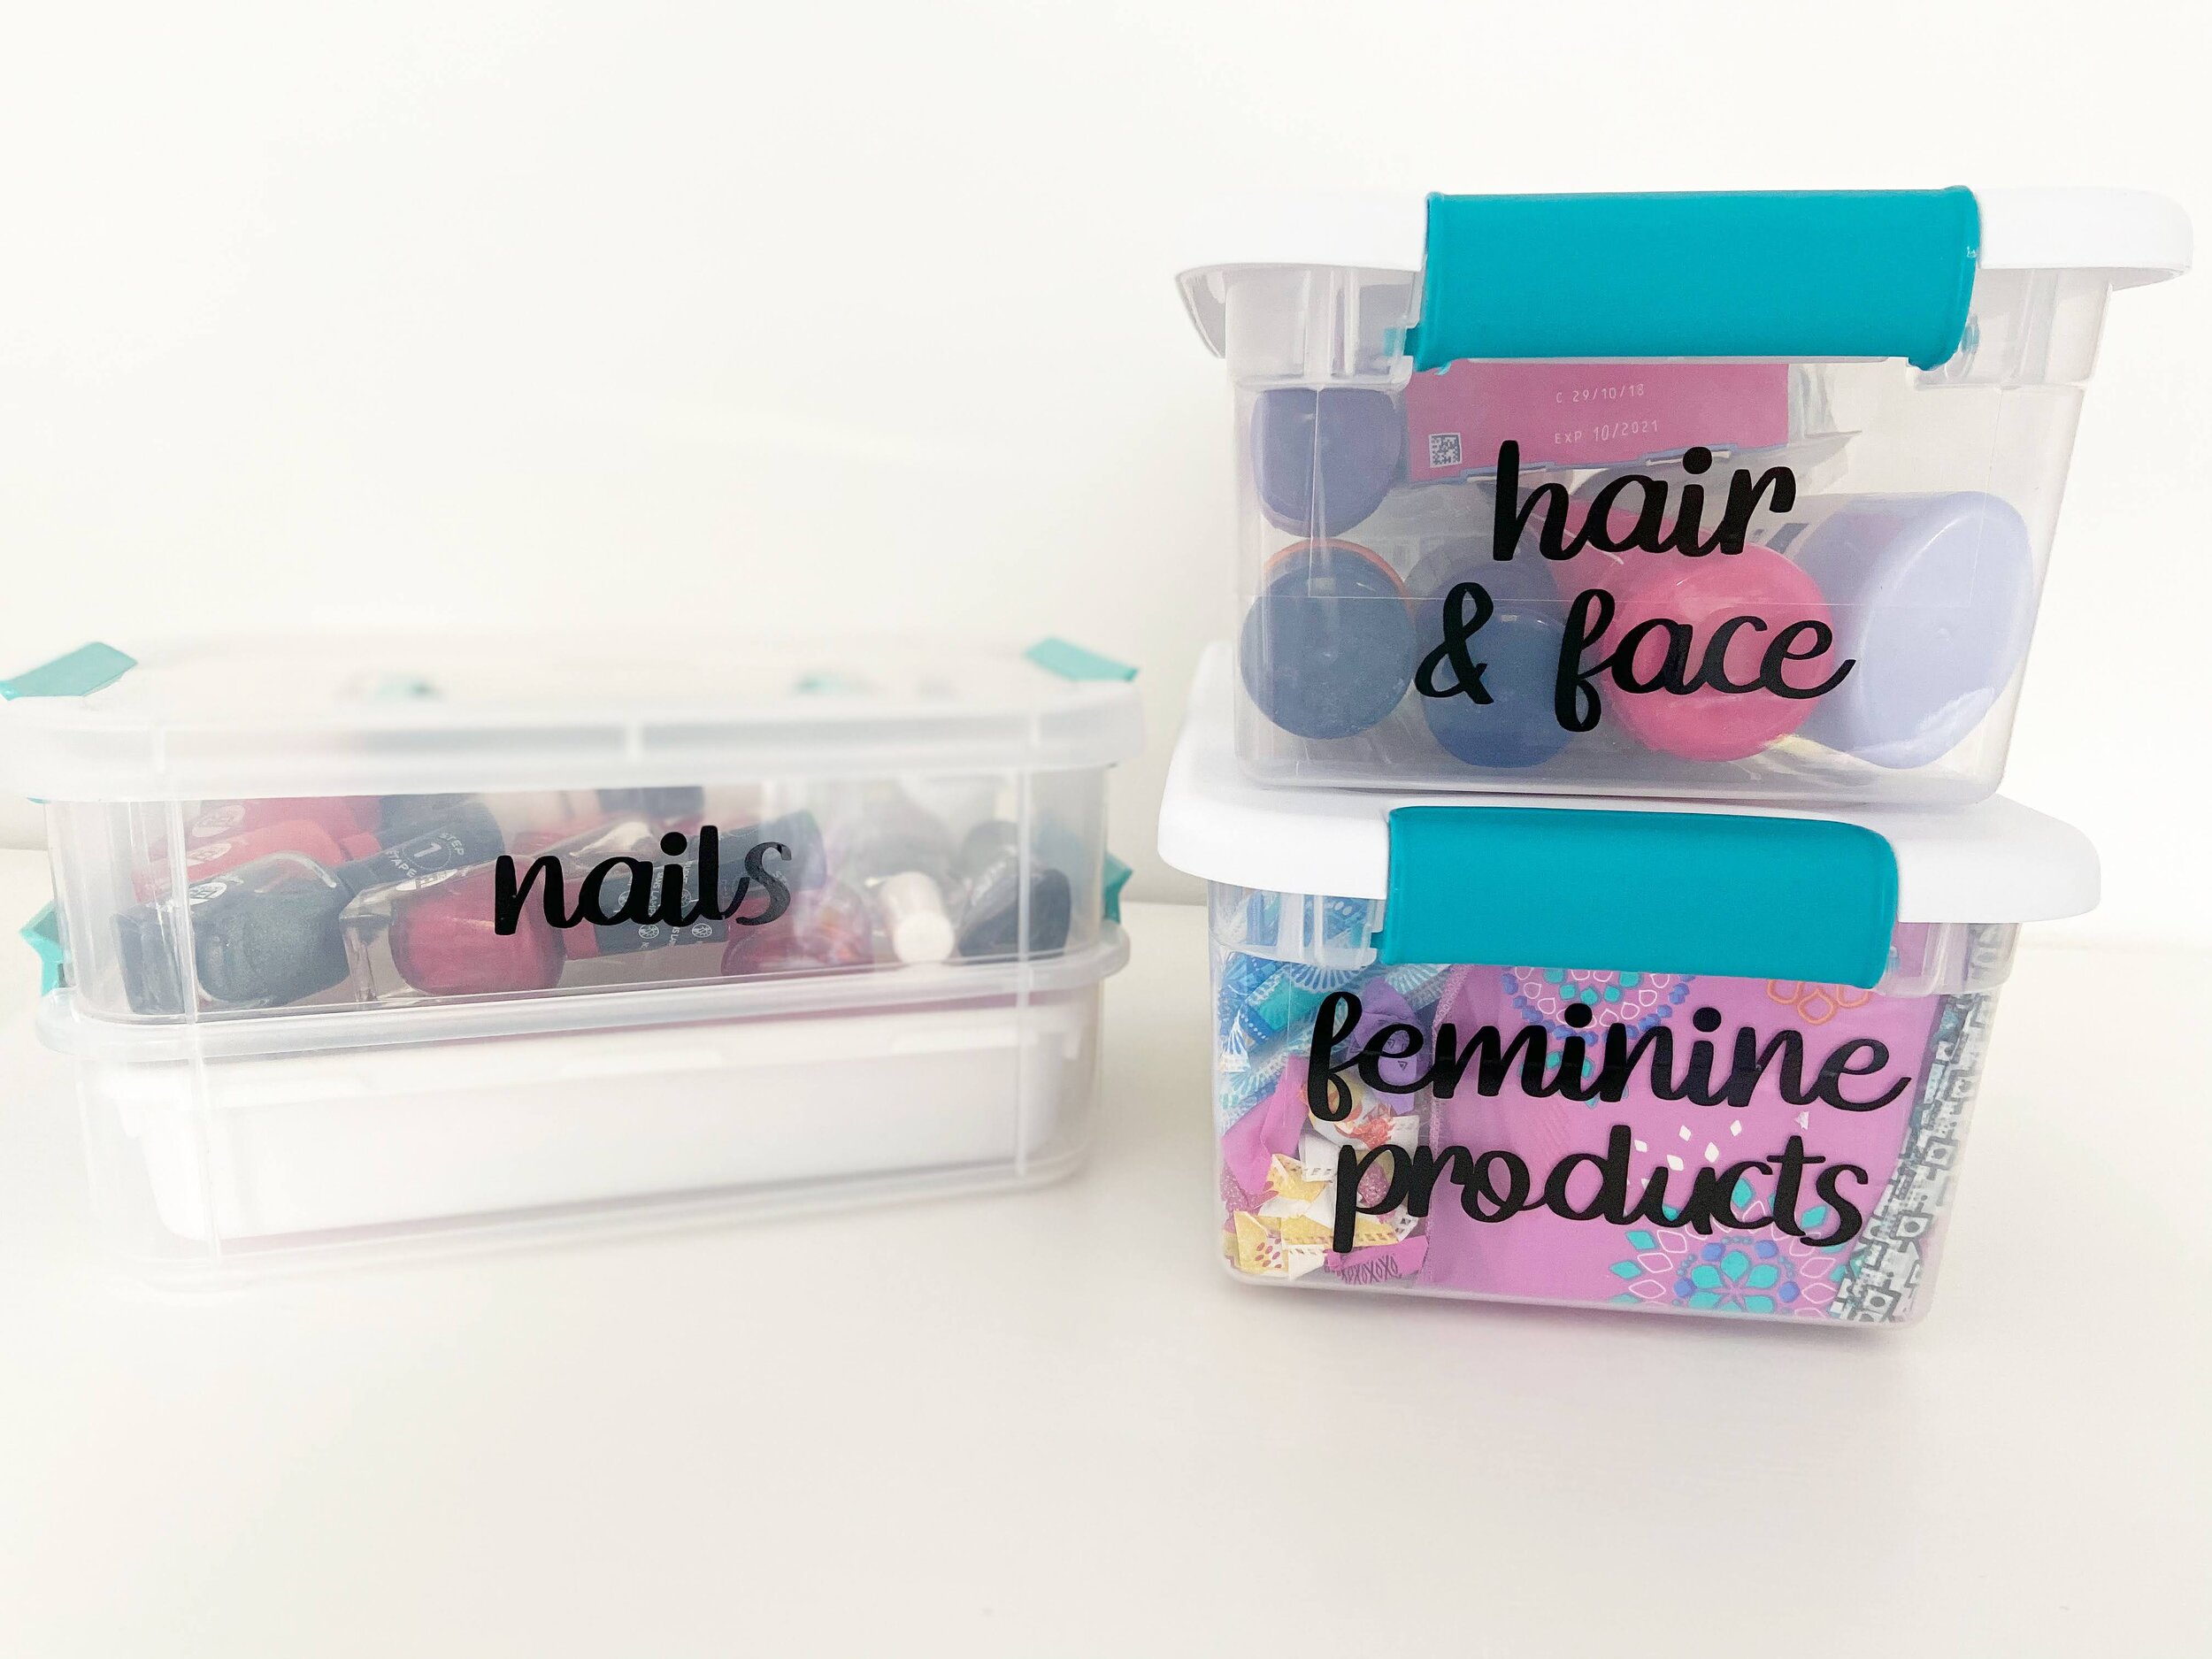
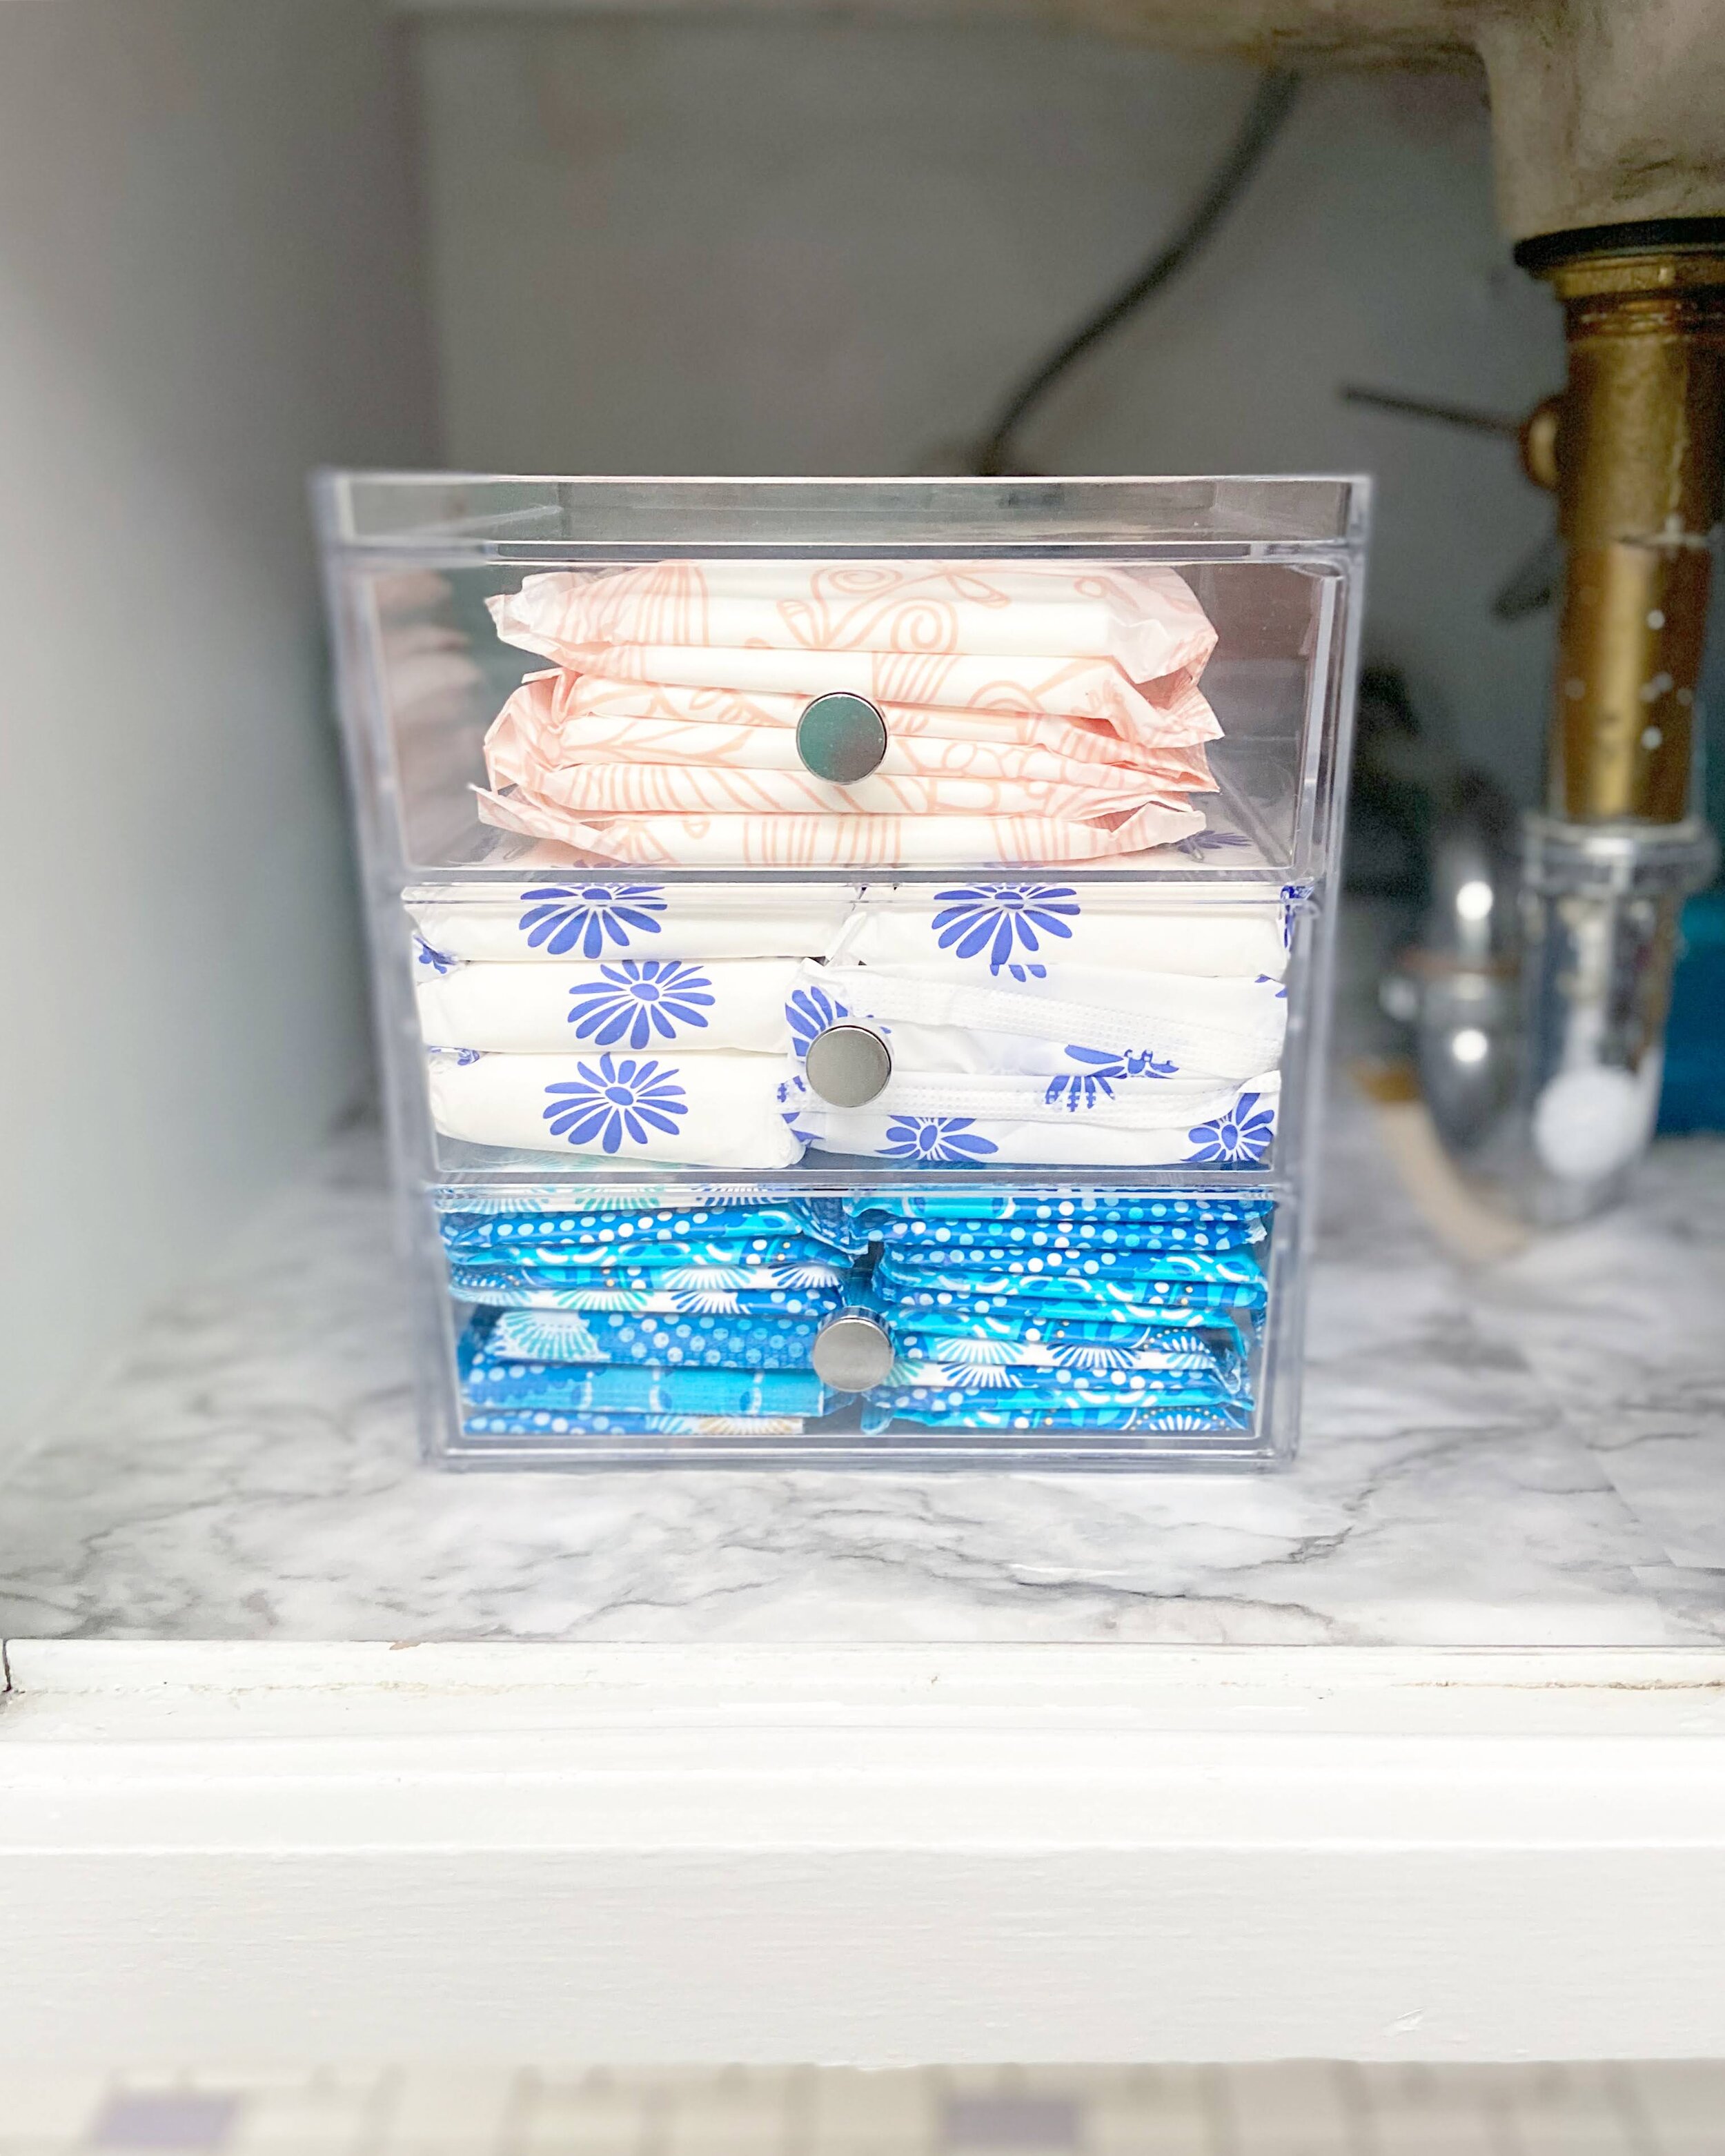
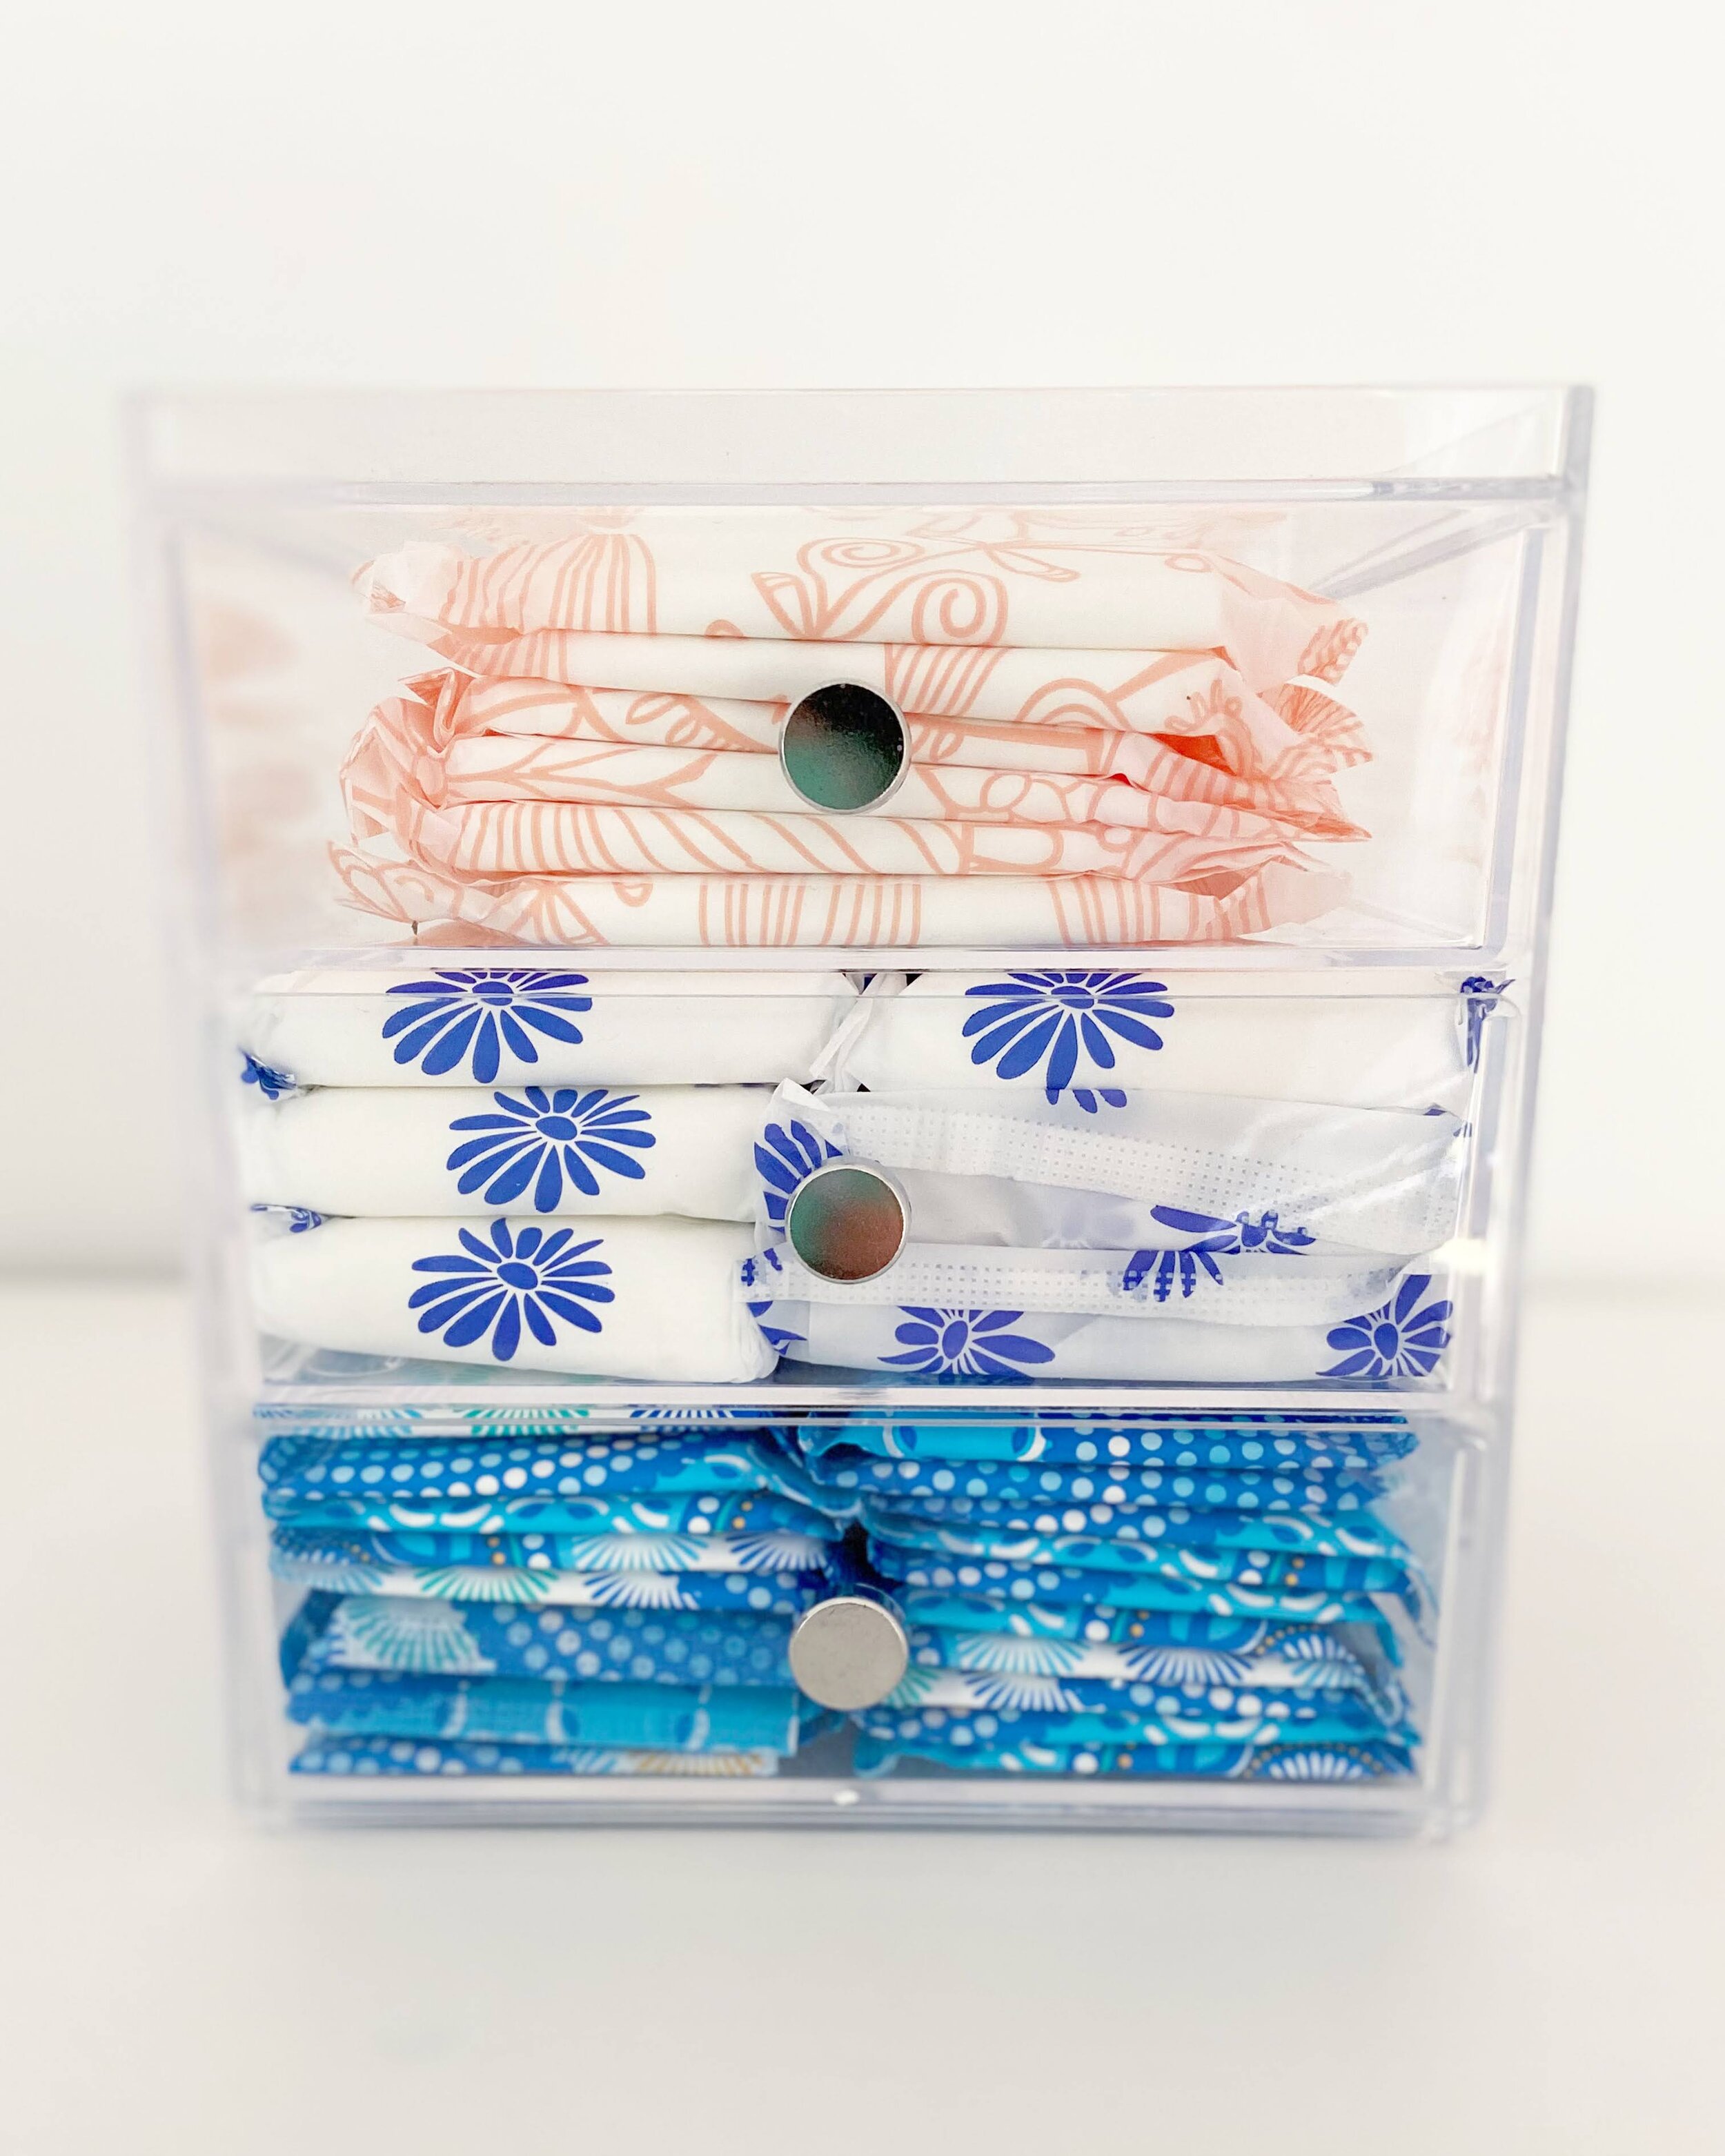
After doing a major declutter of the items that had accumulated under the sink, I chose a couple of clear stacking bins with lids for the larger products, a stack-and-carry style bin for my nail products and a mini-drawer system for easy access to those necessary feminine products. 

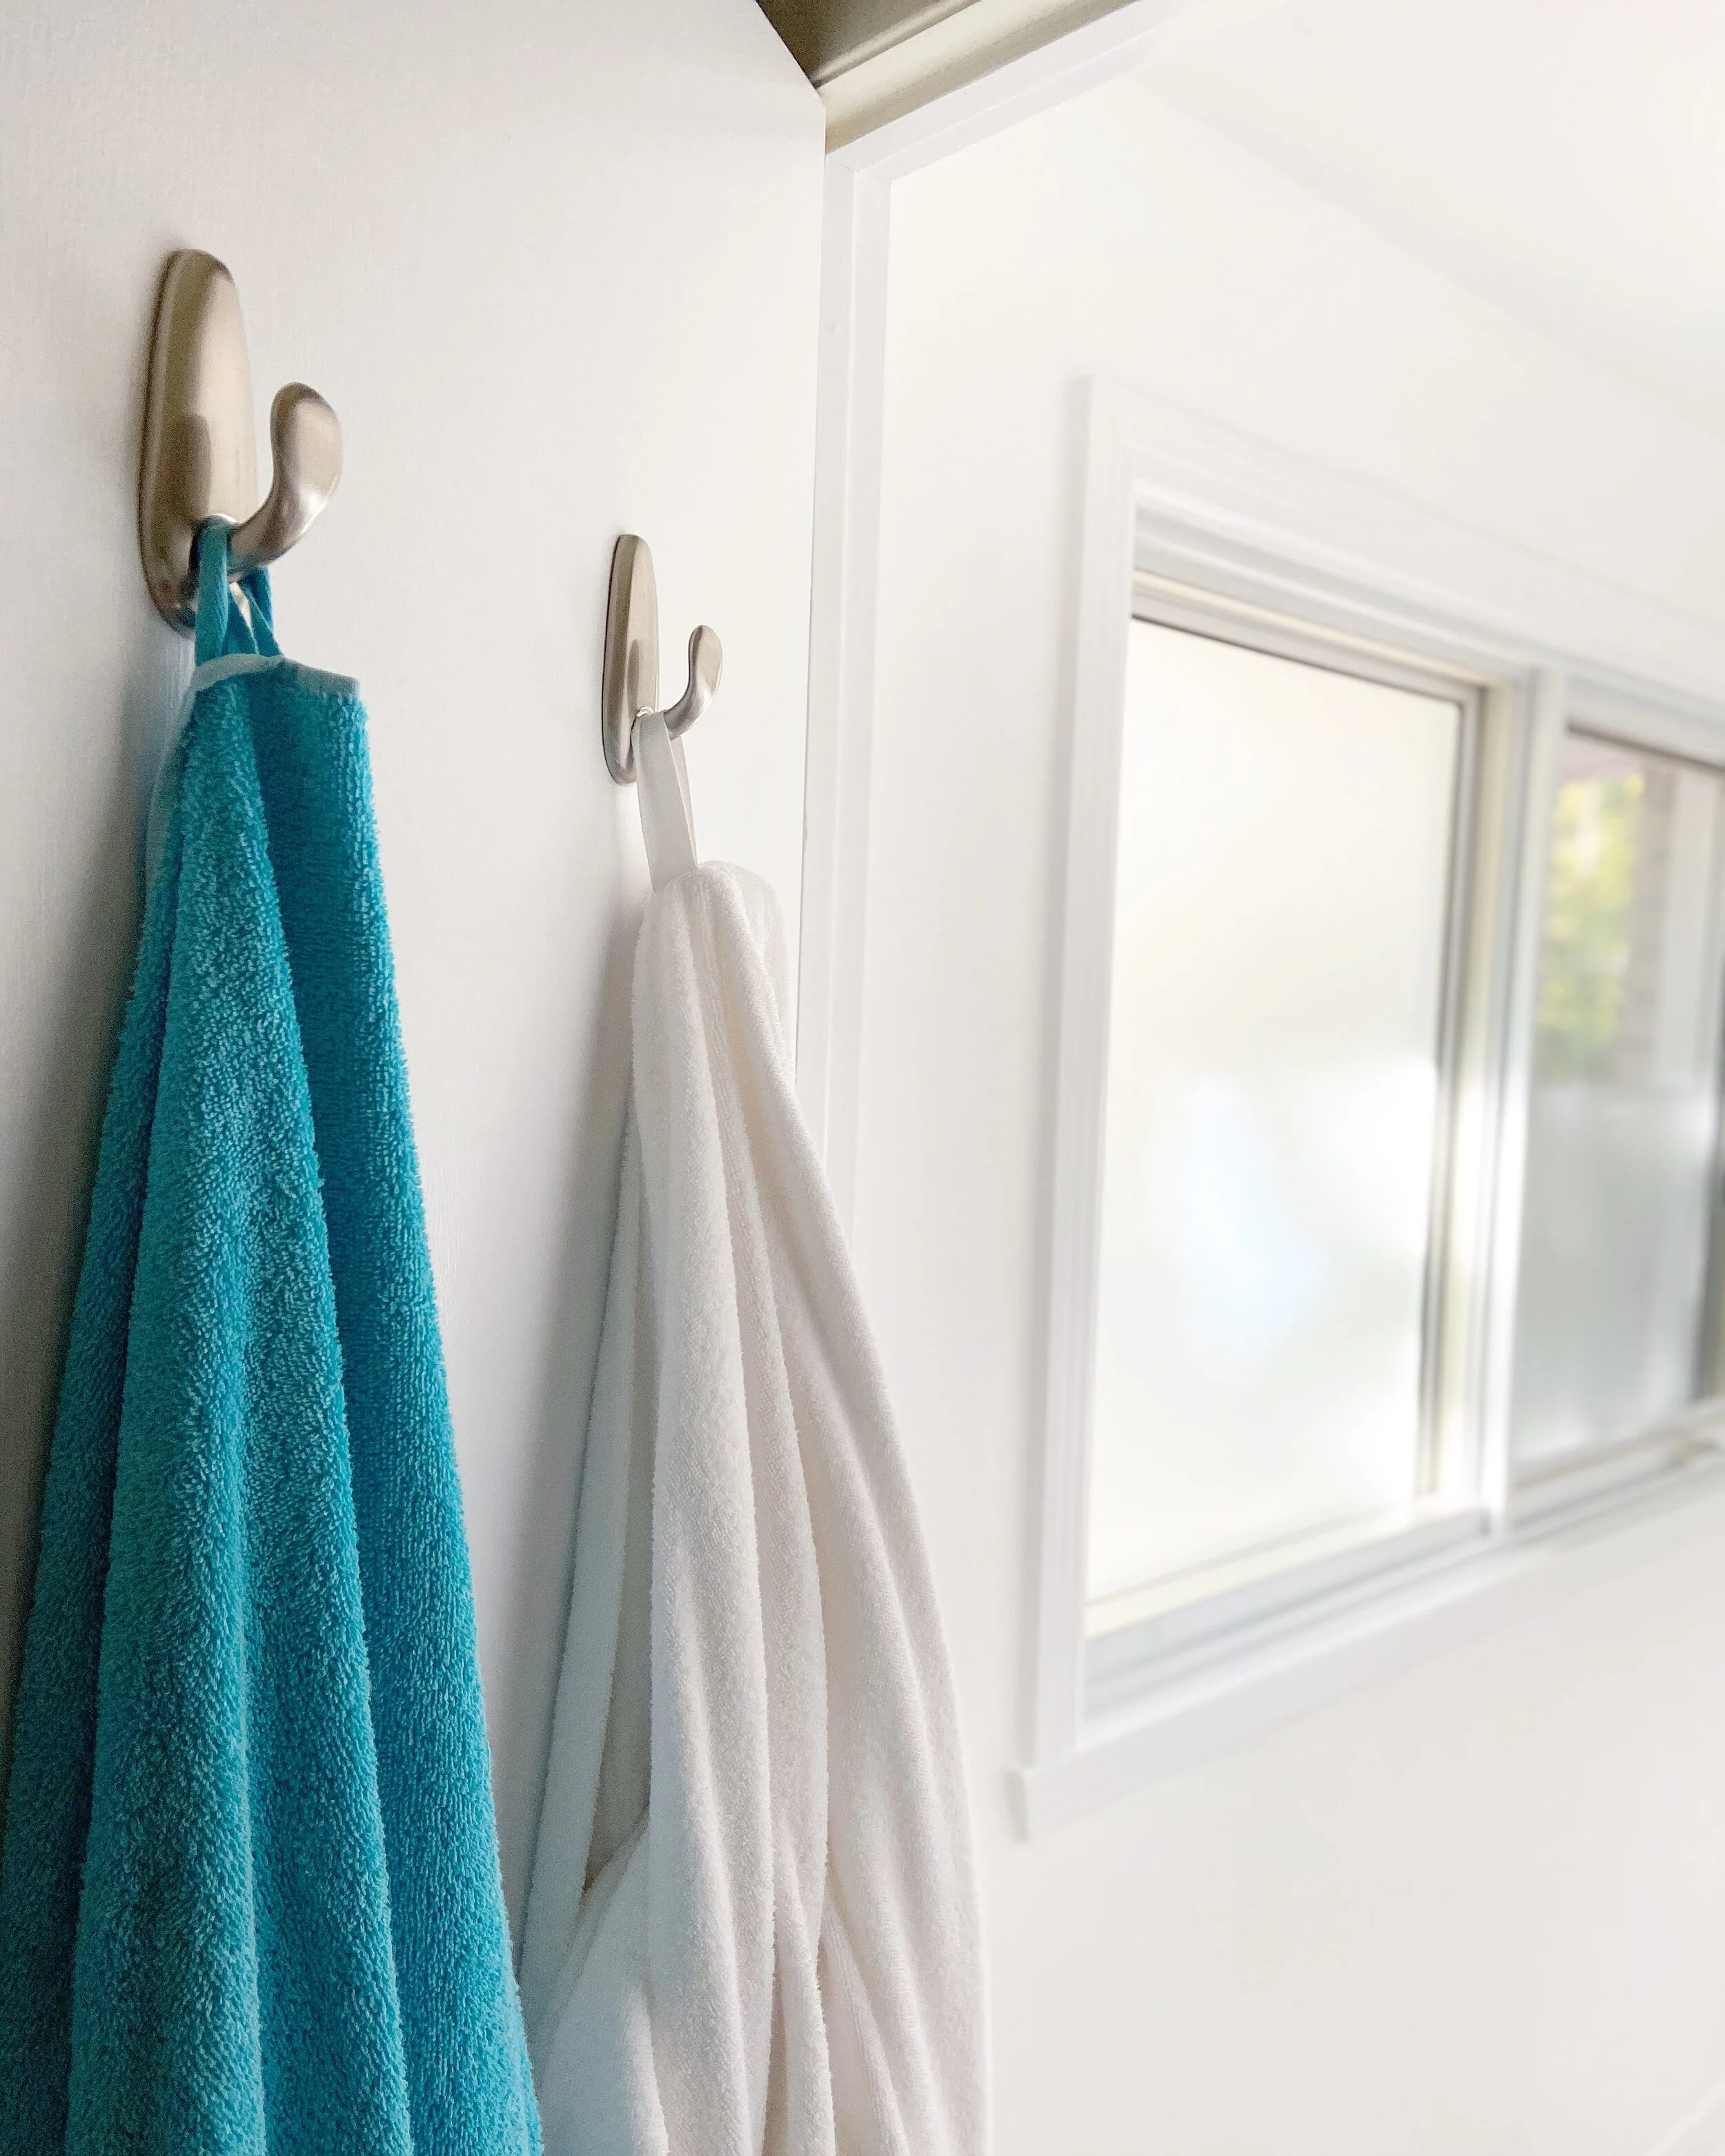
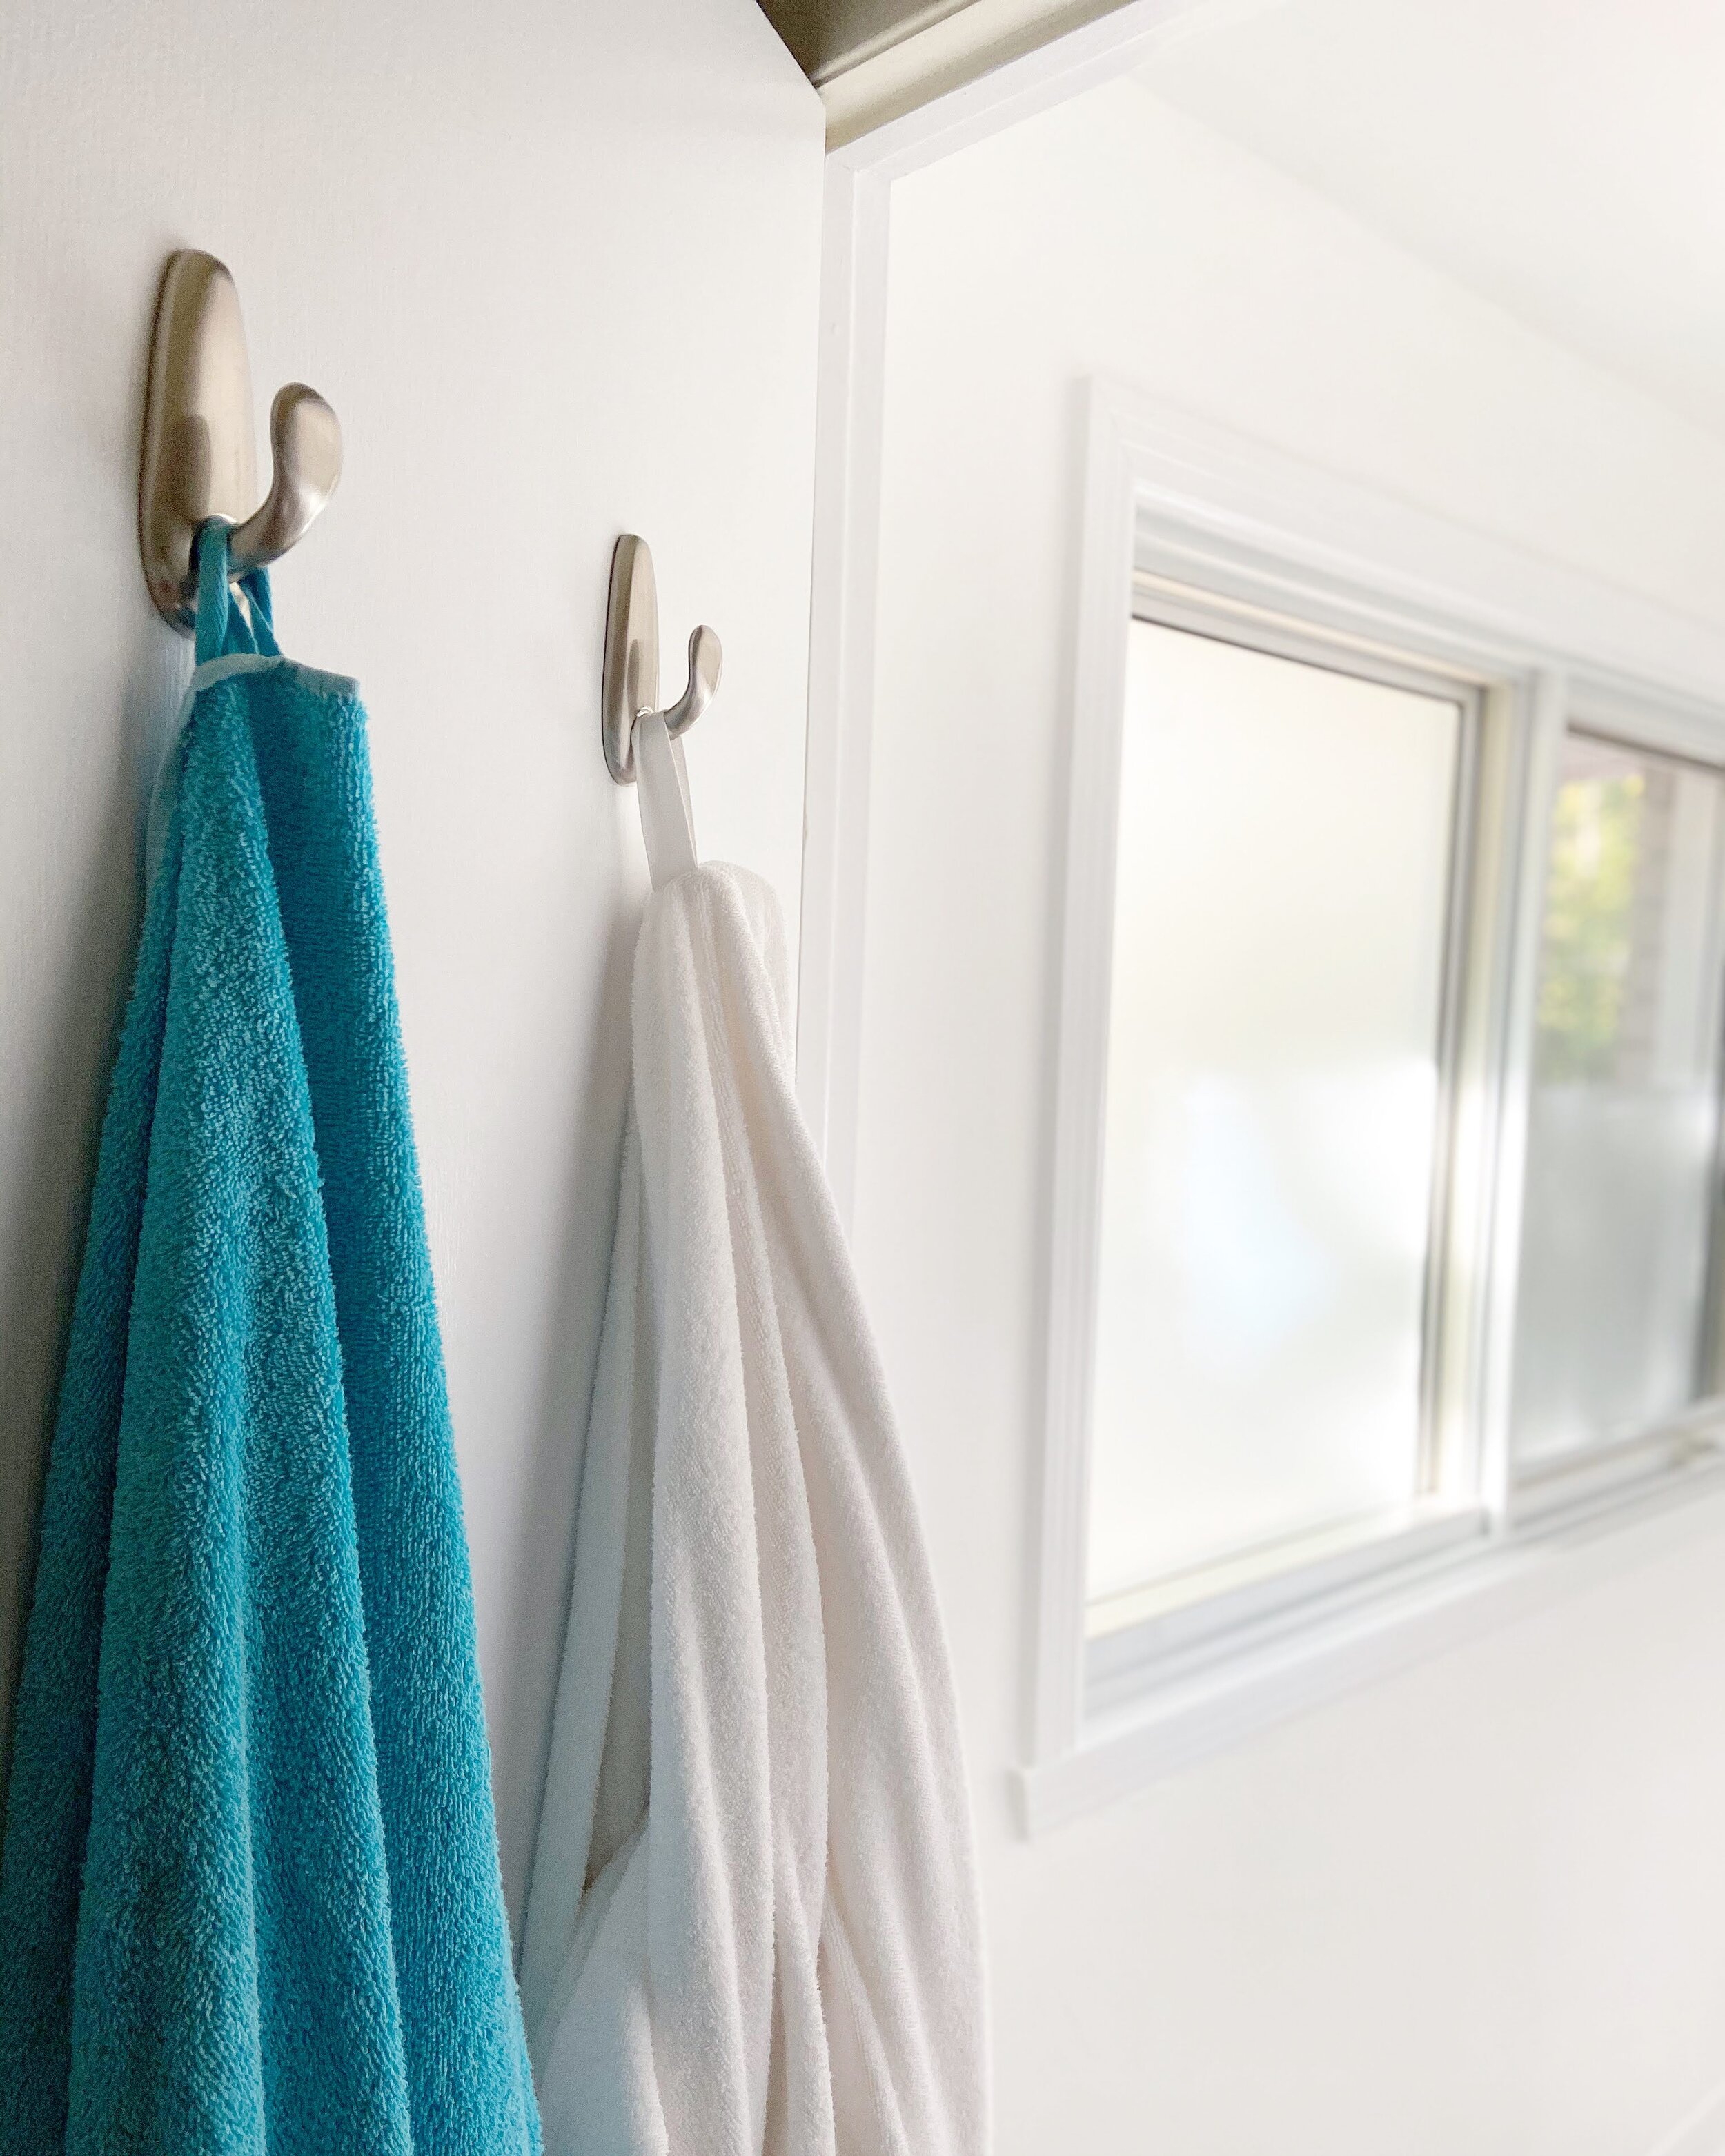
door hooks for towels


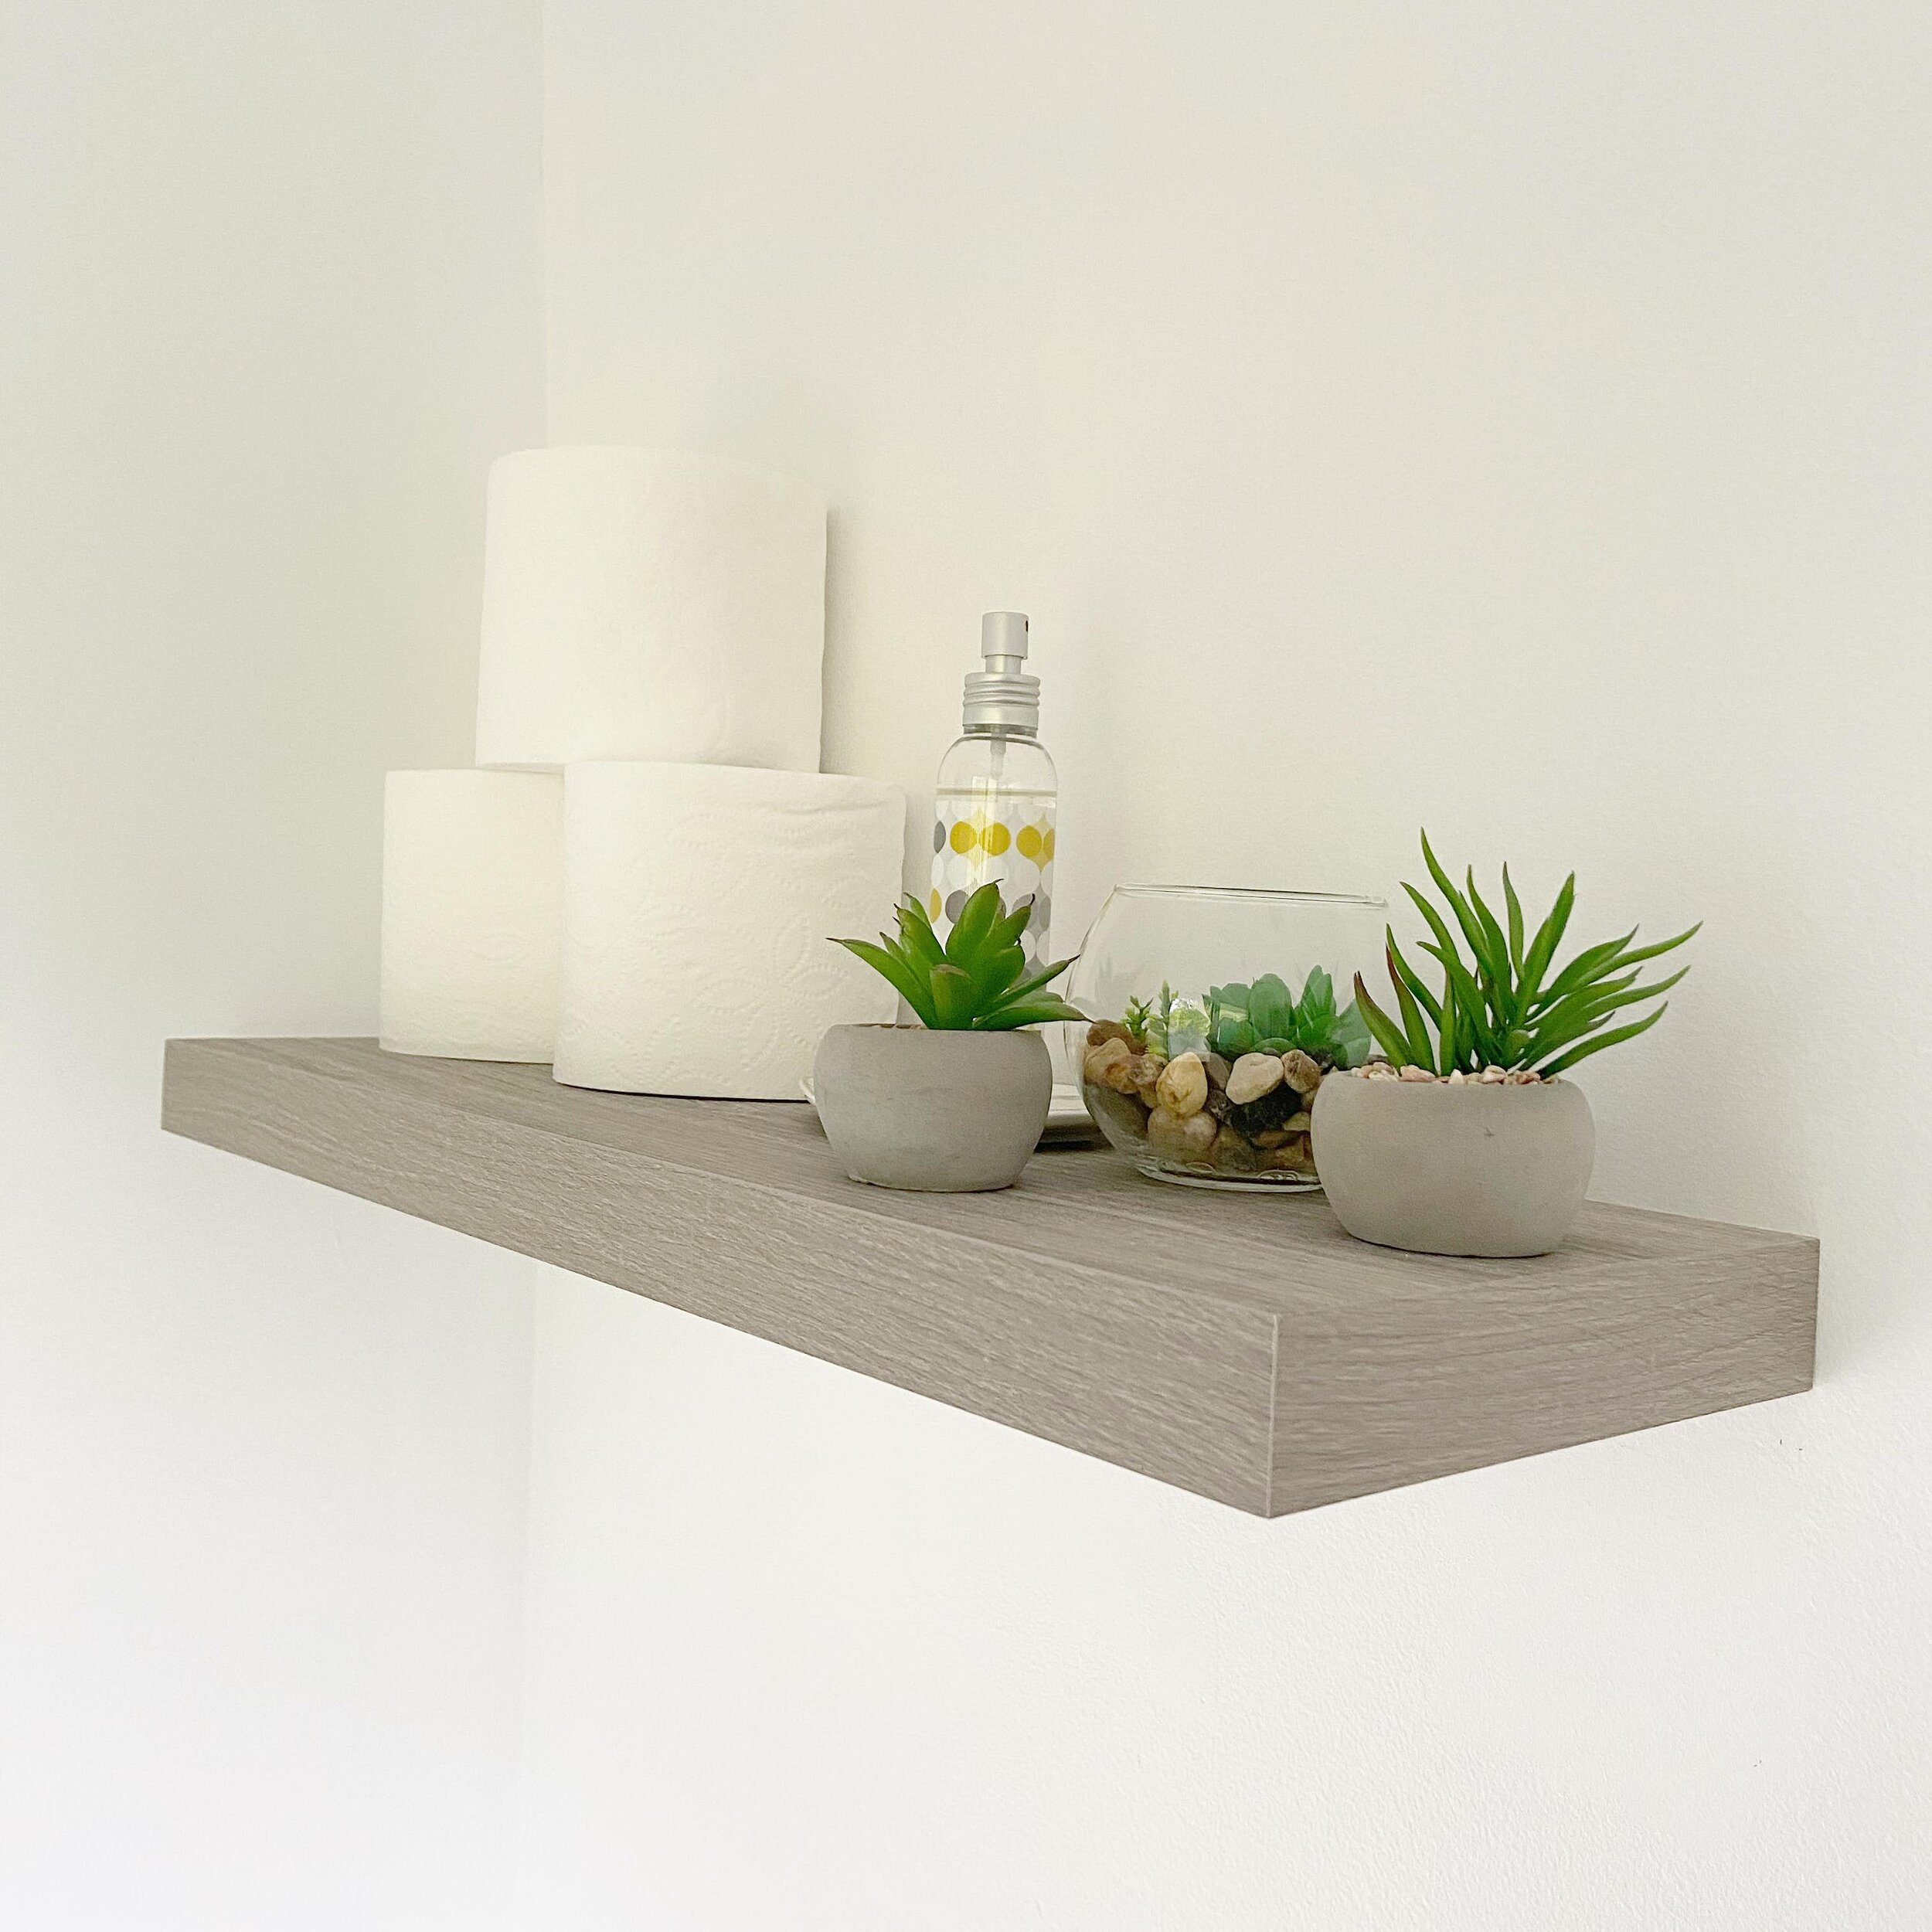
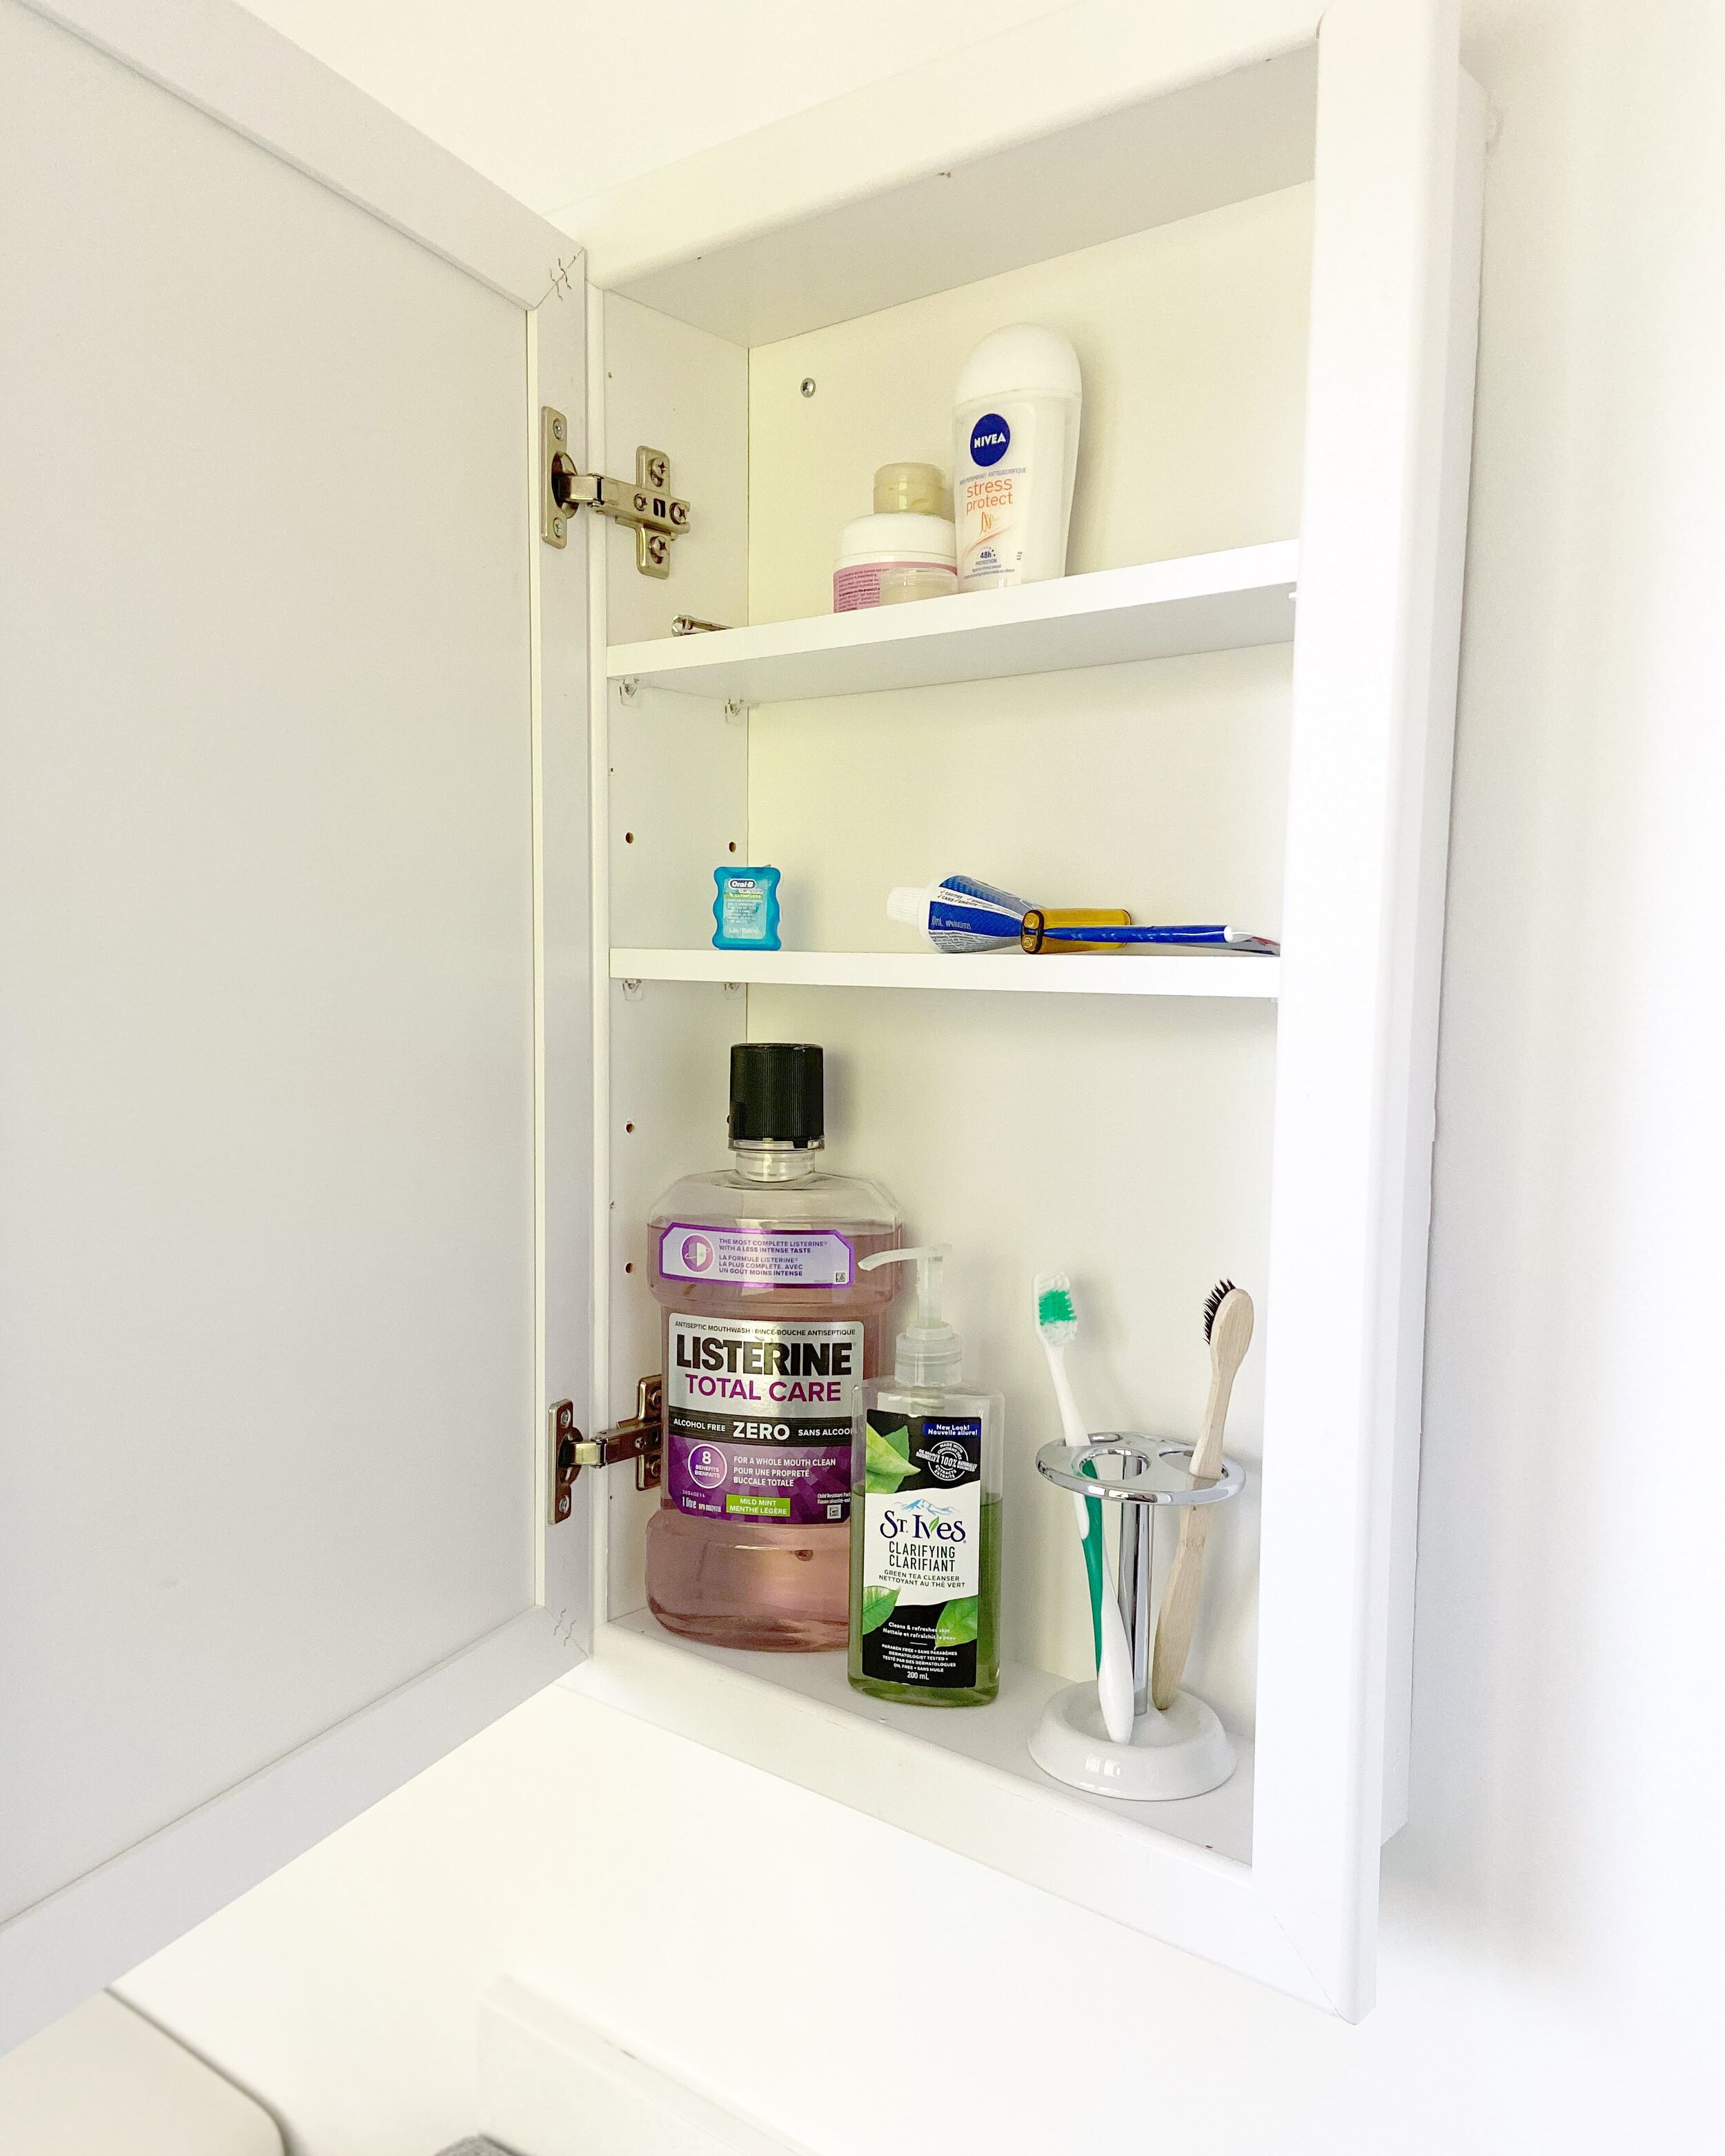
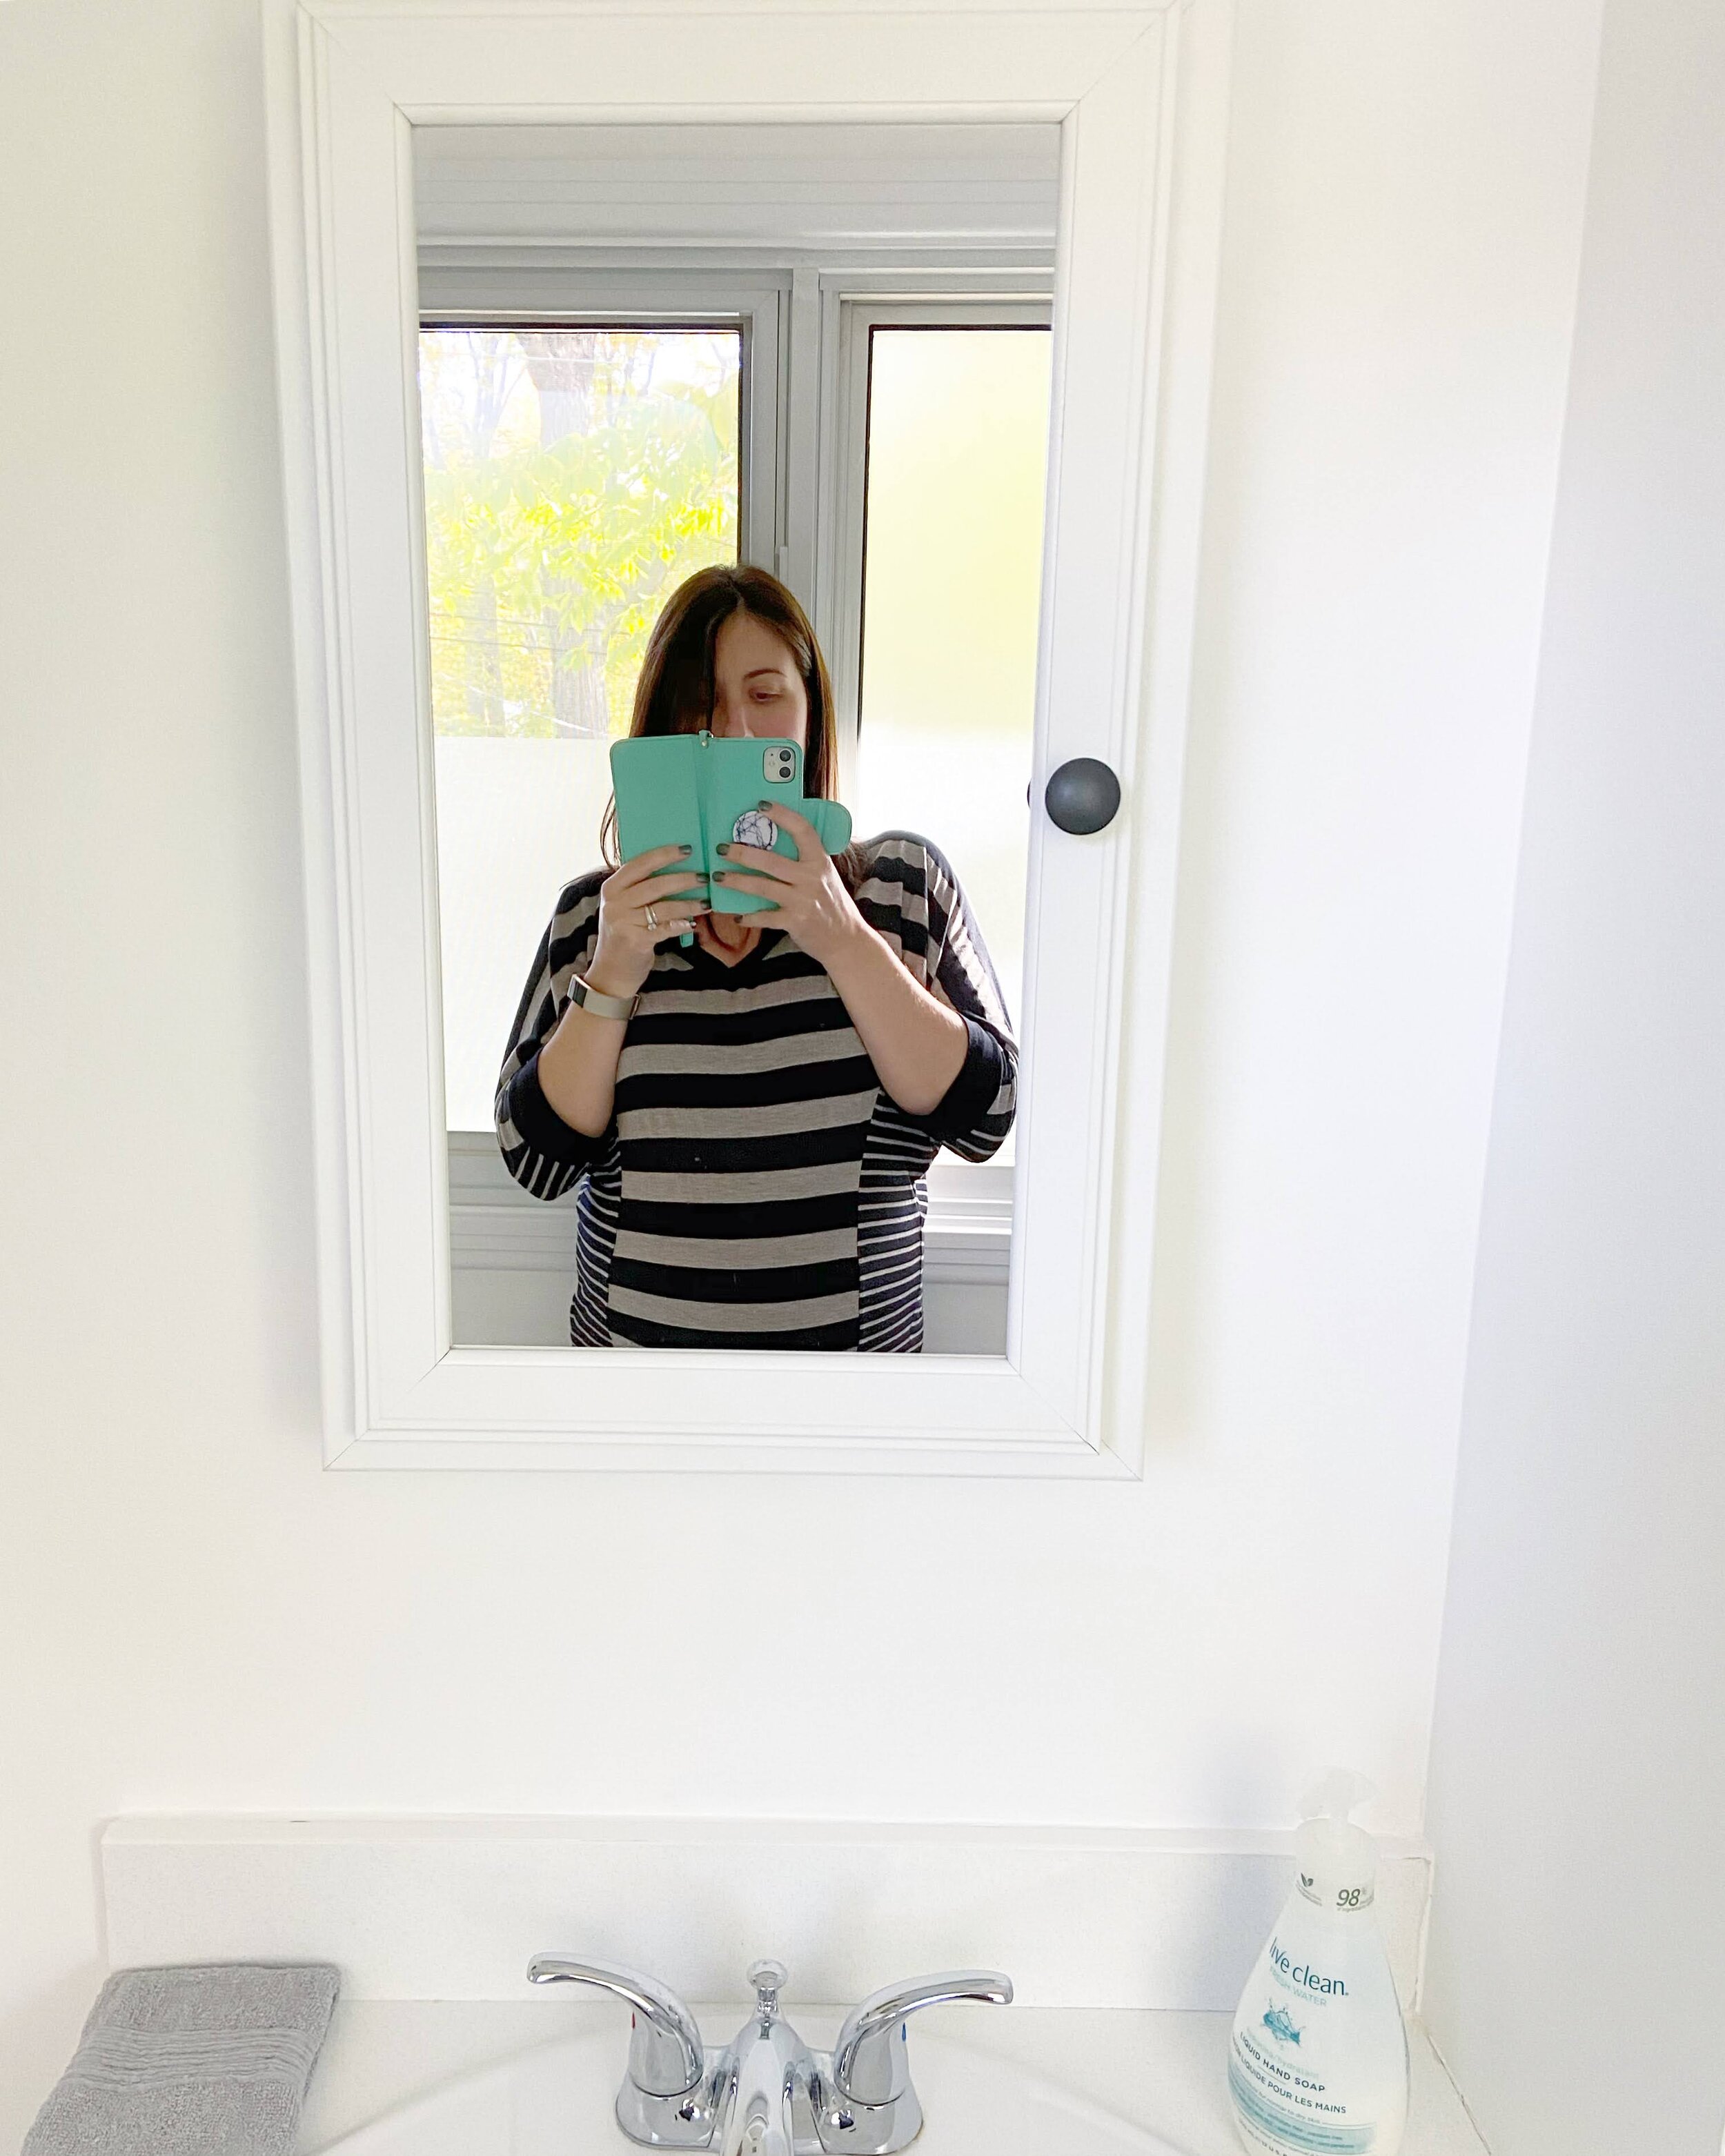
One of our biggest priorities in this area was to get stuff off of the counters.  I’m not a big fan of counter clutter.  I find that it makes cleaning more difficult and instantly makes the space feel messy. After browsing the Home Hardware website I decided that replacing the existing mirror with a cute medicine cabinet was the easiest way to achieve this.  I also wanted to lighten up the space and give it a fresh look, so we gave the walls a new coat of paint and I ordered this floating shelf, both for function and aesthetics. 

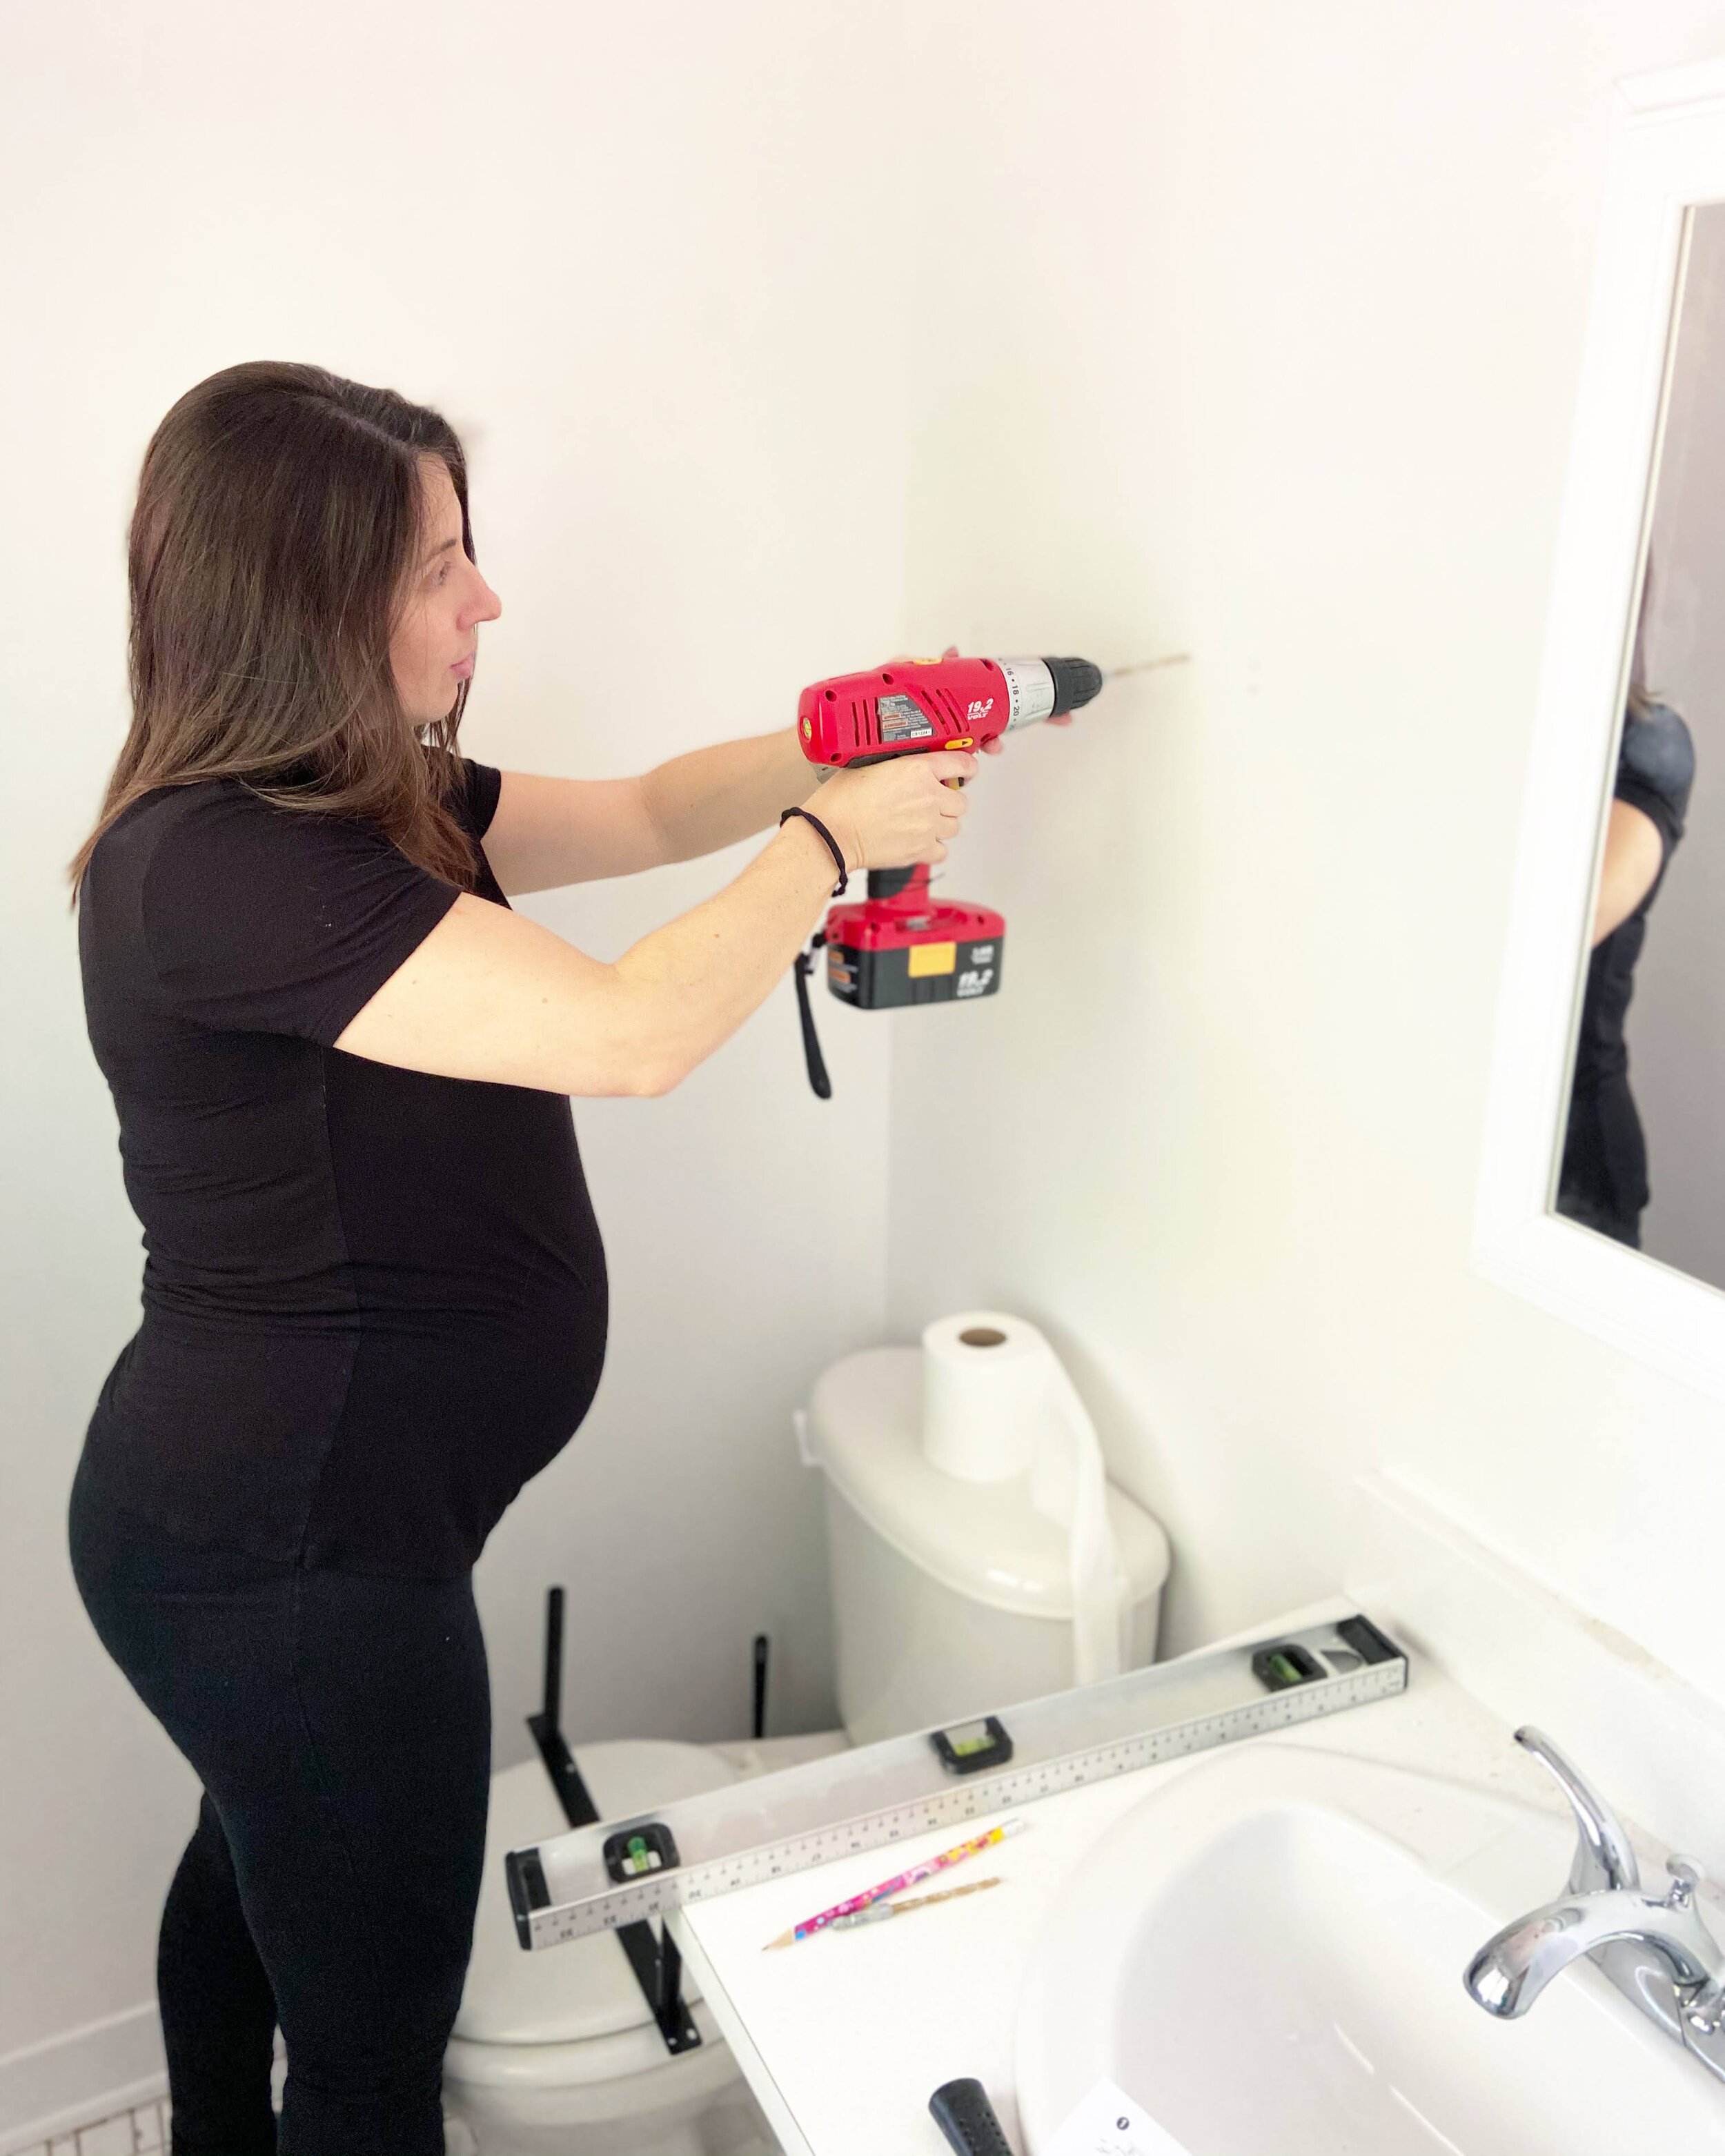
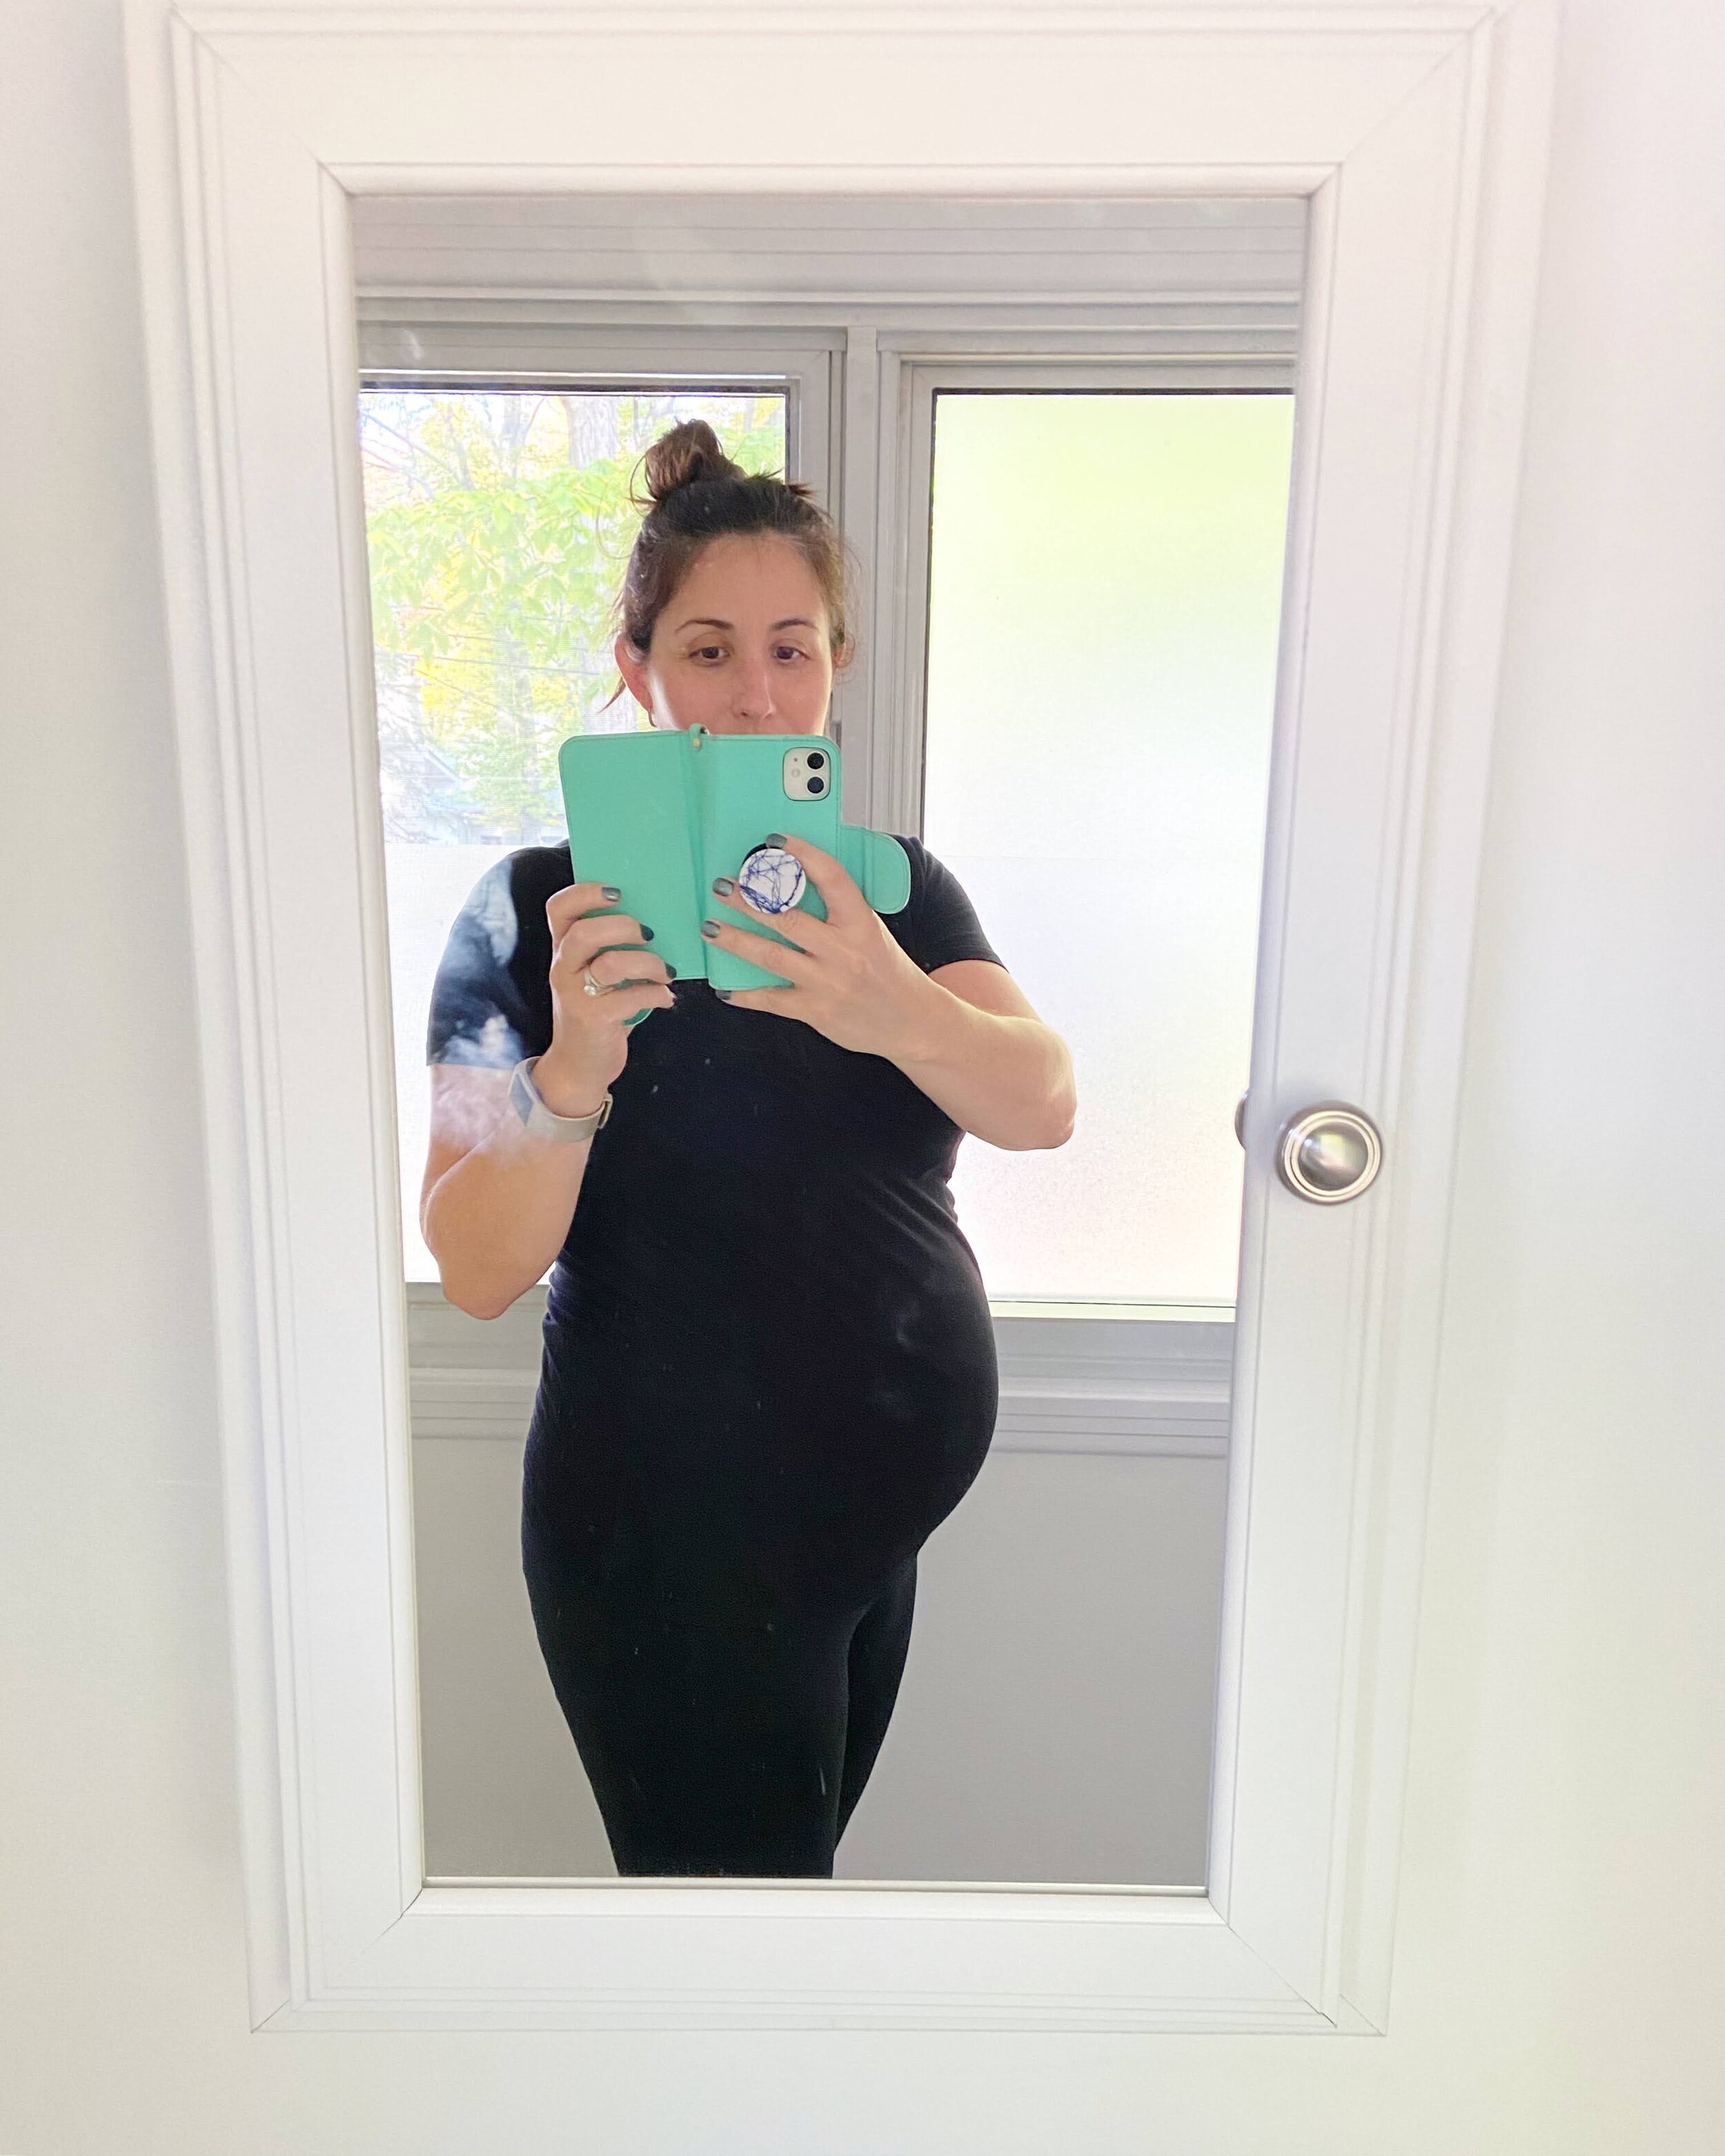
The install of the medicine cabinet and the shelf was super easy, even at 32 weeks pregnant I was able to tackle it fairly quickly.  I did need the help of my husband to help hold the cabinet while I secured it into place, so I would definitely recommend having an extra set of hands on site!

Once the cabinet and shelf were up it was just a matter of putting everything back and adding a few finishing touches.  I made some custom labels for the bins, grabbed a few faux succulents that I already had on hand, then added this super comfy bath mat and these towels.

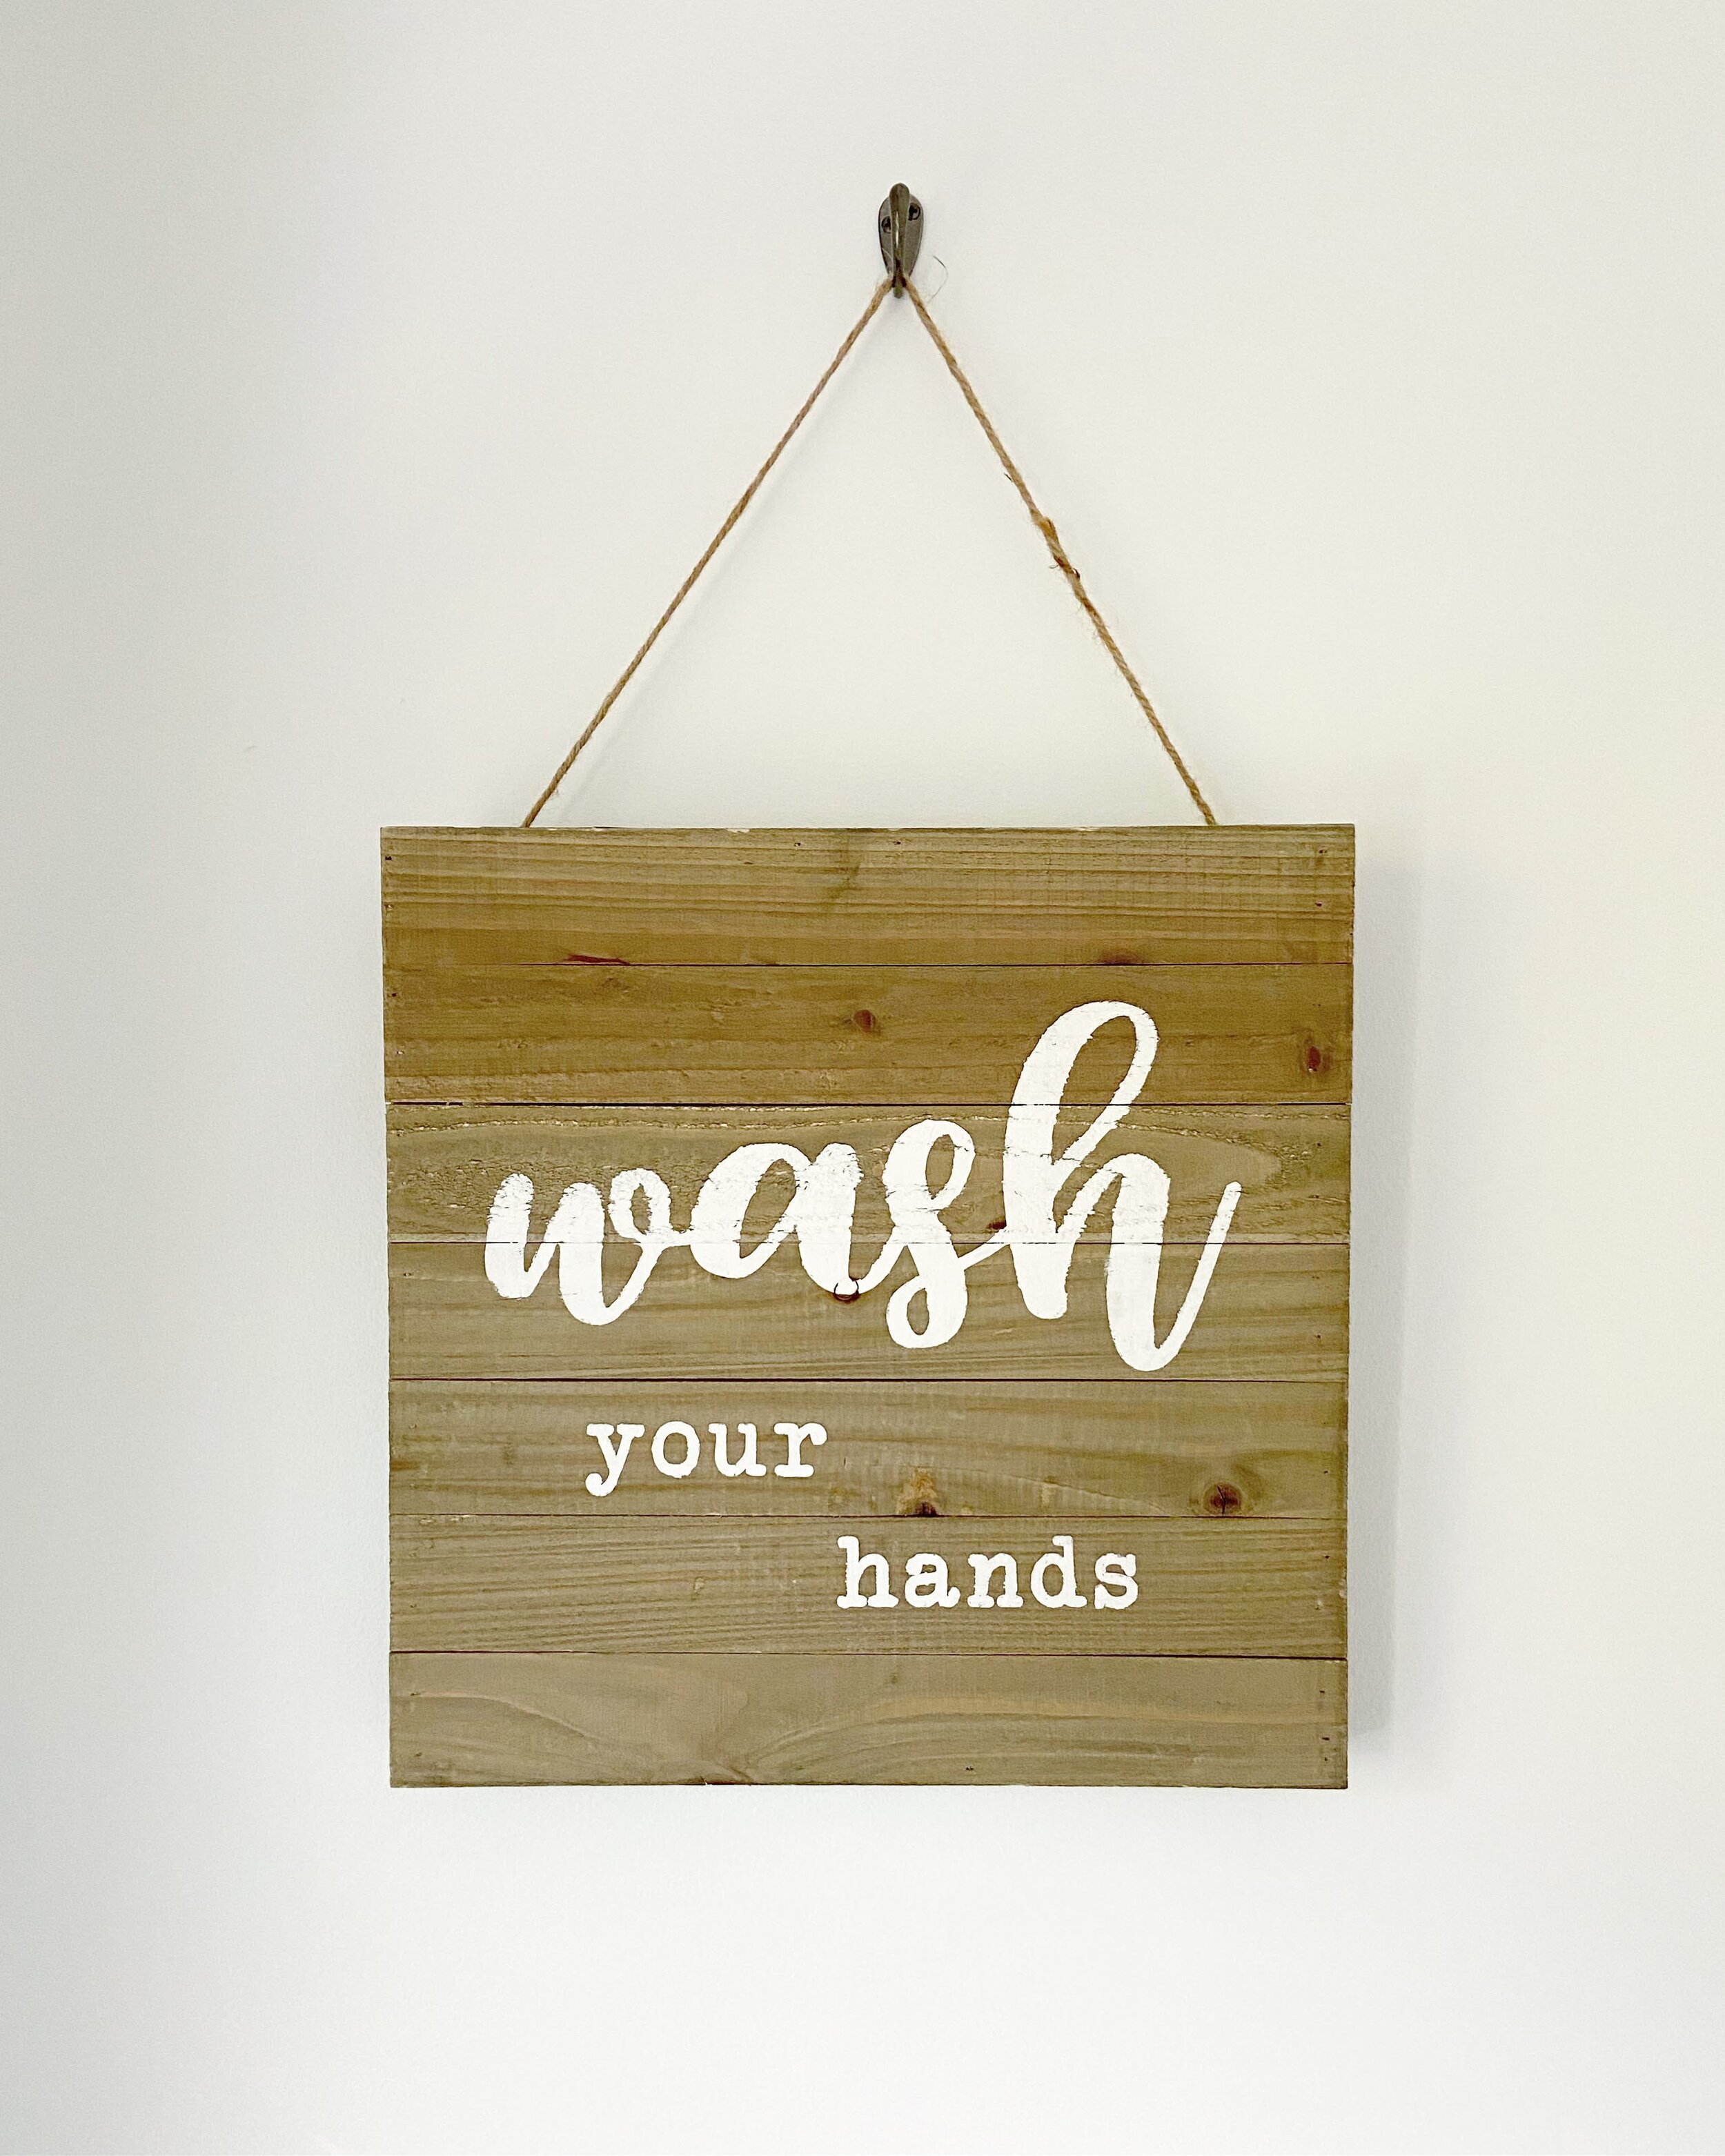
I also had a blank wood sign so I painted a cute message on it and hung it on the wall with this hook.

I find that in a small room, where space is at a premium you really want to try and maximize every inch of it, especially the vertical space.  So I also added some of these hooks to the back of the door for my bathrobe and towel.

If you want to check out the video tour from start to finish of the bathroom click here. Hopefully you’ll be able to draw some inspiration to tackle a nagging space in your home!

P.S. Even though this is a sponsored post, all opinions are entirely my own!

happy organizing.png


Major Front Closet Organization Makeover

No matter where you live, sending kids back-to-school will look very different this year.  For some it means on-line classes, for others it will be in-person education and there are also a number of us that will be doing a combination of both. What has become very evident to me is it’s more important than ever to be organized for this incredible time of transition.

Normally this time of year I’m talking about labeling school supplies and uniforms, and while I’m still doing that, I knew it was going to be important to work on something a little different for this year. So when Home Hardware approached me to team up on an organizing project, I knew exactly what I wanted to tackle: my front closet.

It is arguably one of the most used spaces in our home. It houses shoes and jackets, hats and grocery bags, and my family spends a lot of time rummaging through it multiple times per day. While I did have the space relatively organized, we had a standard builder’s grade closet (aka one rod and one shelf) in there and we were limited with what we could do.

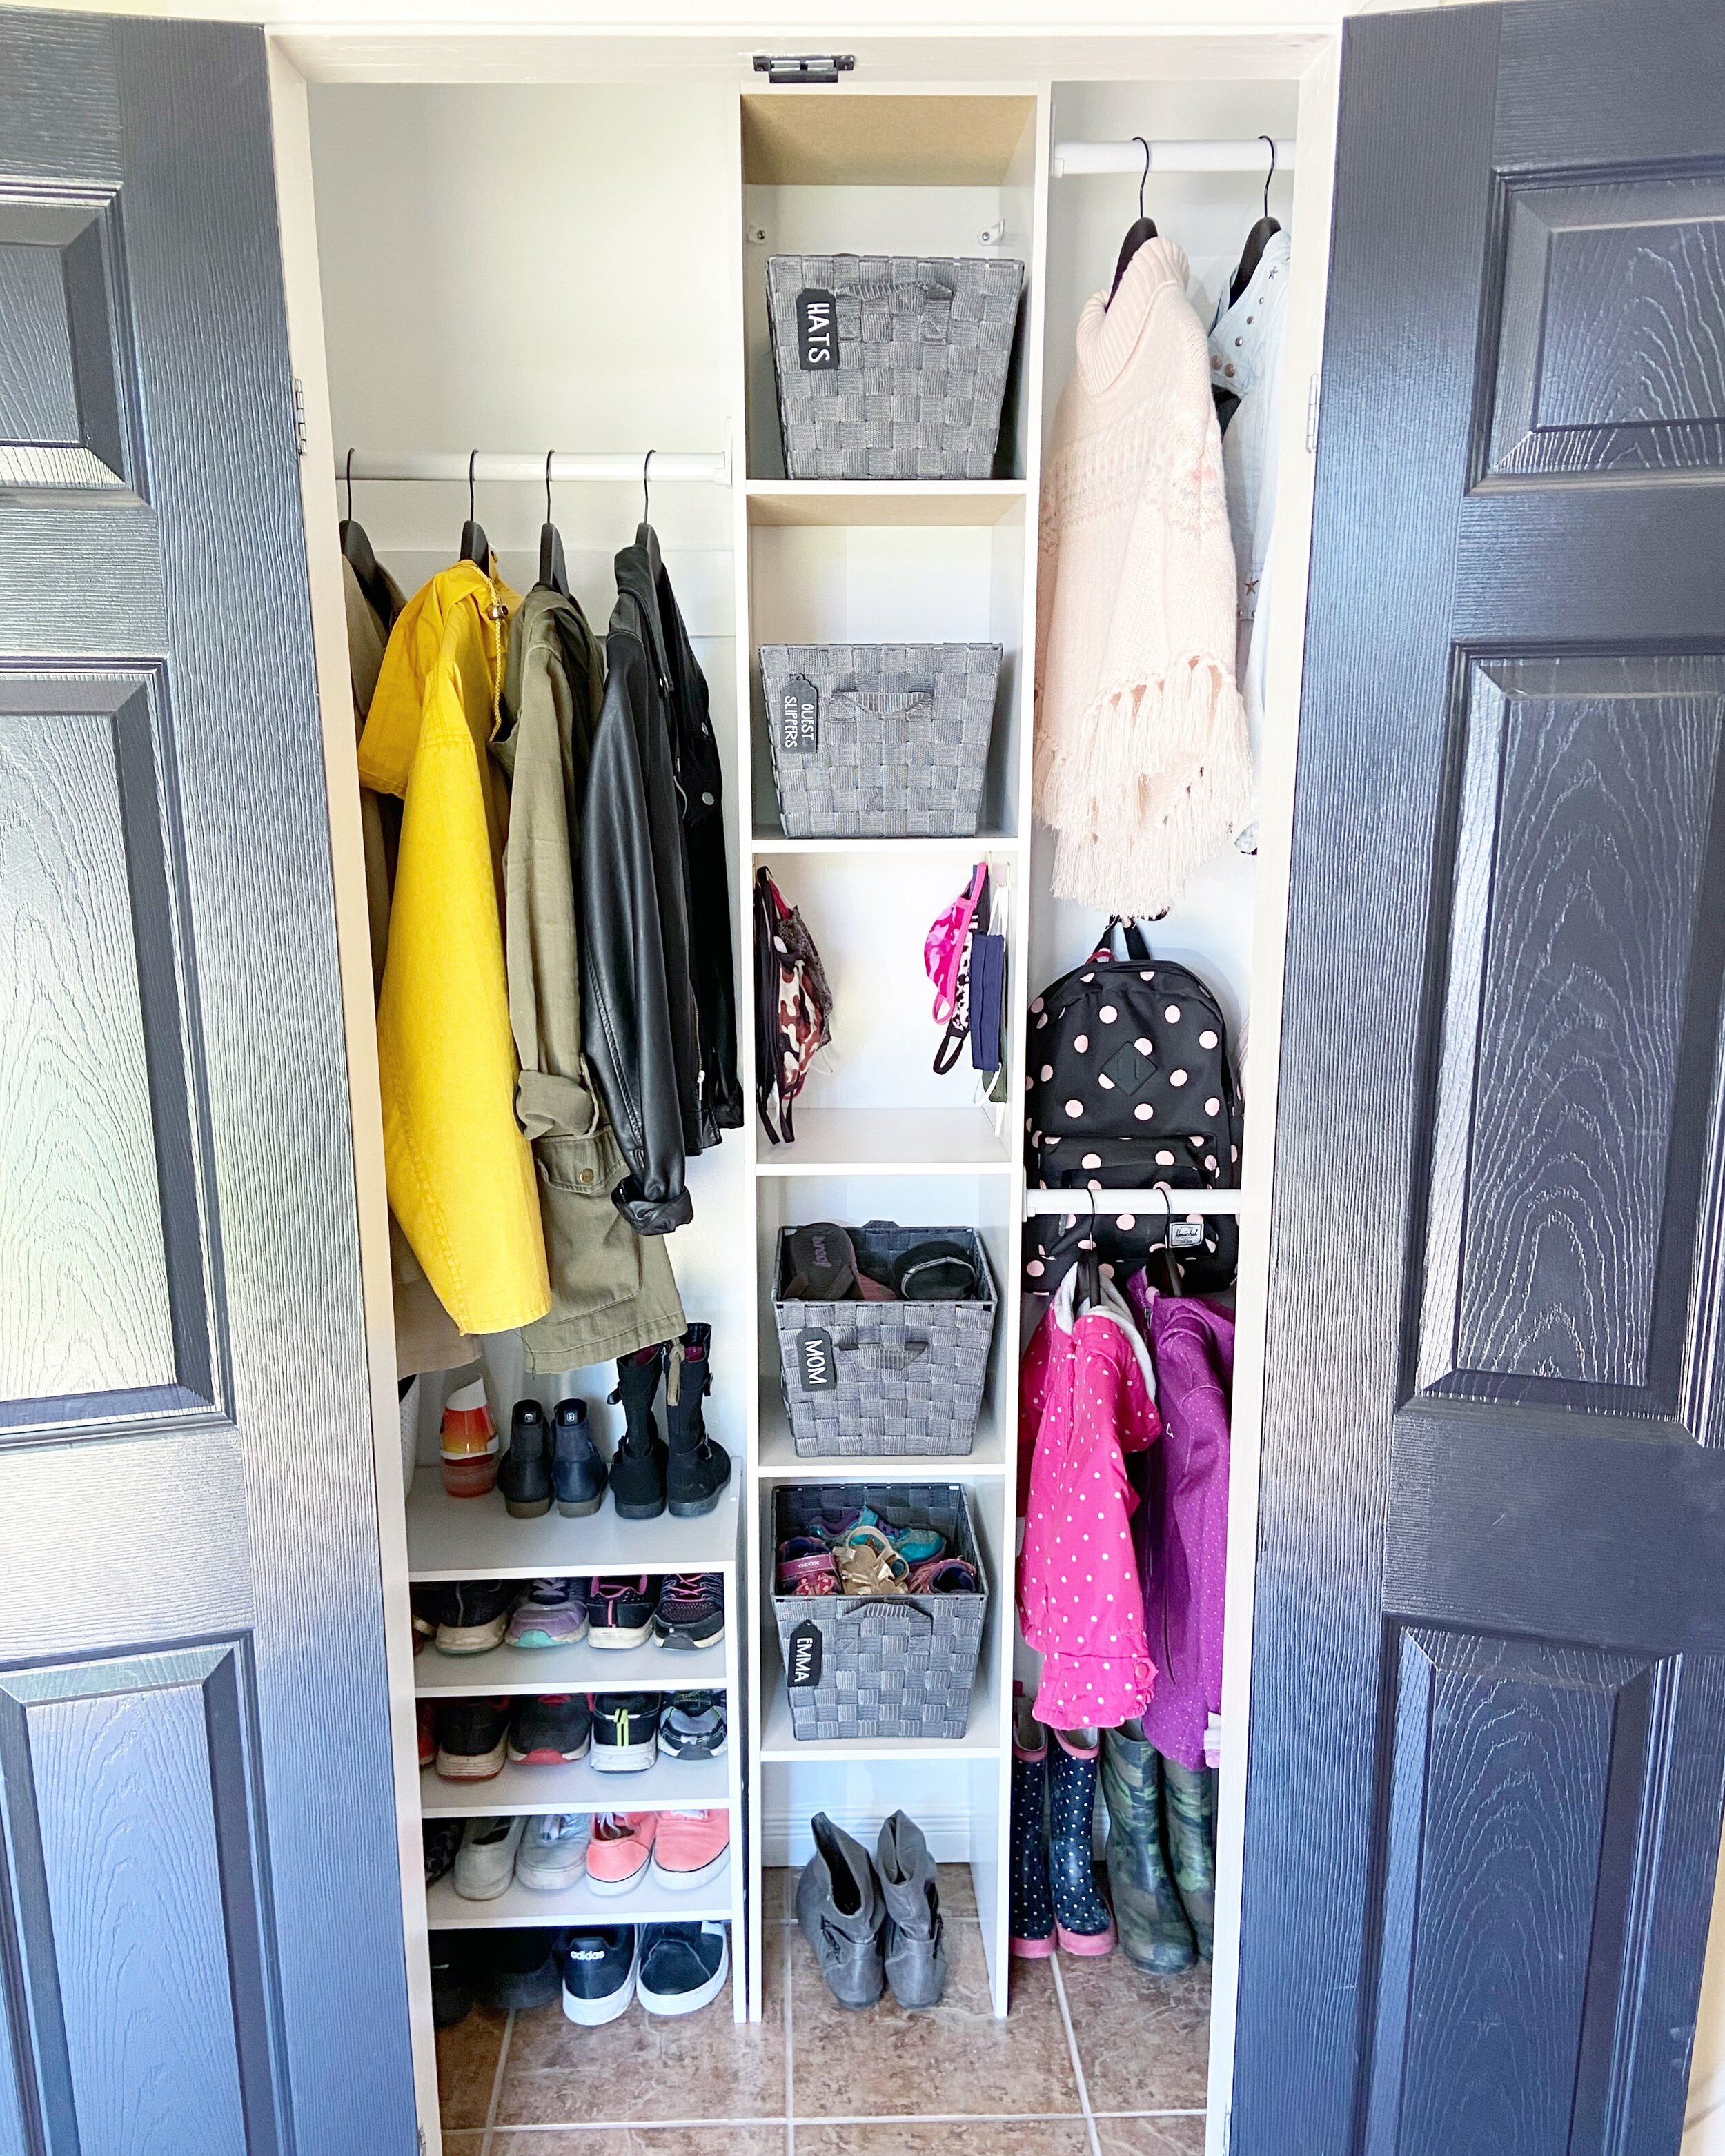
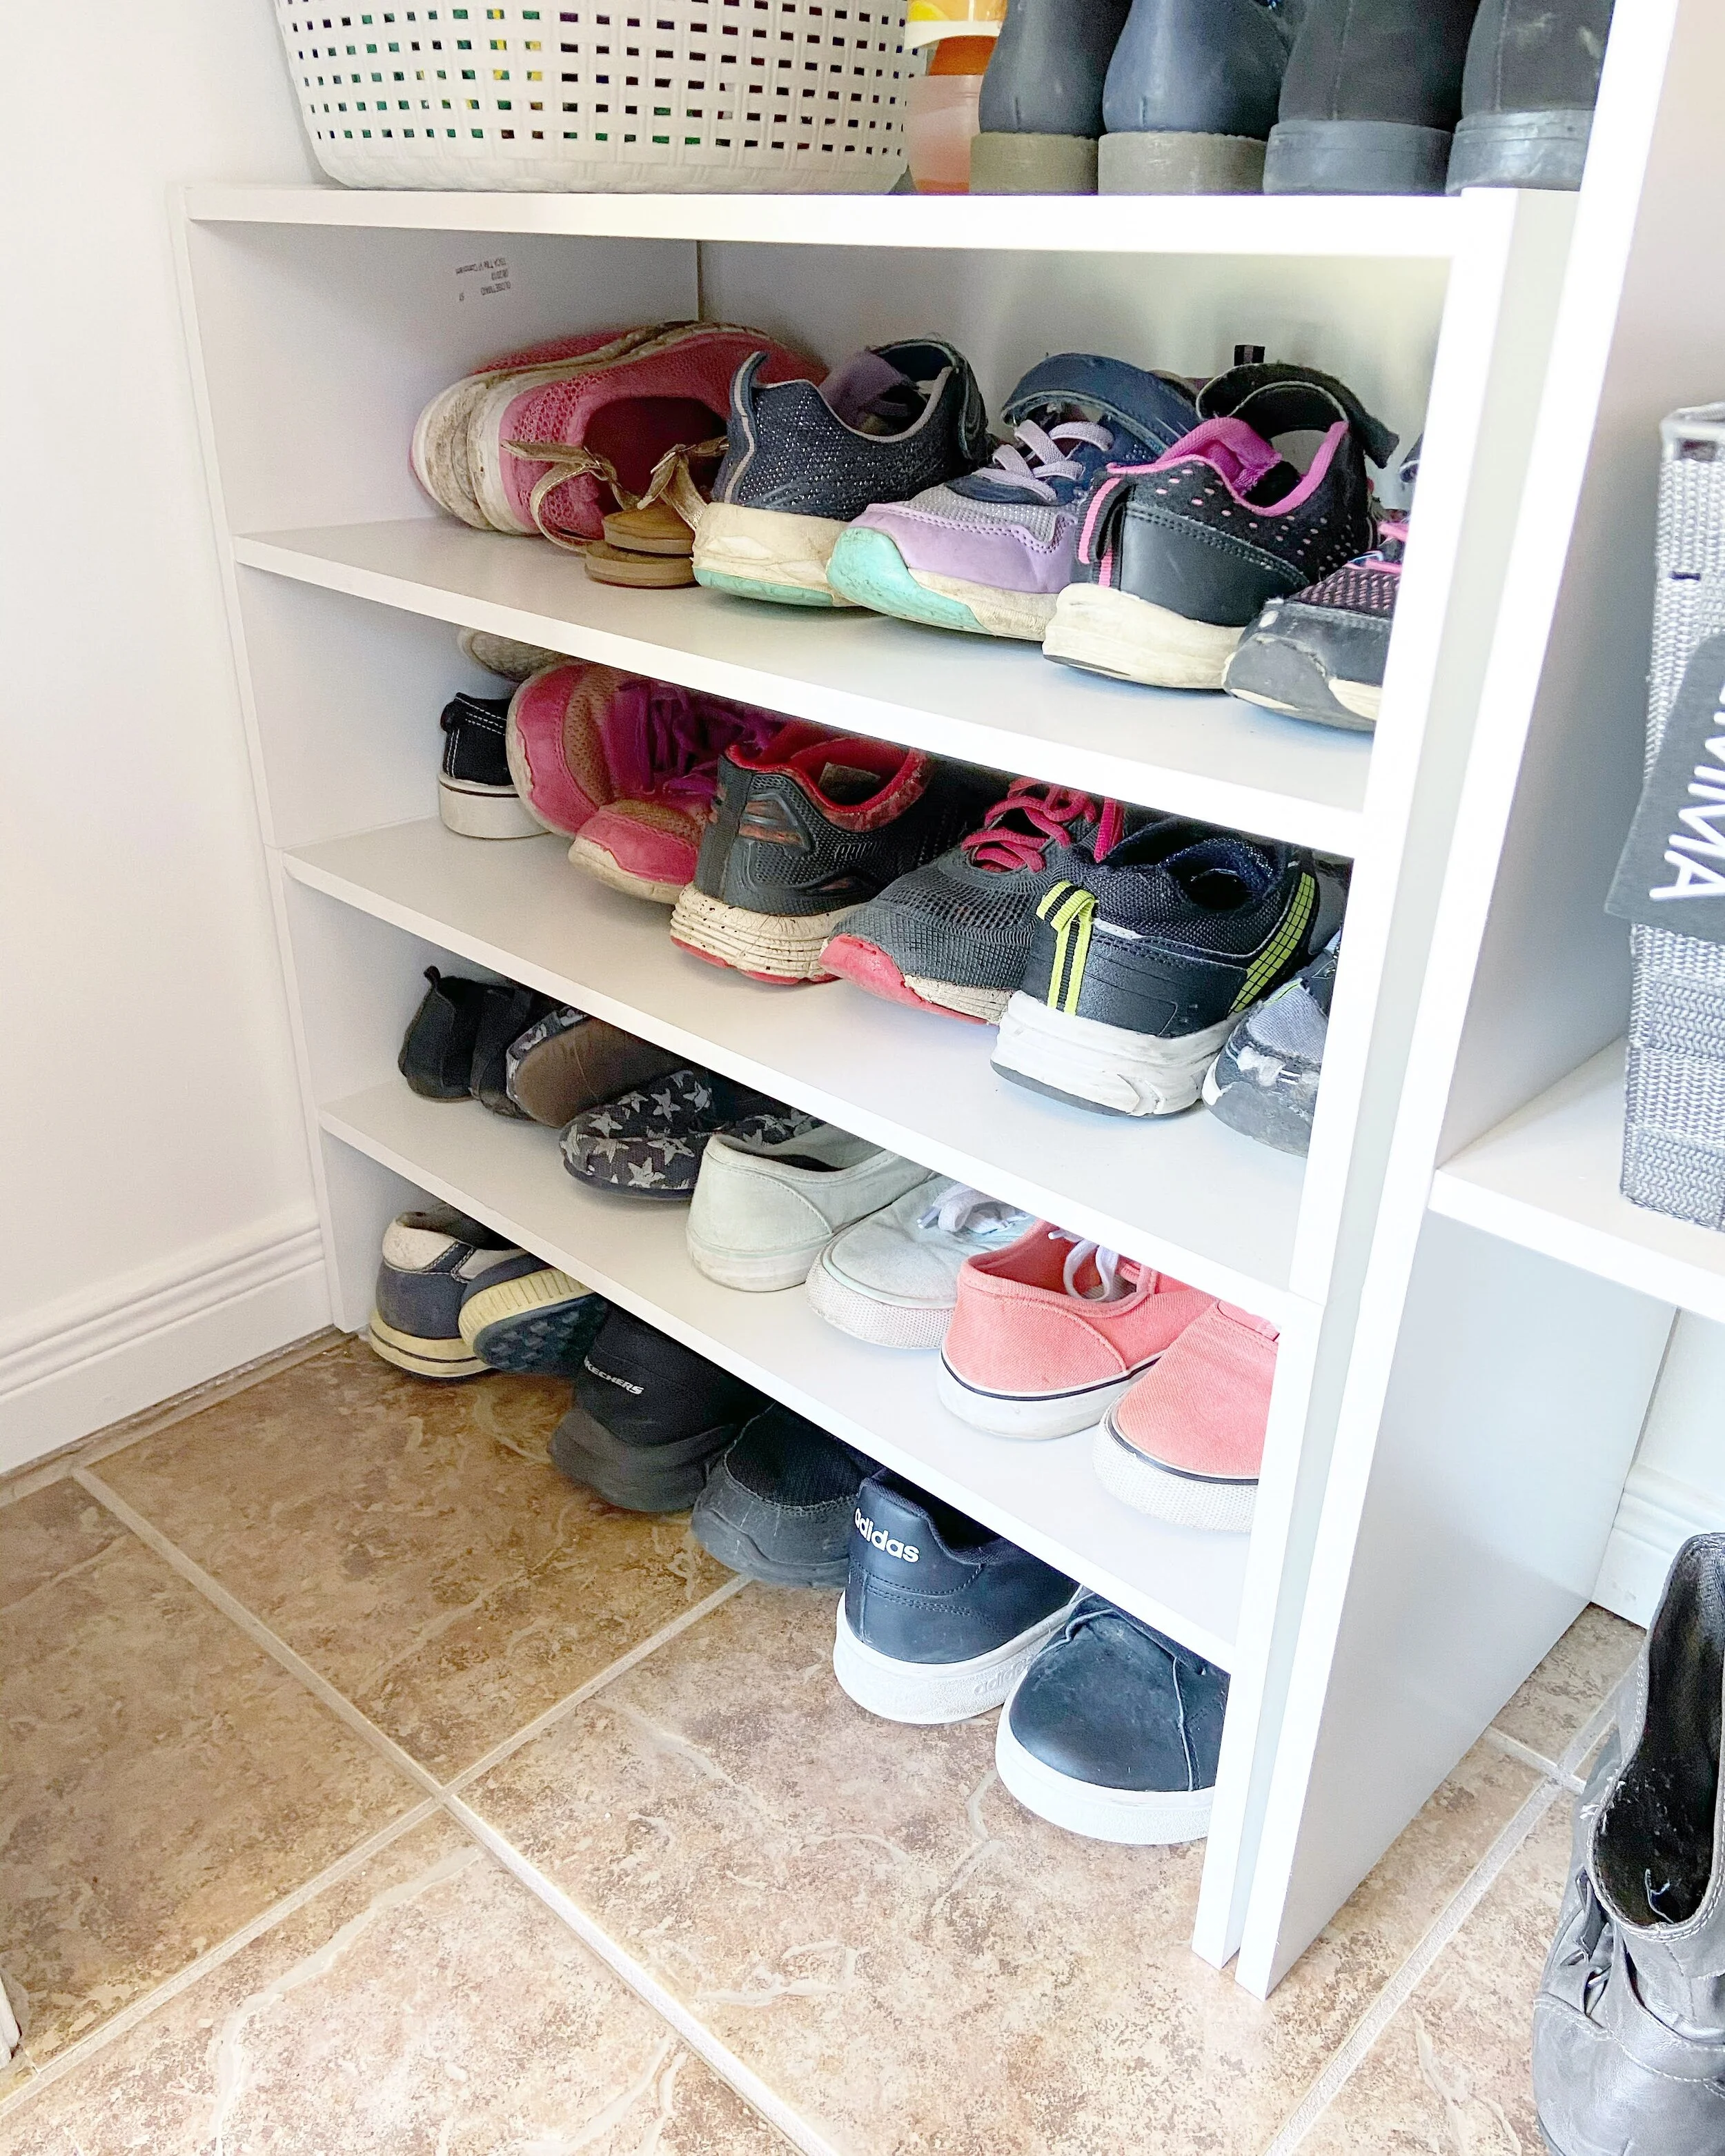
The first thing I did was grab my measuring tape, noted the dimensions and headed over to the Home Hardware website to check out my options. I wanted something that had both shelves and hanging options and was relatively easy to install.  So, I chose this closet organizer, and  shoe rack, along with these baskets, hooks, hangers and removable hooks.

After removing the original rod and shelf I decided that while the closet was empty I should take the time to repair the walls and put on a fresh coat of paint.  I wanted it to be clean and simple so I chose the Beauti-Tone Natura paint in white. I also impulse-purchased this awesome paint can lid that made the process way easier.

Putting together the closet system was easy and straightforward, I did it by myself with the exception of cutting the closet rods.  Please don’t be scared off by this, it’s not actually a necessary (or likely recommended!) step but because our closet is so tiny and I wanted the shelving to be in the middle instead of off to one of the sides I decided to cut the rods to achieve the look that I wanted.  I enlisted my handy father for this part of the project as I thoroughly don’t enjoy using a saw!

The next step was the installation of the closet system, which basically only involved securing the shelving to the back wall and the rods to the side walls.  Again, it was super simple and straightforward and with the help of my level, power drill and screwdriver I was done in practically no time.  I made sure to have one of the hanging rods at kid level so that they could easily grab their jackets and hang them back up without me.  Whenever you look at a space and how to best make it functional, it’s a really good idea to think about accessibility and who will be using the space.  Try to have kid items at kid level so that it’s easy to reach.  It both allows them to foster independence and means that you don’t have to be involved in the mundane task of getting their bags and jackets.  Double win!

The last step in this project was the most fun for me.  Putting everything back and having it be functional and organized for my family!

Other than the obvious stuff that usually lives in the closet I knew that I wanted to create a spot for everyone’s masks and backpacks. I decided to put some removable hooks in one of the center cubbies so that everyone had a spot to hang their clean masks.  I chose a level that was accessible to everyone so that the kids could reach their masks easily.  I also wanted to maximize the space in our tiny closet so I installed a couple of hooks along the back wall that can be used for things like backpacks, bags or umbrellas.

For the center shelving I decided to go with lightweight baskets to house extra hats, slippers and shoes.  I find baskets to be so versatile when organizing a space, they act like little drawers and allow you to easily access your items while at the same time hiding the mess of what’s inside them.  I added a few labels so that it was very clear to everyone in the house what was meant to go in each.

Lastly, I swapped out all of the hangers so that they matched. I chose sturdy wooden hangers for this space as when we eventually transition to winter, our coats will be heavier, and I wanted to make sure there was enough support.  Having one type of hanger really helps to achieve that streamlined look and reduce the visual clutter.

I knew from the beginning that I would be satisfied with the project, I mean, who would be unhappy with a closet upgrade? But what I didn't expect was how pleased the whole family is with it as well.  My kids keep looking into the closet and marveling over how amazing it looks. It feels fresh and clean and functional and I feel great that we are one step closer to being ready for this unprecedented school year. 

PS If you want to check out all the videos and pictures from the whole process head on over to my Instagram highlights.

happy organizing.png


Spice Cabinet Organization

There are few things I love more than helping people love their kitchens again. It’s simply amazing how much your attitude towards a space changes when it’s functional and you can actually find what you’re looking for.

This is why I was so honored when Chatelaine reached out and asked if they could feature one of the spaces I organized alongside fellow Pro Organizers such as Ivanka of Tidy Moose, Zahra of Make Room with Zahra and Kai Zen Organized Spaces.

Take a look at the tips in their article to see if you can draw some inspiration to tackle your spices today!

https://www.chatelaine.com/food/kitchen-tips/how-to-organize-your-spice-cabinet/

Clutter Free Kitchen Counters

clean kitchen counter

There’s just something about walking into your kitchen right after it’s been cleaned that simply feels amazing!

I don’t know about you but for me the kitchen doesn’t really have that “clean feel” until the counters are free from clutter. Which is why I feel so passionate about really only keeping what we truly use everyday out and visible.

Your counters are the prime real estate of your kitchen, so start treating them with the value they deserve!

Check out my video below for a tour of my kitchen, along with the strategies I use to keep the counters free from clutter.

clean kitchen counter

Don’t forget to check out my Amazon store to see some of my favorite products and tools to get you organized.

Happy Organizing!